Getting Started with Chrome OS Flex: Installation and Configuration Guide
Discover how to install and configure Chrome OS Flex on a PC or laptop in this comprehensive guide. Whether you’re a Chrome OS enthusiast or looking to explore new operating systems, Chrome OS Flex offers a lightweight and versatile option. In this tutorial, we’ll walk you through the step-by-step process of installing and configuring Chrome OS Flex, covering essential setup steps and customization options. From downloading the OS image to optimizing performance, we’ll help you get started with Chrome OS Flex on your PC or laptop. Read now and unlock the potential of Chrome OS Flex!
Talking of hardware requirements, they include a 64-bit AMD or Intel CPU, 4 GB of RAM, and 16 GB of free space on a USB drive. To have the new operating system installed on your PC, you need a USB pen drive with at least 8 GB of storage capacity.

🟡 Chrome OS Flex: Installing and Configuring It on a PC or Laptop✔️Is It Worth It, and What It Does?
Installing an image
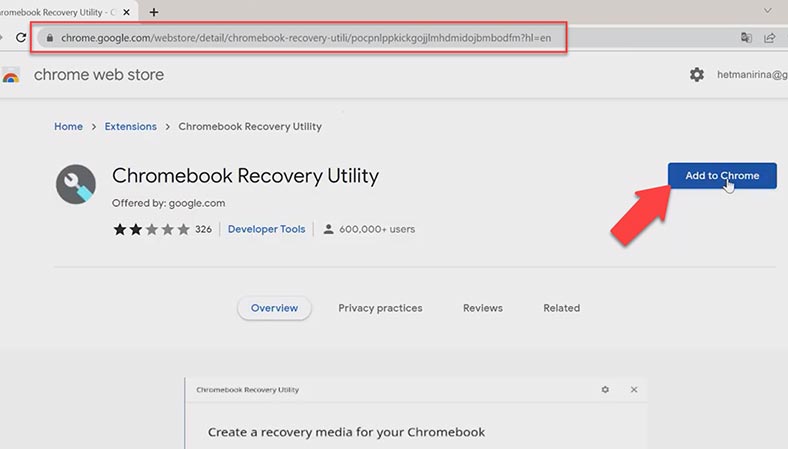
For starters, you need to install a Chromebook recovery utility – it’s a Chrome extension that will help you install Chrome OS Flex on a USB drive. Open Chrome and follow this link: https://chrome.google.com/webstore/detail/chromebook-recovery-utili/pocpnlppkickgojjlmhdmidojbmbodfm?hl=en
Install this extension by clicking on the button Add to Chrome, and then click Add extension.
After that, open the Chromebook recovery utility, connect the USB drive, and click Get started. In the next page, click Select a model from a list, and choose Google Chrome OS Flex from the drop-down list.
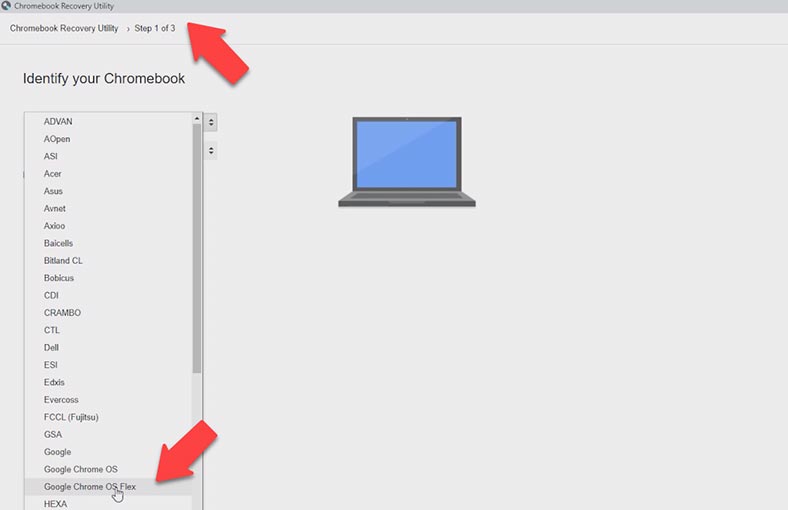
At the next stage, select the same option, choose your USB drive and click Continue. Finally, click Create now.
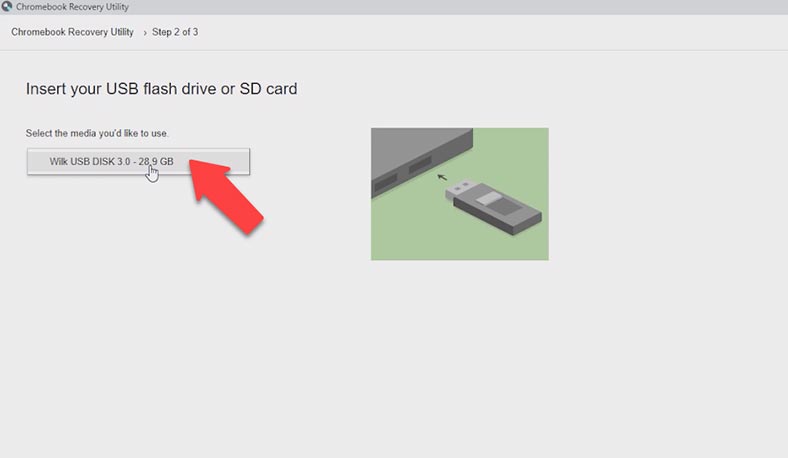
The installation process will take 10 to 15 minutes depending on how fast your Internet connection is. When the installation is complete, restart the computer and access its BIOS You can do it by pressing a specific key or a key shortcut; the actual key to use depends on the manufacturer of your computer’s motherboard.
| Keys | PC/laptop manufacturer |
|---|---|
| F1 | IBM |
| F2 | Dell Inspiron, Dell Precision, IBM E-pro Laptop |
| F10 | Compaq |
| Del | CompUSA, eMachine, Intel Targent, Revorbook, Tiger |
| Esc | Cybermax |
| F1, F2 | Gateway, HP (Hewlett-Packard) |
| F1, F3 | Dell 400 |
| F1, Esc | Toshiba |
| F2, F3 | Sony VAIO |
| F2, Del | Dell Dimension, Dell Optiplex |
| F2, Fn + F1 | Dell Latitude |
| F1, F2, Dell | Micron, Packard Bell |
| F1, F2, Ctrl + Alt + Esc | Acer |
| Ctrl + Alt + Del, Ctrl + Alt + Esc | AST |
| Ctrl + Alt + Del, Ctrl + Alt + Ins | IBM PS/2 |
When you’ve entered BIOS, look for a menu containing boot settings – usually, it has a name like Boot or Setup, and then change the boot sequence in the tab Boot priority. Use the Up and Down arrows to do that You need to move your USB drive to the top of the list.
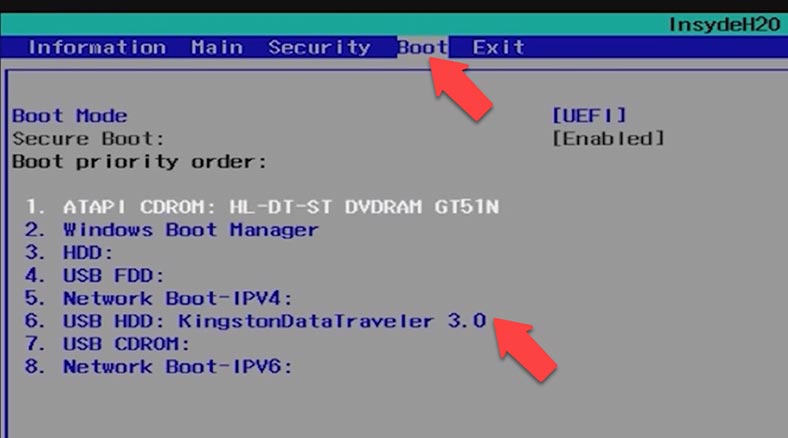
When you get the boot priority right, press F10 to save changes and restart the computer. When the computer restarts, you’ll see the screen saying Welcome to Chrome OS Flex. Choose your interface language and click OK. Then click Get started.
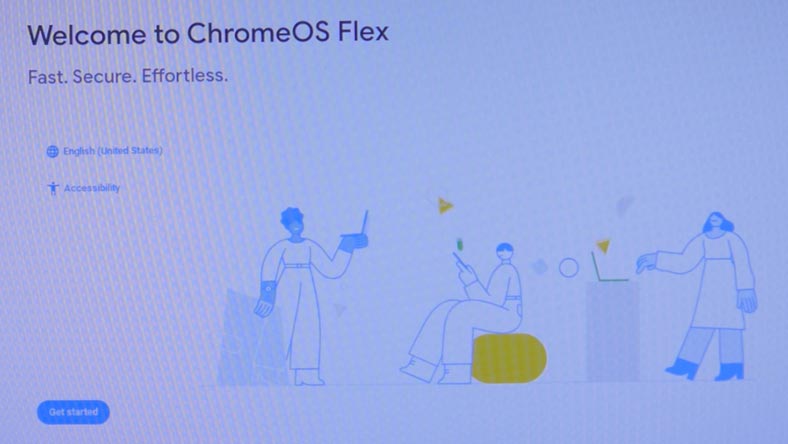
At this stage, you can choose to install ChromeOS or try it first by running it from the USB drive. I would recommend to run it from the removable drive, but if you want to install it, then follow the on-screen instructions.
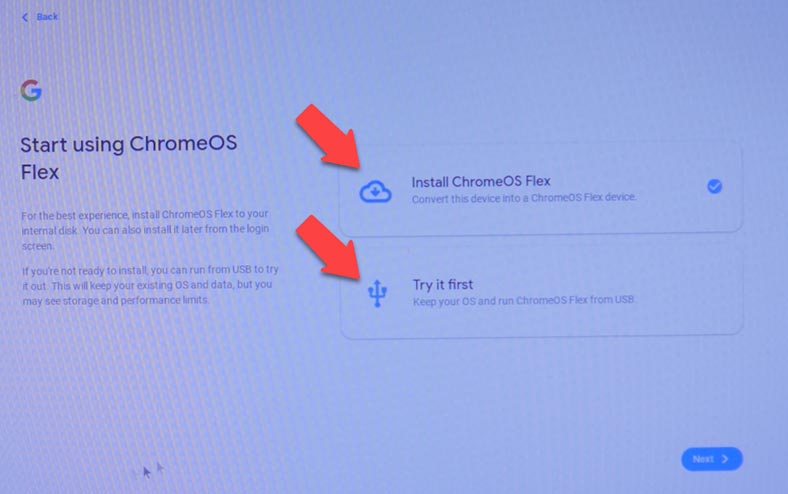
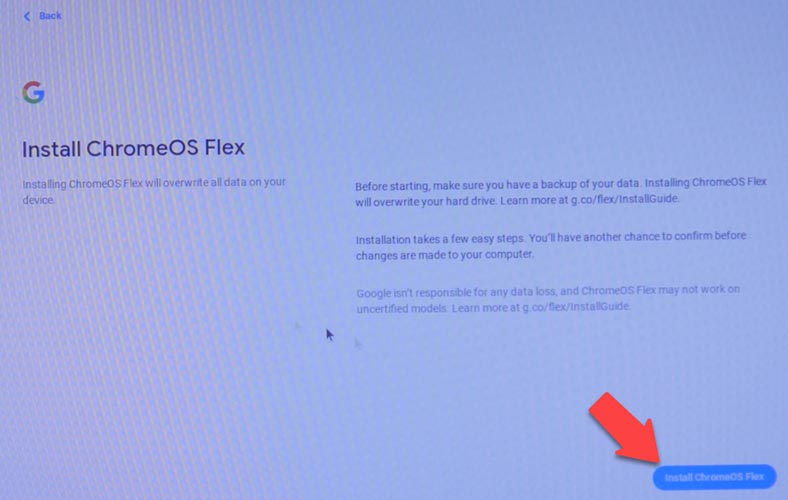
In the next window, you will see the warning that ChromeOS Flex installation will remove all the date; click on Install and wait for the installation to be completed. In the end, the installer will remind you to take out the USB drive.
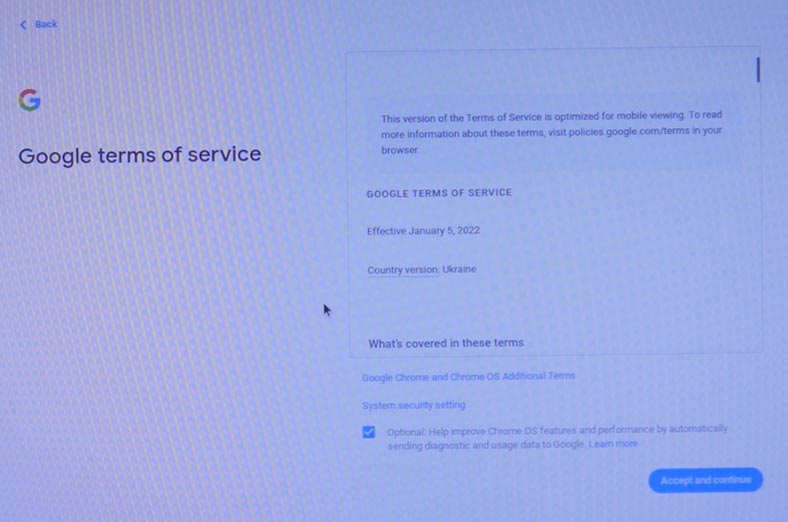
After the restart, connect to the Internet and click Next, accept the agreement and wait until the system checks for updates.
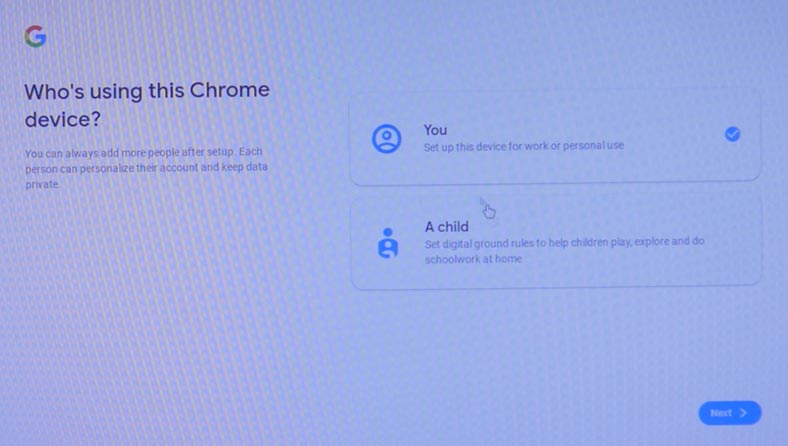
Choose who will use the device, then sign in to your Google account You’ll be suggested to sync your device.
Otherwise, you can enable Google Assistant or connect your phone to sync contacts and password with Google. After that, you’ll see the desktop.
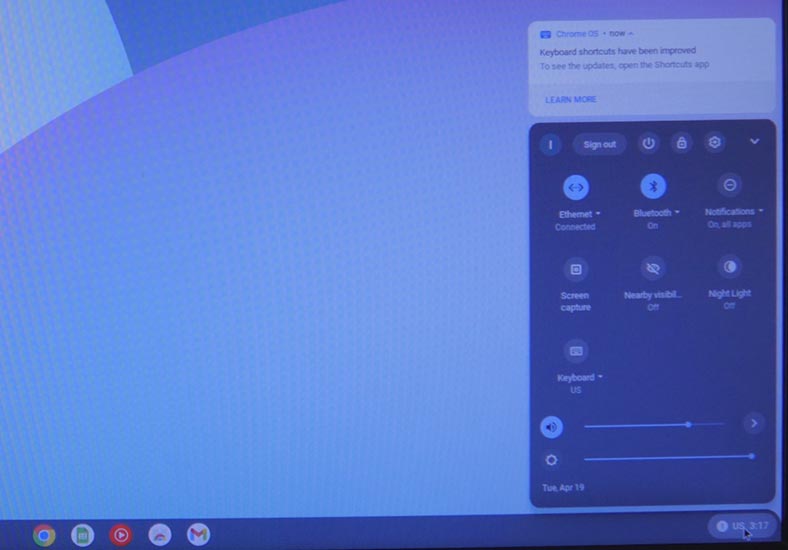
In the bottom right corner, there’s a panel that many of us know well: by clicking on it, you can access multiple settings such as Bluetooth, WiFi, Notifications, Night Light, Screen Capture and Visibility. As to the interface, it looks very similar to what you can see on tablets, and it can be compacted if necessary.
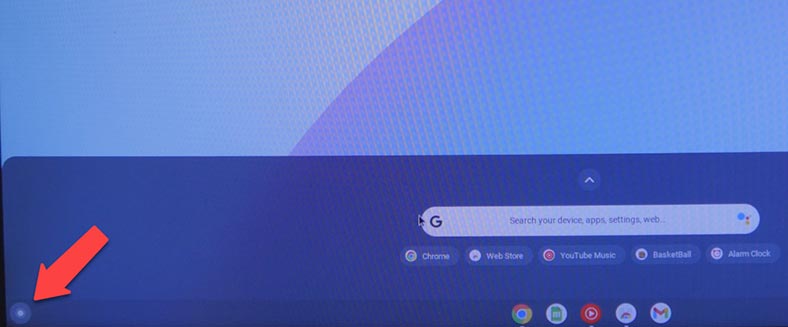
In the middle of the taskbar, you can see macOS-style icons – which work in a very similar way. An indicator under the icon shows that the app is currently active. If an app has some notifications to show you, a dot appears on the icon – just like in Android. As you right-click on an icon, the context menu appears, and in the left lower corner, there is a button very similar to the Start button in Windows. This is where you can find the search feature and all installed applications.
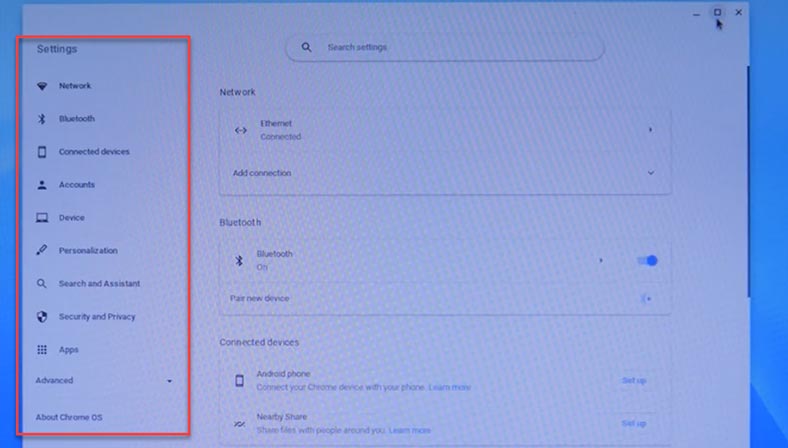
When it comes to settings, they’re simple enough: network, Bluetooth, devices connected to your phone account, and personalization options – if you feel like changing the wallpapers. If you’re planning to use another language instead of English, add it by accessing the Language and inputs menu; to switch between languages, use the key shortcut Ctrl + Space. Also, you can enable “Linux development environment.”
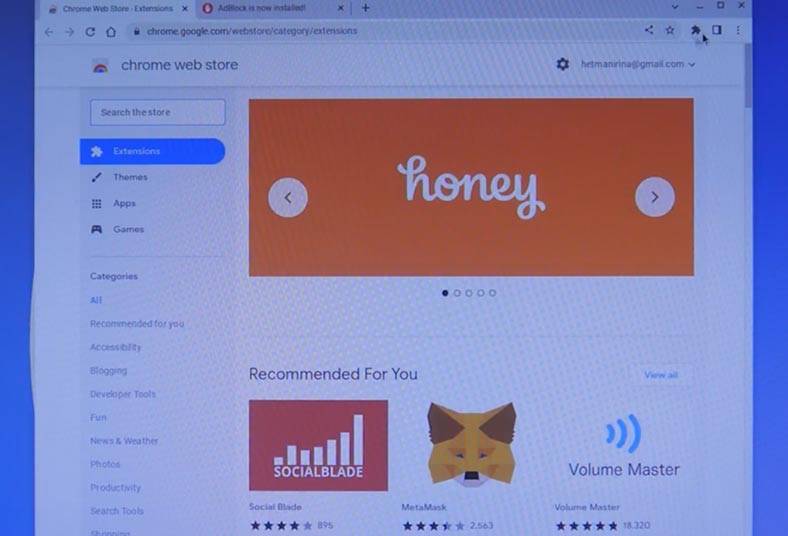
As to the apps, they are all web applications. Some open in a browser, and some in a separate window. If you want to add an app, Play Store is not available yet, so you can only download them from Chrome Web Store.
Conclusion
Summing up, we can say that Google has done a tremendous amount of work to develop a lightweight operating system and adapt it for pretty old hardware by multiple manufacturers. The project they have presented is a really interesting one, and it’s great that now we can try and install Chrome OS on any computer.

💻 How to Control a Computer Remotely from Your Phone with Chrome Remote Desktop 💻


