Why Your Mac Can’t Detect an External Drive, and How to Fix It
Read this article to find out what to do if a Mac computer can’t detect a previously connected external drive. How to identify why it happened, and understand if it is caused by drive, cable or port issues. How to fix it and restore access to the data on such drive which is no longer detected by the operating system.
- Why the drive can’t be detected by the operating system
- Method 1. Check the cable and USB port
- Method 2. Update macOS
- Method 3. Check your drive with another device
- Method 4. Checking with Disk Utility
- Method 5. Apply First Aid
- Method 6. Format the drive
- Method 7.Fix the problem with the Terminal
- Method 8. Reset NVRAM
- Conclusion
- Questions and answers
- Comments
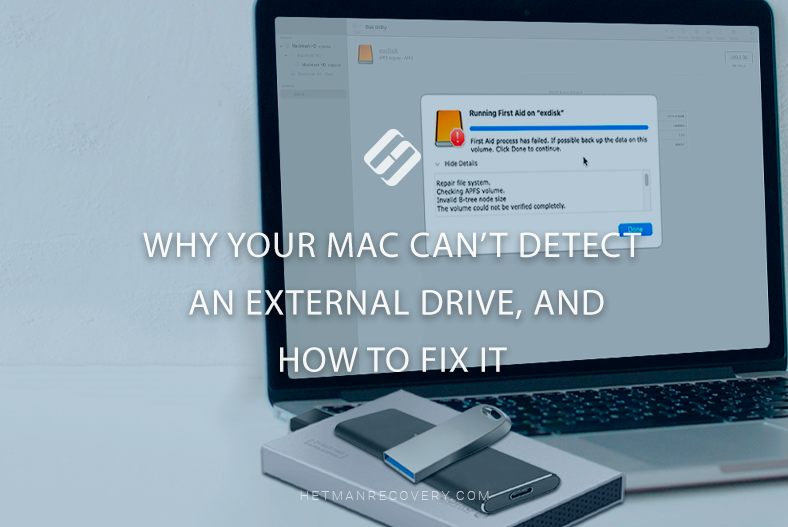
Usually, when an external hard disk is connected to a Mac’s USB port, it shows up on the desktop immediately. Also, it is displayed in Finder. But what should you do, if such external drive is neither showing up on the desktop nor in Finder?
If this drive does not appear anywhere, it must have been formatted incorrectly, or its file system could be damaged, or it could be just out of order.
In today’s article, we’ll explore how to find out why it happened, how to understand if it’s related to any issues with the disk itself, the connecting cable, or the interface port, and how to solve it and finally gain access to any data that may be stored on such drive.

MAC Can’t Detect an External Drive
Why the drive can’t be detected by the operating system
In fact, there could be a few things making your external drive invisible for the OS:
| Cause | Description |
|---|---|
| A damaged or faulty cable or USB port | When the cable or the USB port are damaged, the external drive may not work properly and the operating system may not recognize it |
| Unsupported drive format | If the external drive is formatted in a file system which is not supported by macOS, such drive can’t be mounted. As a result, it will be impossible to access its contents. |
| A macOS system failure | Various system failures may cause external drives to never show up. |
| The drive or its data could be damaged, and the operating system can’t access them | The drive itself or its file system may be damaged when you remove the drive incorrectly. |
In most cases, it takes a few steps to fix the problem and eliminate possible issues.
Method 1. Check the cable and USB port
The first and easiest thing to do is to examine the cable and the USB port.
When used frequently, they wear out and the contact gets worse. Try using another cable or connecting the drive to another USB port. Sometimes this is exactly where the problem comes from.
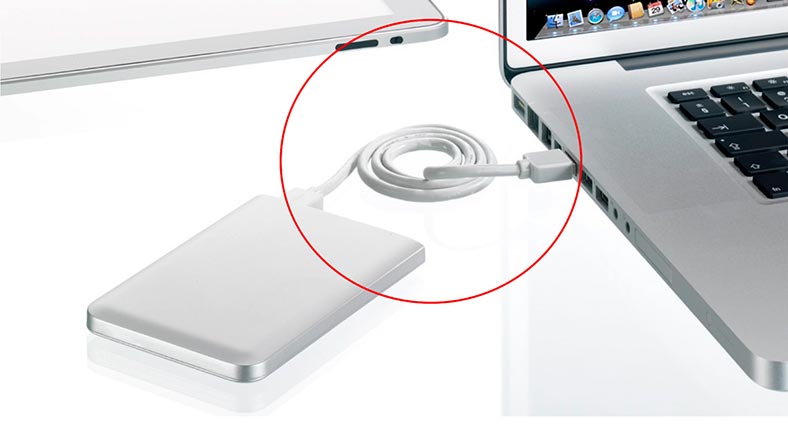
And even before you start doing anything about that drive, we recommend rebooting your computer and reconnecting the drive again a few times.
Method 2. Update macOS
Sometimes the issue can be triggered by a macOS failure – just because your operating system is out of date. Make sure you have got all the latest updates installed.
To do it, open System Settings – General – Software Update.
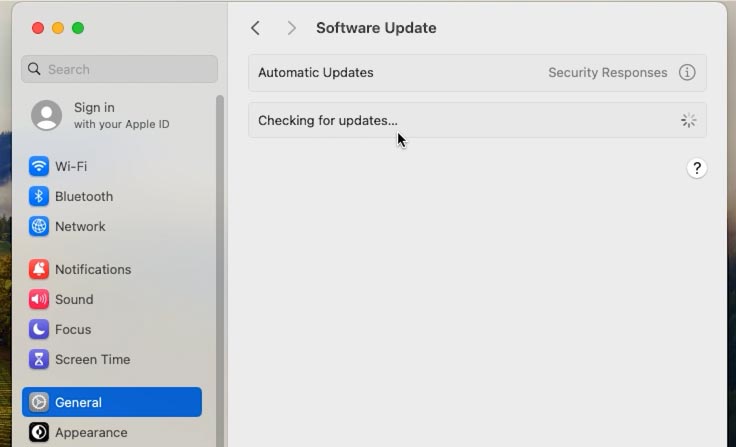
Check for updates and install if any are available.
Method 3. Check your drive with another device
Try connecting your external drive to another computer. If it doesn’t work either, probably it’s the drive itself that needs to be replaced.
Method 4. Checking with Disk Utility
Use Disk Utility to see if your drive is listed.
Open Launchpad – Other – Disk Utility.
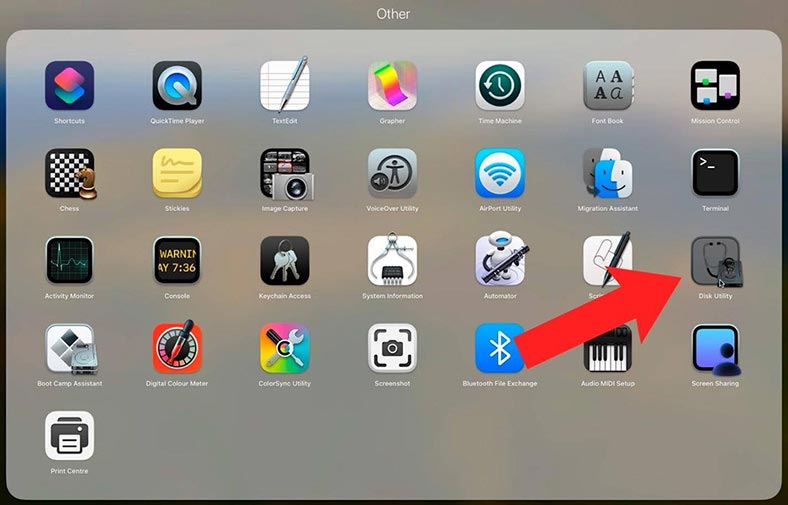
On the left-side panel, all connected drives will show up. If your external drive shows up but it’s not mounted, try clicking the Mount button.

If the drive is mounted already, you have a chance to unmount it again to see if anything changes. As you mount it, check if the drive appears on the desktop and if your files can be accessed.
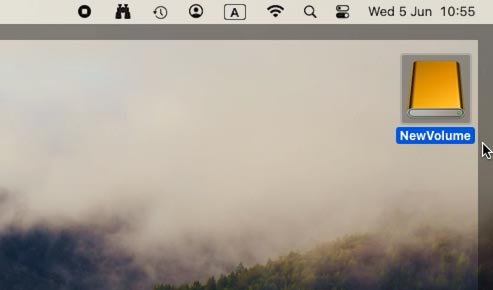
If the drive is not listed, it means your Mac can’t access this drive at all, so there is no way to mount it now.
Method 5. Apply First Aid
If MacOS can’t mount your external drive, run the utility named First Aid. This tool will check the drive for any errors that might affect its performance and then try to fix them.
Select the drive and find the button in the upper right corner – First Aid – Run.

When it completes its work, click Done.
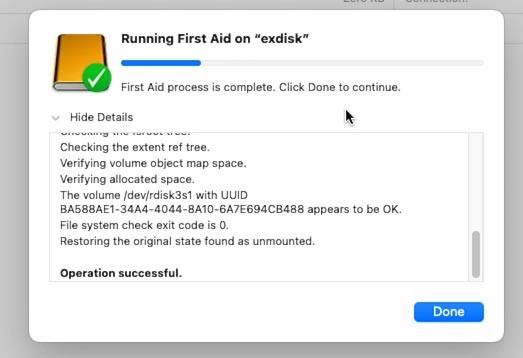
If the utility finds any critical errors, you will see a corresponding notification.
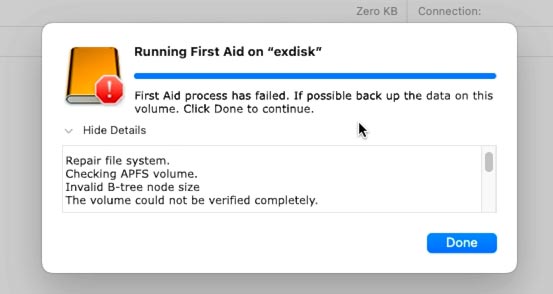
If First Aid deals with the issues successfully, the drive should connect immediately.
If you tried First Aid and it failed, there are a few options left for you: to run this tool again, or create a backup copy of the drive, and then erase the drive itself.
Method 6. Format the drive
If your external drive is showing up all right, but it doesn’t work correctly, its format might be the root of your problem.
Mac computers use HFS+ or APFS, while Windows computers stick to NTFS. Meanwhile, FAT32 and exFAT are equally recognized by both Mac and Windows devices. When an incorrect format is chosen, an external drive will never show up in MacOS. In this case, only formatting the drive will help. However, this will erase all data stored on it.
Open the Disk Utility and check the file system that your drive uses.
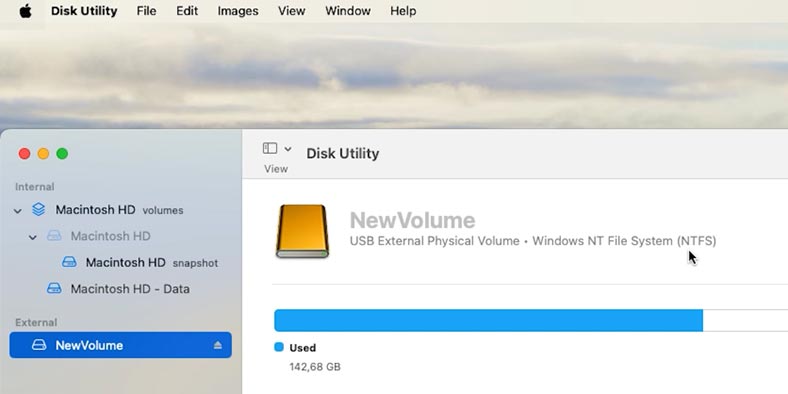
As you can see, it’s got NTFS which is supported by MacOS only partially. That’s why we’ll have to format it. If there are any important files on it, connect the drive to a Windows computer and copy the data you need. After that, connect the drive to a Mac computer and erase it.
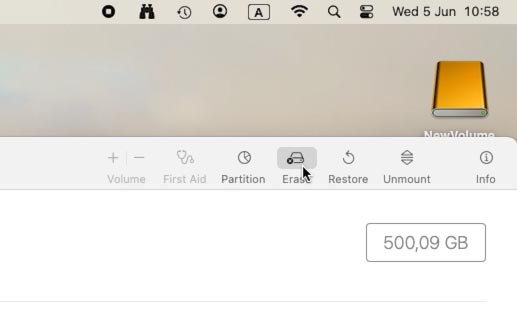
Choose the drive and click Erase.
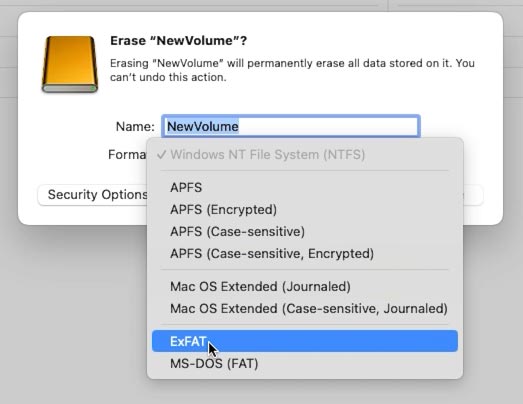
Then select a name and choose the format. Go for APFS or MacOS Extended to use it with MacOS, or choose ExFAT, which can also be recognized by Windows.
As a result, the drive will be mounted and available for read and write operations.
Method 7.Fix the problem with the Terminal
Also, you can use Terminal to run the diagnostics and repair the drive.
Find Terminal on the list of apps and open it. Type the command:
diskutil list
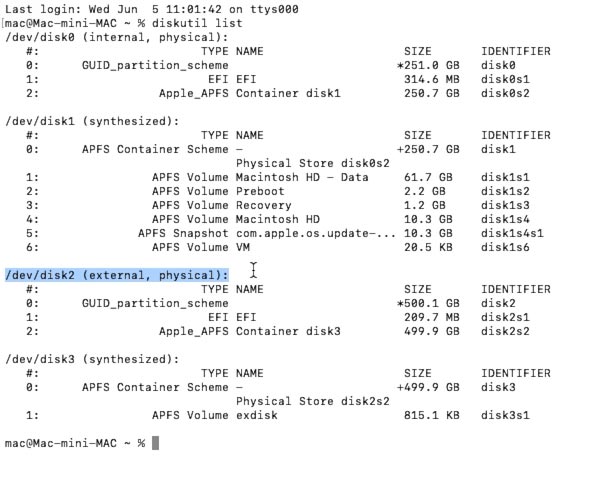
As a result, you will see the information about all connected drives and volumes. Find your removable drive in this list - in my case, it’s - /dev/disk2 marked as external.
If the drive is listed here but can’t be mounted, try mounting it manually, using this command:
diskutil mountDisk /dev/disk2

After that, type the command to display the drive information:
diskutil info disk2
(type your drive number here).
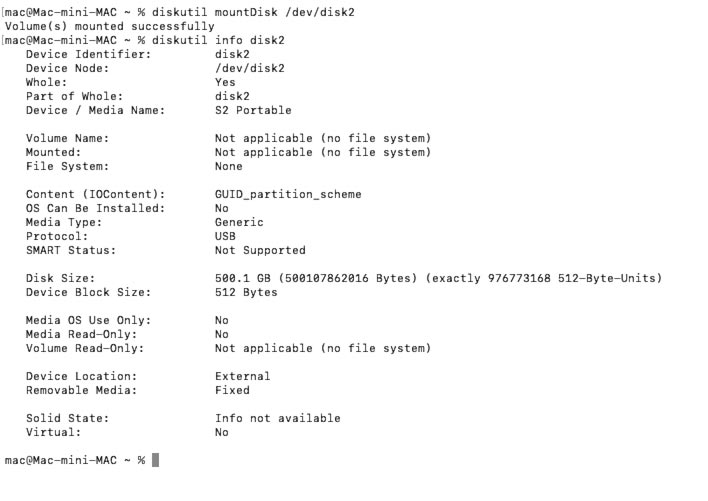
If the operating system has recognized the drive, this command should provide all the information about it.
Remove the drive by typing another command:
diskutil eject disk2

Now try disconnecting the external drive, and then connecting it again. Check if the operating system was able to mount it.
If the drive still doesn’t show up, then its format could be the problem. In this case, you may have to format it again, using this command:
diskutil eraseDisk APFS exdisk /dev/disk2
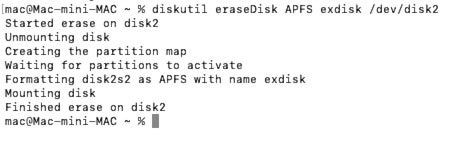
If the drive refuses to work, then it might have some file system issues. To check and repair the file system, run this command:
diskutil unmountDisk force /dev/disk2
(unmount drive)
sudo fsck_apfs /dev/disk2
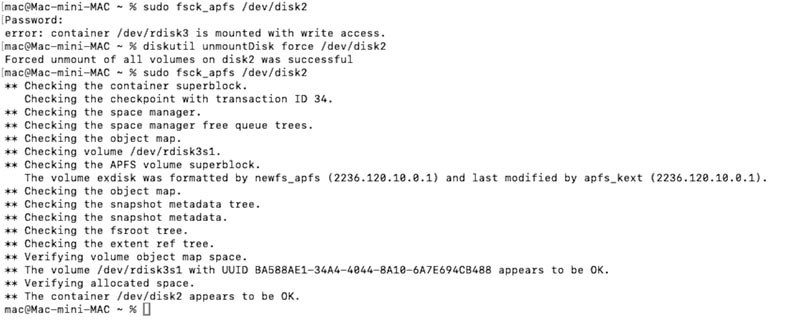
After that, eject the drive and reconnect it, then check if the operating system is able to detect it.
Method 8. Reset NVRAM
Another solution is to reset NVRAM, the non-volatile random-access memory.
This kind of RAM (NVRAM), stores local settings such as sound level, screen resolution, and hard disk data. NVRAM errors may cause many failures including hard disks or USB drives not showing up.
To reset it on Intel-based Mac computers, hold down the keyboard shortcut Command + Option + P + R after you start the computer.
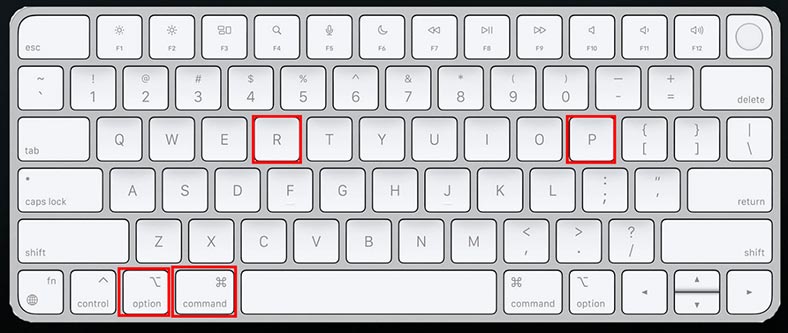
As a result, your Mac will reboot, and when you see the startup sound again, release the keys. This is how you can reset NVRAM.
With Mac computers based on Apple Silicon (M1, M2 or M3), manual reset is impossible: the operating system will do it automatically if any problems are detected at startup.
Conclusion
There is one more important thing to consider when using external drives. Removing such a drive in an incorrect way may damage its data, and then the operating system may have difficulty trying to recognize it.
Any operating system uses record caching - that is, files are not written to a hard disk immediately when they are moved or backed up, but are put into the cache until all secondary read and write operations are complete. If a USB drive is not removed safely while the cache is being used, its data can be damaged.
However, if you lost some important data on your Mac, there is a special tool - Hetman Partition Recovery - to help you with that. Use it to bring back your files accidentally deleted from any kind of disk.


