How to recover RAIDZ2 in FreeBSD: deleted ZFS pool and files from a snapshot
-
Author:
Vladimir Artiukh

-
Editor:
Oleg Afonin



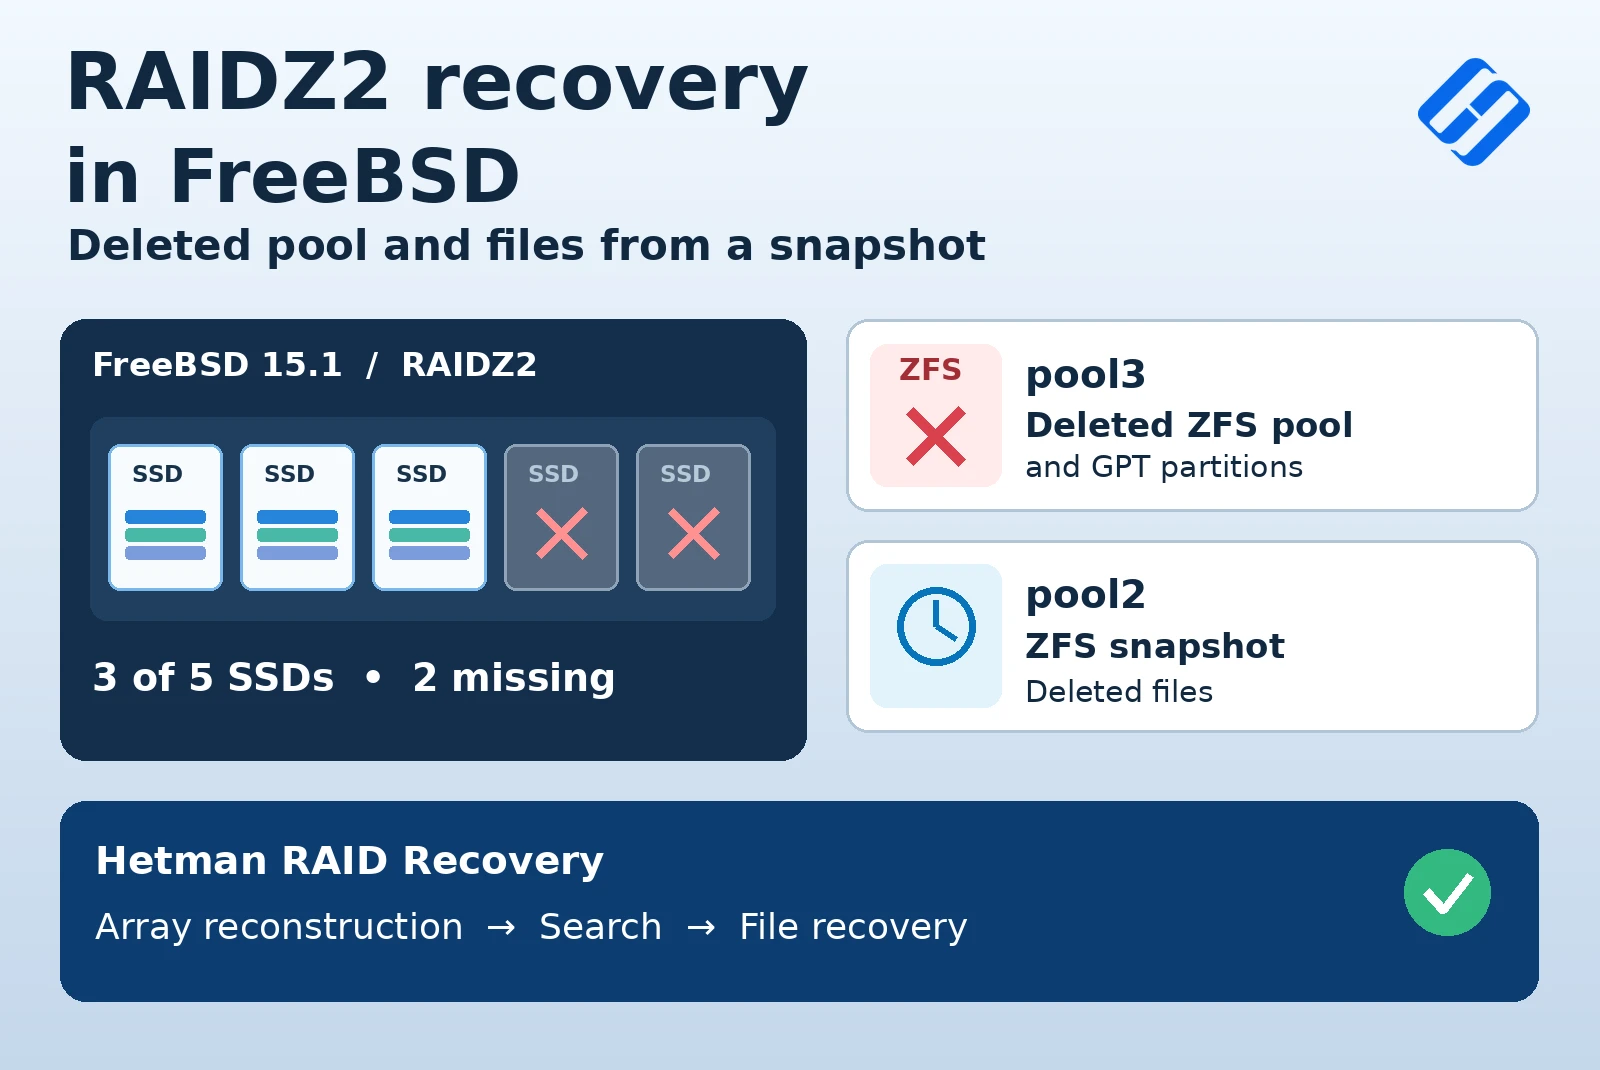
Deleting a ZFS pool, damaging the GPT partition table, or losing several drives can leave a FreeBSD user without access to important files. This article shows how to recover data from a deleted RAIDZ2 pool with only three of its five SSDs available, and how to restore deleted files from a ZFS snapshot using Hetman RAID Recovery.
- FreeBSD and RAIDZ2 test environment
- Connecting drives for recovery
- Automatic reconstruction of an incomplete RAIDZ2 array
- How to recover files from a deleted ZFS pool
- How to recover deleted files from a ZFS snapshot
- Saving recovered files
- Conclusion
- Frequently Asked Questions
- Comments
RAIDZ2 uses double parity and tolerates two drive failures within a single RAIDZ2 vdev. However, this redundancy does not protect against accidental deletion of files, a pool, or partitions. Recovery requires the necessary ZFS blocks and metadata to have survived.
We will examine two scenarios: accessing a deleted ZFS pool after its GPT partitions have been deleted, and restoring files from an earlier dataset state preserved in a snapshot. We will use Hetman RAID Recovery in both cases.
We demonstrate recovery on a Windows computer. Hetman RAID Recovery is also available for Linux and macOS.

FreeBSD RAIDZ2 Recovery: Deleted Pool and Files from a Snapshot
FreeBSD and RAIDZ2 test environment
For the experiment, we used a Dell PowerEdge R710 server running FreeBSD 15.1. We created GPT partitions on five SSDs and assembled three separate ZFS pools from them. Each pool uses its own set of partitions on the same five drives.
| Parameter | Specification |
|---|---|
| Server | Dell PowerEdge R710 |
| Operating system | FreeBSD 15.1 |
| Drives | 5 SSDs |
| Partition table | GPT |
| File system | ZFS |
| Configuration | RAIDZ2 (double parity) |
| Pools | pool1, pool2, pool3 |
| SSDs available for recovery | 3 of 5 |

Data loss scenarios
All three pools contained the same set of data. We prepared the following test scenarios:
- pool1 — left unchanged.
- pool2 — created a recursive ZFS snapshot, then deleted some files from datasets and ordinary directories.
- pool3 — deleted the pool itself, followed by the GPT partitions from which it was assembled.

The screenshot below shows the result of deleting one of the GPT partitions belonging to pool3: free space remains after the two partitions belonging to the other pools.

After preparation, we shut down the server normally and removed the drives. We used only three of the five SSDs for recovery to test the software with an incomplete RAIDZ2 configuration.
Connecting drives for recovery
To perform the analysis, connect the available RAIDZ2 member drives to your computer through suitable SATA or SAS ports. USB adapters, docking stations, or external enclosures can also be used for compatible drives. In our test, we physically connected three SSDs to a separate Windows computer.
If the drives remain in the server and can be read, you can connect to it via SSH in Hetman RAID Recovery and analyze its block devices remotely.
To work with copies of the media, select a physical drive in the program, click Save Disk, and select Full mode. This allows you to save all accessible contents of the drive, including metadata structures and free space. Save the image to a different physical drive.

To attach existing images, use Mount Disk, select the image type (for example, RAW disk images), and specify the corresponding files. You can then analyze these instead of the original drives.

Do not initialize the source drives, create new GPT partitions or ZFS pools on them, or perform other write operations. This could damage blocks and metadata needed for recovery.
Automatic reconstruction of an incomplete RAIDZ2 array
Launch Hetman RAID Recovery. The program analyzes connected drives and attempts to find surviving RAID and file system metadata structures. Physical drives appear under Physical Disks, and reconstructed arrays under RAID Volumes. In our case, Hetman RAID Recovery 3.1 automatically detected all three test pools: pool1, pool2, and pool3. Other drives and the storage volume visible in the interface are not part of these three test pools.

Select a pool and examine its properties. The File system field shows ZFS, and RAID type shows RAIDZ2. Under RAID Disks, five positions are visible: three available members and two marked Empty disk. The latter represent missing drives, not empty physical disks.

The sizes of available members in the properties correspond to the partitions belonging to the selected pool, rather than the full capacities of the SSDs. The program automatically determined the member order and missing positions without manual configuration.
Most importantly, pool3 also appeared under RAID Volumes. Despite the deletion of the pool and its GPT partitions, enough metadata remained on the available drives to reconstruct its configuration.

How to recover files from a deleted ZFS pool
Double-click the reconstructed pool3 volume. Select Fast scan in the analysis wizard. A fast scan uses surviving file system structures and ZFS metadata, so if they are sufficiently intact, it can find files without scanning the entire available space.

In our experiment, fast scan was sufficient. The wizard reported finding 39 folders and 1,403 files on pool3. This is the number of objects found, not confirmation that every file is intact.

The program displayed the structure of pool3, including ZFS datasets and ordinary directories that existed before the pool was deleted. Open the relevant directories and check that the files are present.

If a fast scan does not find the required data or the metadata structures are more severely damaged, run a full analysis of the volume. The result depends on the condition of the metadata and data blocks.
How to recover deleted files from a ZFS snapshot
Open pool2 and run Fast scan. The recursive snapshot created before the files were deleted preserves the state of the selected dataset and its child datasets at the time of creation. There is therefore no need to search for deleted objects separately in this case.
Open the Snapshots folder at the root of the analyzed pool. The program displays saved dataset states along with the snapshots’ creation times.

Select the saved state of the files dataset and open the General directory. Some files are no longer present in the current state of pool2, but they remain in their directories in the snapshot as they were at the time of its creation.

This method lets you selectively save the files you need from the snapshot without reverting the entire dataset to an earlier state.
Saving recovered files
The procedure for saving data is the same for deleted pool3 and the pool2 snapshot. Before recovery, open the preview window and examine several of the documents, photos, or other familiar files you found.

A correctly displayed file indicates that the program was able to read at least the data needed for its preview. This is an important check for incomplete arrays: seeing a file name in a directory does not in itself guarantee that all its blocks are intact.
Select the required files or entire folders with their contents and click Recovery. In the recovery wizard, select Save to hard disk.

Specify a destination folder on a separate physical drive with sufficient free space. In our example it is D:\Recovered files 1. Start copying by clicking Recovery.

Do not save recovered files to the source SSDs from which RAIDZ2 was reconstructed. New writes can overwrite data or metadata needed for further recovery.
After copying finishes, open the destination folder in Windows File Explorer, check that the files are present and, if possible, open them in the appropriate applications. In the example shown, three files appeared in the destination folder: BMP, DOCX and RAR.

In the same way, save the files you need from the deleted pool3 to a separate drive.
Conclusion
In this test, Hetman RAID Recovery automatically detected the configuration of three ZFS RAIDZ2 pools in FreeBSD with only three of five SSDs. A fast scan made it possible to access files from pool3, which had been deleted along with its GPT partitions, and to restore files from the pool2 snapshot.
The feasibility of recovery depends on the condition of the available drives, metadata and data blocks. RAIDZ2 and snapshots are not a substitute for an independent backup: keep important data on separate media as well.