How to Restore Oracle Database 26ai from LVM RAID 6 and LUKS2 via SSH
-
Author:
Vladimir Artiukh

-
Editor:
Oleg Afonin



What should you do if an Oracle database no longer opens due to missing or damaged files? This can happen because of a storage failure, file system corruption, server crash, or accidental data deletion. For recovery, you can use a full physical backup of the database or a Data Pump dump of an individual schema. However, the situation becomes more complicated if the recovery files were also deleted, and the volume containing them is encrypted with LUKS2 and placed on LVM RAID6.
- STEP 1. Data loss scenario
- STEP 2. Connecting to the Linux server via SSH
- STEP 3. Searching for and recovering Oracle files
- STEP 4. Starting the database from the recovered physical backup
- STEP 5. Recovering a schema through Data Pump
- Conclusion
- Frequently Asked Questions
- Comments
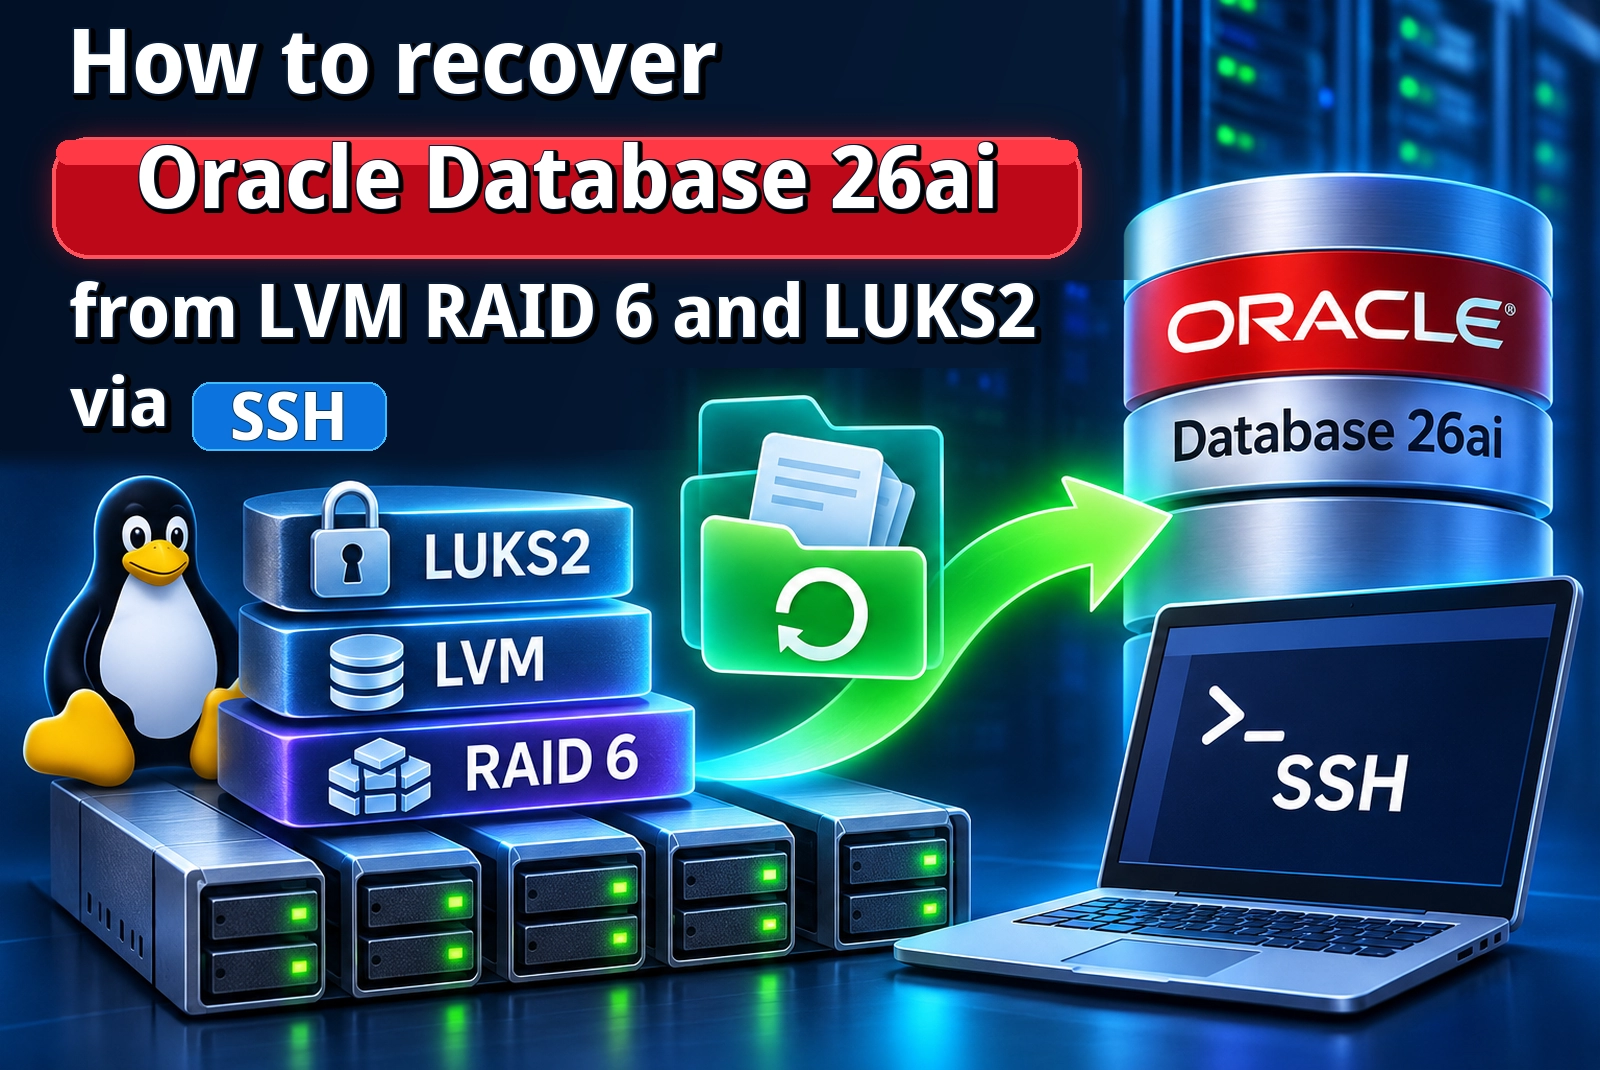
In this article, using Hetman RAID Recovery, we will connect the disks from an Oracle Linux server, automatically detect the structure of LVM RAID6, unlock the encrypted volume, and find deleted Oracle files. After that, we will verify two ways to use them:
- restore the database by using the recovered physical backup;
- import an individual schema from a Data Pump dump into a clean database.

How to Recover Oracle Database 26ai from LVM RAID 6 + LUKS2 via SSH
STEP 1. Data loss scenario
Our test environment is built on a Dell PowerEdge R710 server running Oracle Linux 9.8.
| Component | Specifications and description |
|---|---|
| Server model | Dell PowerEdge R710 |
| Manufacturer | Dell |
| Form factor | 2U rack server |
| Processors | Up to 2 × Intel Xeon 5500 or 5600 series |
| Architecture | x86-64 (Intel 64) |
| RAM | DDR3 ECC Registered |
| Maximum RAM capacity | Up to 288 GB, depending on module configuration |
| Memory slots | 18 DIMM |
| RAID controller | Dell PERC 6/i or PERC H700, depending on configuration |
| RAID levels | RAID 0, 1, 5, 6, 10, 50, 60 — depending on the controller |
| Disk subsystem | SAS or SATA HDD/SSD |
| Network interfaces | Integrated Gigabit Ethernet |
| Expansion slots | PCI Express |
| Remote management system | Dell iDRAC 6 |
| Operating system | Oracle Linux 9.8 |
| Linux kernel | UEK or RHCK |
| File systems | XFS, ext4 |
| Virtualization platform | KVM/QEMU |
| Network storage | iSCSI |
| Purpose | Hosting virtual machines, storing data, and working with network storage |
Five disks were initialized as LVM physical volumes and combined into a single volume group. Three separate logical volumes of the LVM RAID6 type were created in it. Each volume is encrypted with LUKS2 and formatted with the ext4 file system.
The third volume contains the files of Oracle AI Database 26ai Free. The container database FREE contains the database FREEPDB1. It runs the demonstration schema WAREHOUSE_APP with warehouse accounting data and goods movement history.
For demonstration purposes, we deleted several critical datafiles from FREEPDB1. The container database FREE continued to run, but FREEPDB1 no longer opened, and the WAREHOUSE_APP schema became unavailable.

The third encrypted volume stored both a full physical backup of the database and a Data Pump dump of the schema. Later, the directories containing them were deleted, so first we will try to recover these files directly from the server disks.
STEP 2. Connecting to the Linux server via SSH
Before starting recovery, it is important to stop any writes to the drive containing the deleted data.
On our server, we properly stopped Oracle Database and other services that could access these disks. The third logical volume, from which we will recover data, was unmounted, and the second one was switched to read-only mode.

Until recovery is complete, do not run file system check or repair operations, do not format the volume, and do not write new files to it. Save the recovered data to another physical drive.
We keep the server powered on. To connect, you need SSH access and an account with permission to read the physical disks.
We launch Hetman RAID Recovery on a Windows computer.

Open the Tools menu, select Connect via SSH, and specify the server address, port, and login credentials. In our case, the standard port 22 and password authentication are used.

After the connection is established, the program shows the server’s physical disks. Select the five drives on which our LVM RAID6 volumes are built and add them to the program.

Hetman RAID Recovery reads the disks over the network, analyzes the metadata, and automatically detects LVM RAID structures. As a result, three logical volumes appear in the drive list.
If remote connection is unavailable, the disks can be connected directly to the workstation through the appropriate controller or adapters. Before disconnecting them, it is recommended to label the drives to preserve their correspondence. If necessary, you can also create full sector-by-sector disk images.

STEP 3. Searching for and recovering Oracle files
Find the third volume that stored the consistent physical backup and Data Pump dump, and open it by double-clicking. Because the volume is encrypted with LUKS2, the program will prompt for the password. Enter it to unlock the volume.

The analysis type selection window opens immediately after that. Select Fast Scan and start the scan. This mode usually allows recently deleted directories to be found quickly, together with their original names and structure.
If the required data is not present in the results, run the scan again and choose Full Analysis.

After the analysis is complete, the contents of the found volume will open. Deleted files and folders are marked with a red cross.

First, locate the oracle-data directory, and inside it the full physical backup of the FREE database. Check whether its main components are still present: datafiles for the container and pluggable databases, control files, and log files.

To start the physical backup, it is important to recover the entire FREE directory as a single consistent set. Right-click it and select Add for Recovery. After that, the Recovery list panel will open on the right, where the selected directory will appear.

Next, locate the Data Pump dump of the WAREHOUSE_APP schema. If necessary, it can be found quickly by the .dmp extension. Add the file to the recovery list in the same way. Check the contents of the Recovery list and click Recover.

Specify another physical drive with sufficient free space as the destination. Leave the option to preserve the original folder structure enabled and start recovery.

STEP 4. Starting the database from the recovered physical backup
First, copy the recovered directory back to the server to a temporary location and check whether all required files are present. For recovery, use the entire set rather than replacing individual datafiles with files from an older backup.

While replacing Oracle files, the database remains stopped. Do not delete the current FREE directory with the incomplete file set; rename it, for example to FREE_damaged.

Then return the recovered FREE directory to its original location and restore its owner, permissions, and SELinux context.

The same Oracle installation, parameter files, and database configuration remain on the server, and the FREE directory has been restored to its original path. Therefore, the control files still point to the correct location of the datafiles. There is no need to recreate the container or pluggable database.

To start the recovered copy in a controlled way, use SQL*Plus directly on the server. Connect with SYSDBA privileges and first start the container database FREE in MOUNT mode without opening it for normal use.
If Oracle successfully attached the control files, open the FREE container database and then the FREEPDB1 pluggable database. If the listener is not running yet, start it.
Next, connect to FREEPDB1 as the WAREHOUSE_APP user and verify data availability. Validation queries return the expected 8,000 inventory records and 20,000 goods movement history records.

As a result, the recovered file set proved to be consistent, and the pluggable database is available again. Its contents match the state at the time the physical backup was created.

Now let us consider an alternative method — recovering an individual schema by using Data Pump.
STEP 5. Recovering a schema through Data Pump
A full physical backup is required when you need to restore the entire database together with its system files. But if you need to recover only a single schema, you can use the found Data Pump dump and import it into an already running Oracle environment.
For the second demonstration, we create a separate clean pluggable database FREEPDB2 inside the FREE container database.

Under an administrative connection specifically to FREEPDB2, create the WAREHOUSE_DATA tablespace, which will store the recovered schema data.
In the same pluggable database, create the DIRECTORY object ORA_BACKUPS, which points to the server directory for backups, and grant the import account READ and WRITE privileges on this object.

The recovered Data Pump dump must be located on the server in the file directory referenced by ORA_BACKUPS.
In SQL Developer, open the DBA panel for the administrative connection to FREEPDB2 and start the Data Pump Import wizard.

Specify the DIRECTORY object ORA_BACKUPS as the source and select the recovered dump file. Then choose import of the WAREHOUSE_APP schema.

Check the settings and start the import. After it finishes, open the operation log, check the job status, and make sure there are no errors related to creating or loading schema objects.
Now verify the result. Connect to FREEPDB2 as the WAREHOUSE_APP user.

Validation queries return the expected 8,000 inventory records and 20,000 goods movement history records. Along with the tables from the dump, the view, procedure, and other schema objects were imported.
Conclusion
Using Hetman RAID Recovery, we connected to the Oracle Linux server via SSH, automatically detected the LVM RAID6 structure, decrypted the LUKS2 volume, and found the deleted Oracle files.
After that, we used them in two ways.
- From the consistent physical backup, we restored the full set of files for the FREE container database and reopened the FREEPDB1 pluggable database, which had failed to start because of lost critical datafiles.
- From the recovered Data Pump dump, we imported the WAREHOUSE_APP schema into a separate clean pluggable database, FREEPDB2.
The first option is suitable when the files of the entire database are lost or damaged, but a full consistent copy is still available. Data Pump is convenient when you need to restore a single schema in an already running Oracle environment.