Clean Install Windows 11: Bootable Flash Drive or Disk!
Ready to perform a clean installation of Windows 11 on your desktop or laptop? You’re in luck! Our comprehensive guide will walk you through step-by-step instructions and expert tips for a successful installation using bootable flash drives or disks. Say hello to a fresh Windows 11 setup hassle-free!
- Step 1. Upgrading Windows 10 to Windows 11
- Step 2. Creating a bootable USB drive to install Windows 11
- Step 3. Installation of Windows 11 on a computer or laptop from a bootable flash drive
- Step 4. Configuring Windows 11 installation settings
- Questions and answers
- Comments
Step 1. Upgrading Windows 10 to Windows 11
If you already have a copy of Windows 10 installed on your computer, it can be upgraded to Windows 11 without having to use a bootable drive, and with all data and registration details preserved. There’s a detailed video tutorial for that in our channel.

⚙️ Clean Installation of Windows 11 On a Computer or Laptop from a Bootable Flash Drive or Disk
Step 2. Creating a bootable USB drive to install Windows 11
For installation, the first thing you need is a bootable USB drive with Windows 11. You can find detailed information on creating such drive in the following article: “How to Create a Bootable USB Drive to Install Windows 11”.
Step 3. Installation of Windows 11 on a computer or laptop from a bootable flash drive
Let’s begin by connecting a bootable disk or flash drive to your desktop computer or laptop, and restarting it. If the computer won’t boot from the installation media, access BIOS or UEFI and change the boot priority options. There is another video in our channel on how to enter BIOS or UEFI and boot your computer from a USB drive.

How to Enter BIOS or UEFI in a Computer or Laptop and Boot from a Flash Drive or a CD, DVD 💽🛠️💻
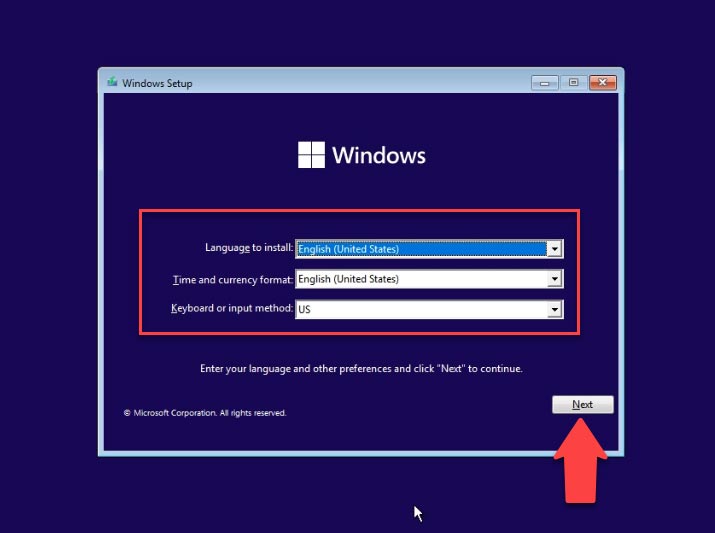
After booting from the USB drive you will see a standard Windows booting window. Depending on the computer’s configuration, this window may be there from several seconds to several minutes. In the next window, choose the language, time format and currency as well as keyboard layout, then click Next.
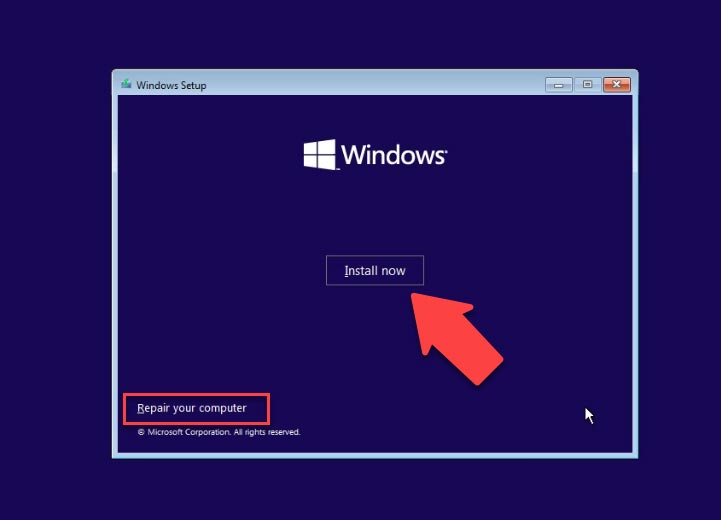
After that, hit “Install now”. At this point, you can also go to the Recovery Environment by clicking on “Repair your computer”, but we are not interested in that now, so let’s skip it.
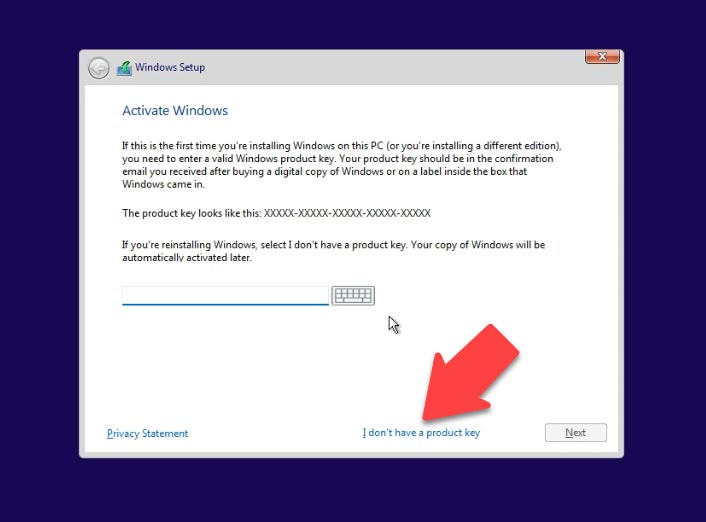
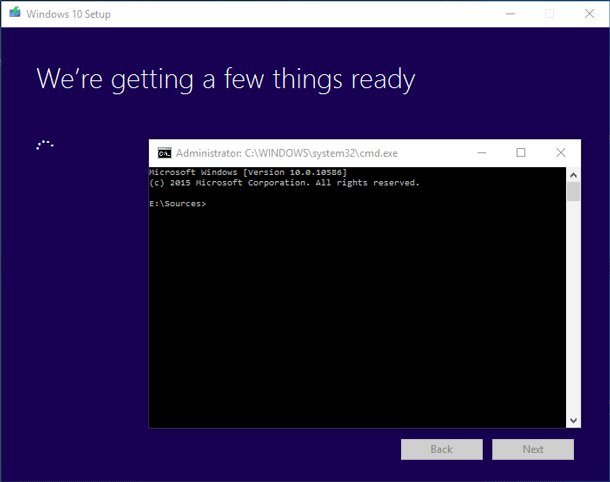
Then you will see a window saying: “Setup is starting”, which means the system is getting everything ready to install Windows 11. It can take some time. In the next window, you’ll be asked to enter a product key to activate Windows 11. If you have no key to use, click “I don’t have a product key”.
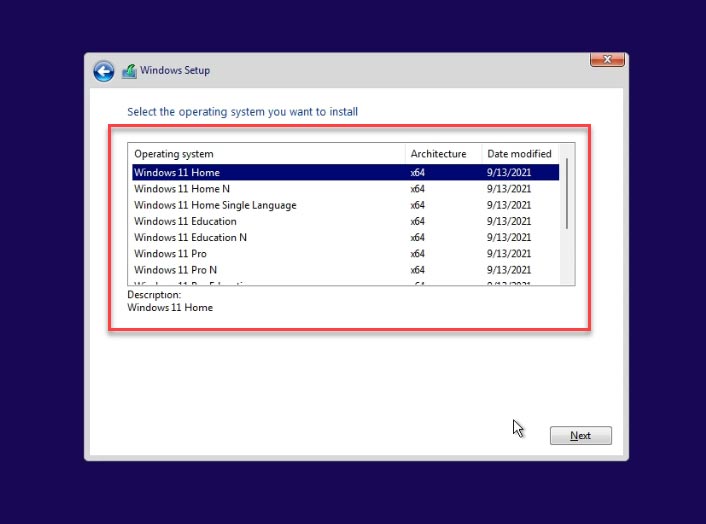
Select the version of the operating system. Accept the License Agreement.
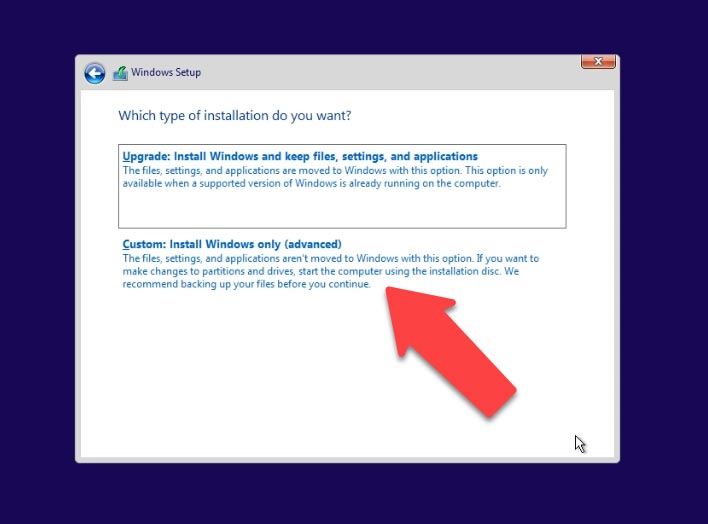
After that, you get to the window selecting the installation type. Choose the second type – “Custom”. This is the one that lets you run a clean installation, and that’s exactly what we need.
In the next window, you should select the disk where to install Windows 11. This could be a local disk (if this computer had an operating system installed before), or some unallocated space if the drive is new or the partitions have been removed before the installation.
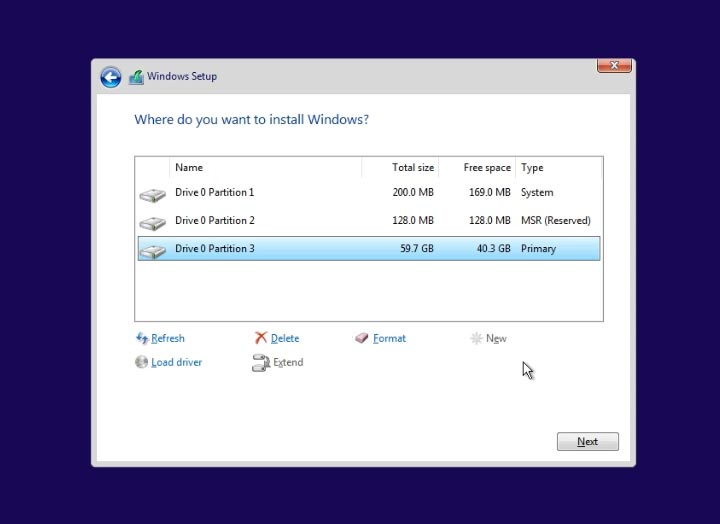
If you choose to install it on an existing local disk, be careful, as all of its data will be destroyed.
Also, at this stage you can allocate the disk space of a new drive to have several local disks of any size you wish, remove or format existing partitions, or create new partitions. Do it with a bunch of available options: “Delete” – to remove an existing partition, “Format” – to format it, and “New” – to create a new one.
One more time, I’d like to emphasize that any actions that involve creating, formatting or removing partitions or logical disks inevitably result in deleting their data. If there is no need to divide the disk into logical partitions, you click “Next” and the installer will create a partition automatically on the disk that you choose.
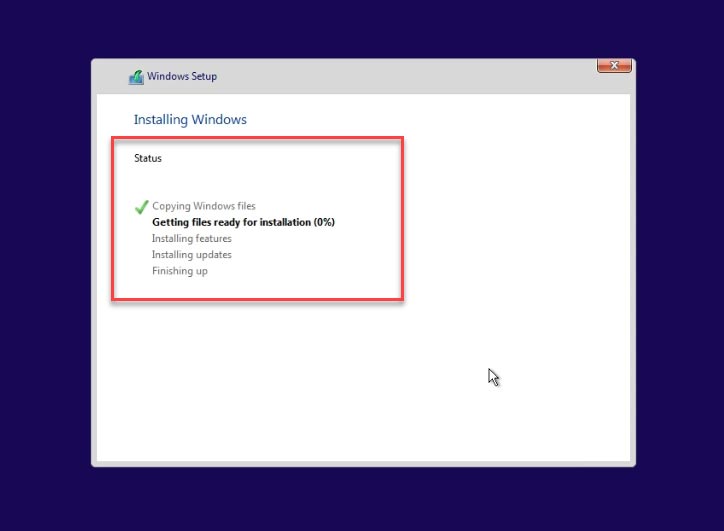
Choose the disk where you’d like to install Windows and click “Next”; the installation process will start. Wait until it is over.
Step 4. Configuring Windows 11 installation settings
After another restart, the settings configuration window will appear. Select the country or region.
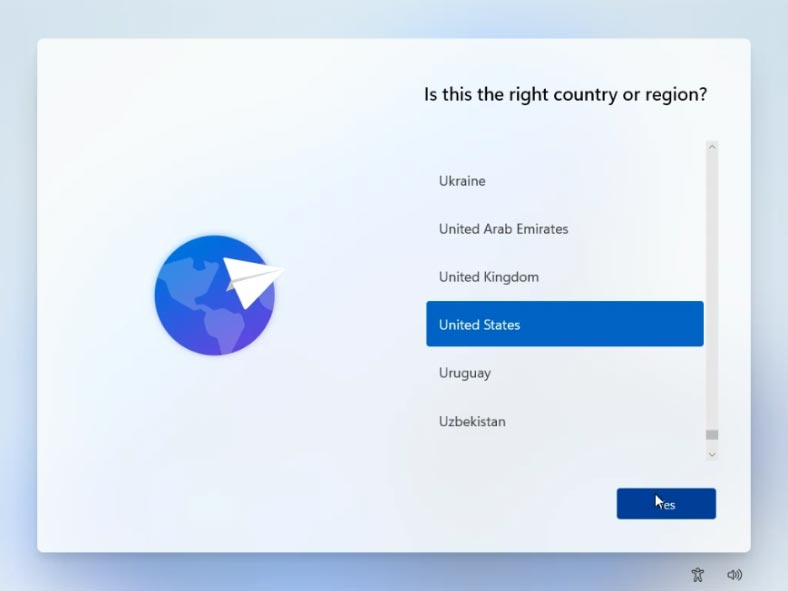
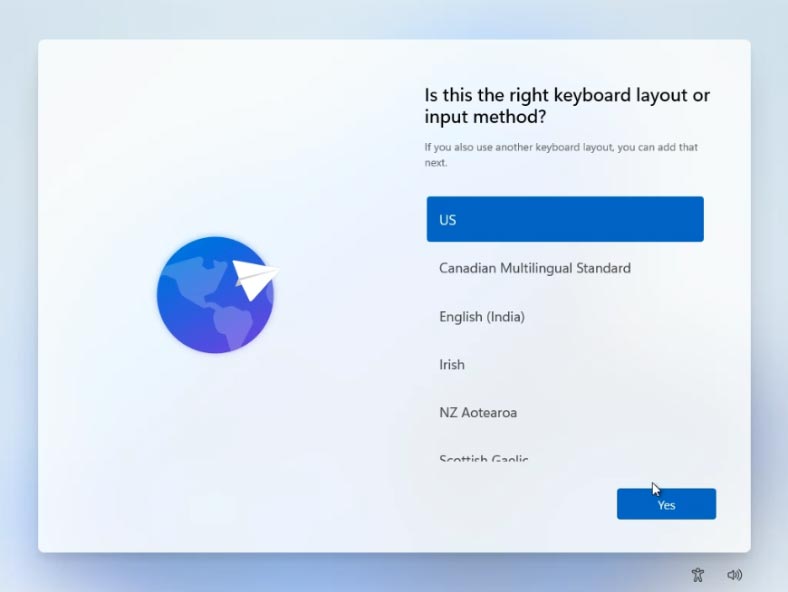
Keyboard layout and input method. If necessary, you can add extra options. Now wait a bit while the operating system is checking for updates.
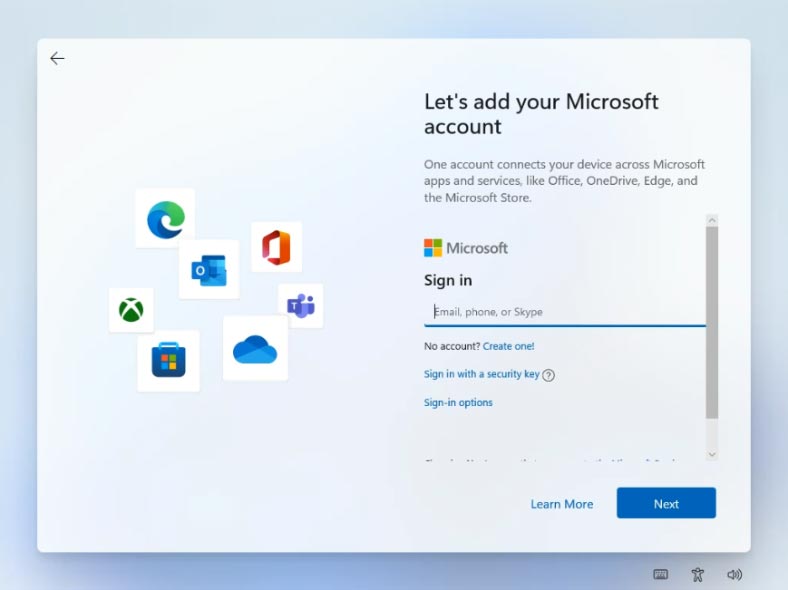
At this stage, select the configuration to be applied to your device: it’s either for personal use or for work and school. If you already have a Microsoft account, sign in; if you don’t, it’s a good chance to finally create one.
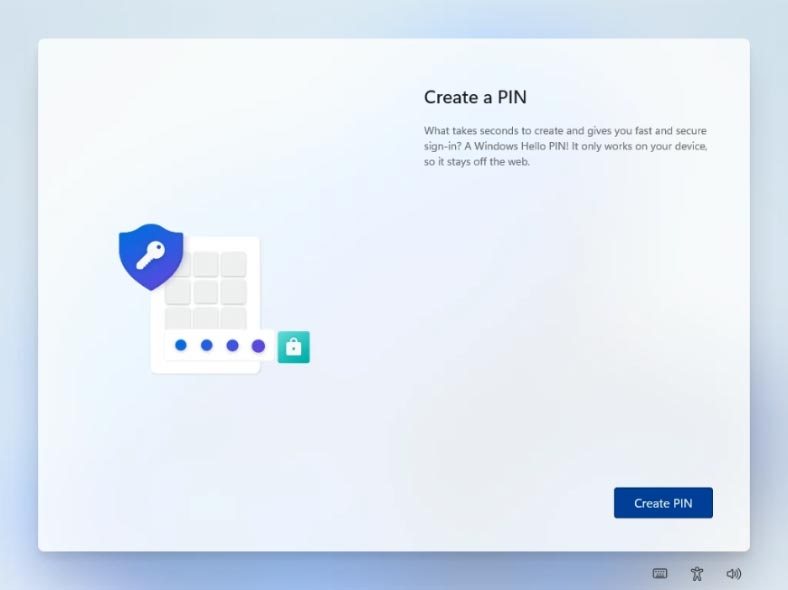
After that, the system will suggest you to create a Windows Hello PIN.
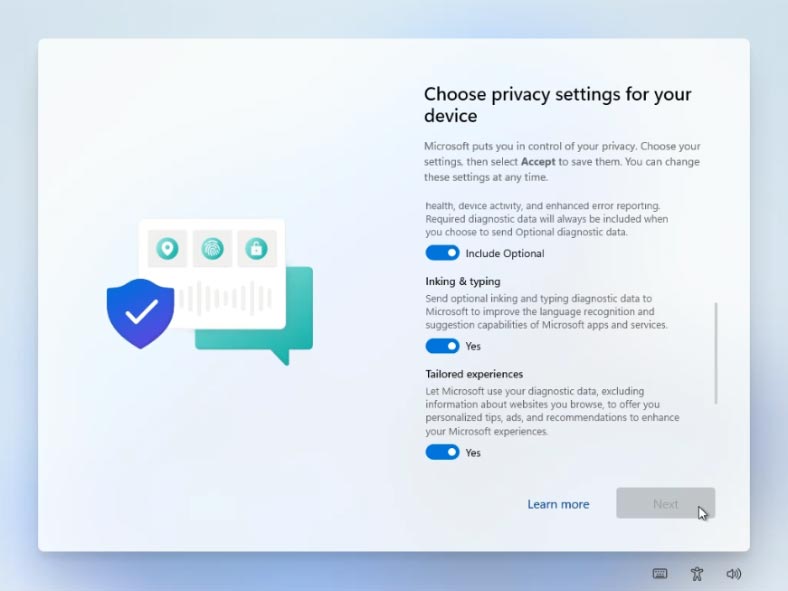
At the next stage, select your privacy settings. Choose your options and click “Next”. The operating system will check for available updates.
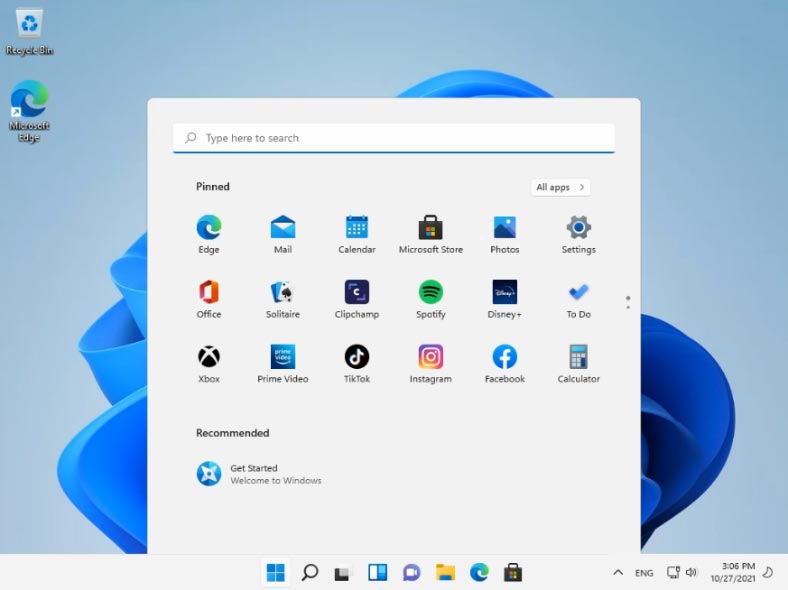
After that, you will see the welcome screen, and the operating system will start the process of getting your device ready for work. When it is over, the system boots to desktop, and it means that Windows 11 is now installed.


https://hetmanrecovery.com/recovery_news/windows-11-cannot-run-on-this-computer.htm
We have an article on this topic
https://hetmanrecovery.com/recovery_news/how-to-upgrade-windows-10-to-windows-11-on-a-compatible-and-non-compatible-pc.htm