How to Recover LVM RAID 6 with LUKS2 and fscrypt: Automatic and Manual Methods
-
Author:
Vladimir Artiukh

-
Editor:
Oleg Afonin



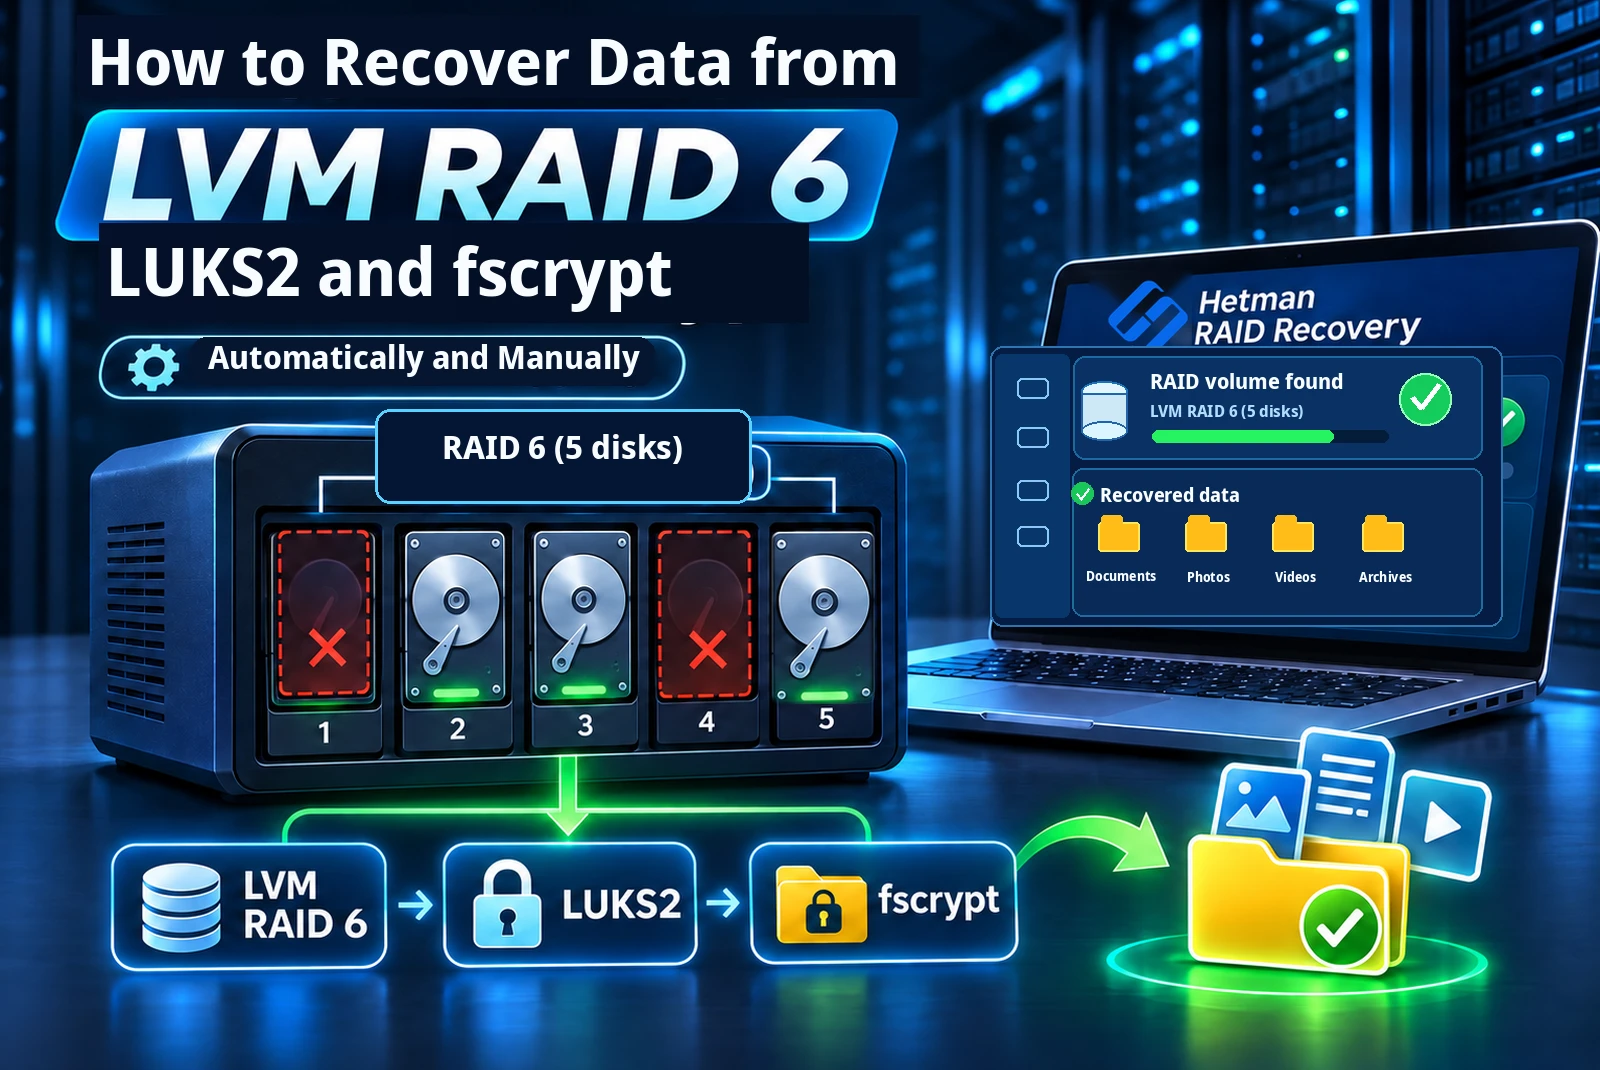
Deleting an LVM logical volume, a RAID 6 failure, or accidental file deletion can make Linux server data inaccessible. Recovery becomes more complicated when the logical volumes are encrypted with LUKS2 and selected directories use additional fscrypt protection. This guide covers two scenarios demonstrated in our test environment: automatically recovering files from an existing LVM RAID 6 volume and manually reconstructing a deleted RAID 6 logical volume when only three of its five components are available.
- LVM RAID 6 configuration and data-loss scenarios
- Connecting drives and creating disk images
- Automatic data recovery from LVM RAID 6
- Manually reconstructing a deleted LVM RAID 6 with three disks
- Finding LVM physical volume UUIDs in HEX-Editor
- Searching older LVM metadata by seqno
- Determining disk order using rimage and stripes
- Finding stripe size and rimage boundaries
- Calculating Offset and Size for RAID Constructor
- Manually assembling RAID 6 in Hetman RAID Constructor
- Verifying the reconstructed LUKS2 volume
- Conclusion
- Frequently Asked Questions
- Comments
To recover the data, we use Hetman RAID Recovery. The software analyzes LVM metadata on the disks, determines the RAID configuration, and, after LUKS2 is unlocked and the fscrypt credentials are supplied, allows us to locate and save recoverable files. If the logical volume description has been removed from the current metadata, an earlier record may make manual reconstruction possible.
The recovery procedure was demonstrated on Windows 11. Hetman RAID Recovery is also available for Linux and macOS. Valid passwords or keys are required to decrypt LUKS2 and fscrypt; reconstructing RAID does not bypass encryption.

How to Recover LVM RAID 6 with LUKS2 and fscrypt | Automatic & Manual Recovery
LVM RAID 6 configuration and data-loss scenarios
Our test storage was built on a Dell PowerEdge R710 running Oracle Linux. We initialized five drives as LVM physical volumes (PVs) and combined them into a single volume group (VG). Within that VG, we created three separate RAID 6 logical volumes (LVs), each with its own RAID 6 layout across the same five PVs.
| Parameter | Test configuration |
|---|---|
| Server | Dell PowerEdge R710 |
| Operating system | Oracle Linux |
| Volume manager | LVM2 |
| Physical volumes | 5 drives in a shared VG |
| Logical volumes | 3 separate RAID 6 LVs |
| Encryption of each LV | LUKS2 |
| File system | ext4 |
| Additional encryption | fscrypt on a directory in the first LV |
| Recovery workstation | Windows 11 |

On the first logical volume, we created an ordinary directory and a separate directory protected with fscrypt. Some files were deleted from each directory, while others remained. This allows us to demonstrate automatic RAID detection, both levels of decryption, and deleted-file recovery.

For the second scenario, we deleted the third logical volume using Cockpit. The following screenshot shows the Delete command being selected; the disappearance of the volume from the current LVM configuration is demonstrated later. We then made only three of the five disk images available for analysis. RAID 6 can tolerate up to two missing components, so reconstruction may still be possible if the required data remains intact and the parameters are correct.

Stop writing to the array immediately after data loss. Do not create another LV in place of the deleted volume, initialize the drives, or rebuild RAID before imaging the disks and verifying the configuration. Data that has been overwritten may not be recoverable, even with the correct RAID parameters.
Connecting drives and creating disk images
Hetman RAID Recovery can analyze directly connected drives, full disk images, or Linux block devices accessed through SSH. In our test, we shut down the server, removed all five drives, and created complete disk images. We then worked with those images rather than modifying the original drives.
Add the disk images to Hetman RAID Recovery. They appear under Mounted Disks. If the server still works and the relevant block devices are accessible, an SSH connection is another option.

For a disk with read errors, obtain the most complete possible image of readable sectors first. Analyzing a copy reduces repeated access to potentially failing hardware.
Automatic data recovery from LVM RAID 6
After loading all five images, the software examined the LVM service metadata, determined component membership and order, and reconstructed the logical volume structures. The detected volumes appear under RAID Volumes.

Select the first logical volume. In the properties panel, verify the RAID 6 level, five components, and OK status. The encrypted volume is marked LUKS with the status Locked. While the container is locked, its internal file system is not recognized as a standard ext4 volume.

Unlocking LUKS2 and fscrypt, then scanning ext4
Double-click the encrypted volume. The software asks for the LUKS password or a key file. Provide the valid credentials and click Unlock. Once the container is unlocked, choose a file-system scan method.

Start with Fast Scan. This analyzes the ext4 file-system structure and looks for file entries, including deleted ones. During the test scan, the software identified the directory additionally protected with fscrypt and requested its separate passphrase. Enter the correct fscrypt passphrase to continue analyzing the encrypted contents.

The LUKS2 password unlocks the volume but does not decrypt a directory protected by fscrypt. The second encryption layer requires its own valid credentials. If Fast Scan does not find the necessary files, try Full Analysis.

Finding deleted files and saving the recovered data
When scanning finishes, the original folder hierarchy appears, including the ordinary directory and the directory protected by fscrypt. Deleted items are marked with a cross so they can be distinguished from files still present on the volume.

Use Find File to search by a complete or partial file name. If needed, enable case-sensitive or exact-match search. Check the contents of the files in the preview window before copying them.

Select the required files or folders, click Recovery, choose a saving method and destination, and enable restoration of the original folder structure. Use a different physical drive as the destination, not merely a different folder on the source device.

Do not save recovered files onto the source RAID 6 disks: new writes might overwrite additional lost data. Finding a filename is not proof that its contents can be fully recovered. Preview the files and verify the saved copies by opening them.
Manually reconstructing a deleted LVM RAID 6 with three disks
In the second scenario, the third logical volume was deleted through Cockpit. Only the first and second LVs remain in the current LVM configuration, and just three of the original five disk images are available. Automatic detection of the deleted volume using the current metadata no longer provides the required result, so we will locate an earlier record of its configuration.

The remaining steps are carried out in HEX-Editor and RAID Constructor. Identify the physical volume UUIDs, the relevant metadata version, the disk order, the RAID layout, and the boundaries of the rimage regions in that order.
Finding LVM physical volume UUIDs in HEX-Editor
Select the first disk image and open HEX-Editor in the right-hand panel. Click the search icon, select Search text, enter LABELONE, and click Find.
The LABELONE signature identifies an LVM physical volume label. Nearby, you can find LVM2 001 and that PV’s UUID. Note the disk image name and UUID, then repeat the procedure for the other two available images. Do not assume a fixed address for the signature; its position can vary.

Searching older LVM metadata by seqno
Open HEX-Editor on one of the images again and search for seqno =. Compare the volume group metadata records you find. The seqno number identifies the version of an LVM configuration. In this test, the current version was seqno = 12, but it no longer contained the description of the deleted third LV.
Search for the deleted logical volume’s exact name followed by a space and an opening curly brace. This helps find the start of the volume’s configuration block, rather than a partial name match elsewhere. If multiple historical metadata versions contain that block, select the most recent complete record. In our case, that record was seqno = 11.

Copy the entire selected metadata record into a text editor. The main screenshot shows seqno = 11; the record with seqno = 12 was also examined during the test. Use the selected record to check the parameters without repeatedly searching in HEX-Editor.
Determining disk order using rimage and stripes
Find the physical_volumes section in the copied metadata and match each PV UUID against the UUIDs found beside LABELONE on the disk images. This establishes which LVM physical volume name corresponds to each available image.
Next inspect the rimage_0–rimage_4 blocks (or the corresponding names in the volume’s metadata). The stripes entries identify which PV stores each RAID component. The following table summarizes the disk order established for our test array:
| RAID position | Test component |
|---|---|
| 1 | Missing drive (Empty disk) |
| 2 | mSATA disk image |
| 3 | 60 GB disk image |
| 4 | Missing drive (Empty disk) |
| 5 | 64 GB disk image |

This component order applies to our test array only. Disk size or interface is not enough to establish the layout for another array. Always verify the complete UUID → PV → rimage → stripes mapping.
Finding stripe size and rimage boundaries
In the deleted LV’s metadata, we identified RAID 6 with 5 components. We then extracted the values required for manual assembly:
| Metadata parameter | Test value | Purpose |
|---|---|---|
stripe size | 1024 sectors | RAID component block size |
| Sector size | 512 bytes | Conversion from sectors to bytes |
rimage start | Physical extent 8562 | Beginning of the component data area |
rimage length | 4267 extents | Size of one component data area |
extent_size | 8192 sectors | LVM physical extent size |
pe_start | 2048 sectors | Offset to the start of the extents area |

The main screenshot summarizes the parameters in the working notes; the original metadata specifies stripe_size = 1024. Calculate the RAID Block size as 1024 × 512 = 524288 bytes = 512 KiB. The physical extent size is 8192 × 512 = 4194304 bytes = 4 MiB. The extents area starts at 2048 × 512 = 1048576 bytes = 1 MiB.
Calculating Offset and Size for RAID Constructor
In this test, the PVs occupied entire disks. Therefore, the beginning of each rimage component, relative to its full disk image, equals pe_start plus the starting physical extent number multiplied by the extent size:
Offset = 8562 × 4194304 + 1048576 = 35912679424 bytes.
Size = 4267 × 4194304 = 17897095168 bytes.

These values belong to the specific test configuration. If a PV is located inside a partition instead of occupying a whole disk, add the partition’s starting offset when calculating the position relative to a full-disk image. Never apply these numbers to a different array without checking its metadata.
Manually assembling RAID 6 in Hetman RAID Constructor
Return to the software’s main window, click RAID Constructor, select Manual mode, and proceed to the settings. Enter the parameters extracted from LVM metadata:
| RAID Constructor field | Value for our array |
|---|---|
| RAID type | RAID 6 |
| Block order | Right Asynchronous |
| Block size | 512 KiB |
| Number of components | 5 positions |
| Offset for available images | 35912679424 bytes |
| Size for available images | 17897095168 bytes |
In our test, the LVM RAID 6 arrangement corresponded to Right Asynchronous in RAID Constructor. For a different array, verify its actual parity layout rather than assuming this option is universally correct.
Add the three available images and two Empty disk entries. Place them in the order established by the metadata: Empty disk, mSATA image, 60 GB image, Empty disk, 64 GB image. For each of the three real images, enter the calculated Offset and Size. No physical offset is required for an Empty disk entry. Click Add.

Verifying the reconstructed LUKS2 volume
After adding the configuration, the reconstructed RAID appeared in Hetman RAID Recovery’s main window. The software detected a volume of about 50 GB inside the array with a LUKS signature. This is an important indication that the component order, RAID layout, block size and offsets are consistent.

The next steps would be to unlock the LUKS2 volume using the valid password or key file, scan ext4, and preview the files before saving them. For the deleted third logical volume, our recorded test demonstrates reconstruction and detection of the LUKS volume. It does not separately demonstrate completed decryption or file recovery from that deleted LV.
A LUKS signature is an indication of correct reconstruction, but does not by itself guarantee the integrity of every block, successful container unlocking, or recovery of every file. Verify the result by unlocking the container, scanning the file system, and previewing the data.
Conclusion
In our test with an Oracle Linux server, Hetman RAID Recovery automatically detected the existing five-component LVM RAID 6, recognized and unlocked LUKS2, and accessed the additionally protected directory after we entered its fscrypt passphrase. Fast Scan found both existing and deleted files.
In the second scenario, after deletion of a logical volume and loss of two of the five components, we located an earlier version of the LVM metadata, calculated the rimage parameters, and manually reconstructed RAID 6. The software detected a LUKS volume inside the reconstructed array. In practical recovery work, analyze disk images, have the required decryption keys or passwords available, and save recovered files to a separate drive.