Convert LV or MD RAID1/0 to RAID5: Data-Safe Methods
In this tutorial, we walk you through the step-by-step process of converting LV or MD RAID1/0 configurations into RAID5 seamlessly (on Linux, with mdadm or LVM). From understanding the prerequisites to executing the conversion safely, we provide practical tips and expert guidance to ensure a smooth transition while preserving your valuable data intact. Whether you’re a sysadmin or a tech enthusiast, this article equips you with the knowledge and tools to upgrade your RAID setup with confidence.
- How to convert RAID 1 (mirroring) into RAID 5 (parity)
- How to convert RAID 0 (striping) into RAID 5 (parity)
- How to convert LVRAID1 into LVRAID5
- How to convert LVRAID0 into LVRAID5
- How to recover data from damaged RAID systems
- Conclusion
- Questions and answers
- Comments
RAID 0 disk arrays are known for relatively high data access time, and that’s why people choose to use them primarily because of the considerable boost in the speed of read and write operations. However, their reliability and fault-tolerance leave much to be desired. Even if one of the drives is out of order, all the data in such a disk array is going to be lost. Recovering the information from this array type is quite a challenge, but even then, all the data you may be able to extract will certainly be damaged. In fact, this type is not much of a disk array because it offers no redundancy at all.

🐧 How to Convert LV or MD RAID 1 and 0 into RAID 5 Without Losing Data 🐧
On the contrary, RAID 1 is a very reliable and fault-tolerant solution, as all the data is duplicated to the other disk, creating a mirrored copy of the information on the other drive. Still, this approach affects the read and write speeds of the whole array, so it appears to be slower in accessing the data, if compared with RAID 0 systems.
If you have a spare drive, you can upgrade the existing RAID 1 array to RAID 5. This way, you will enjoy better reliability than RAID 0 could offer, and feel an impressive read/write speed boost in comparison with RAID 1. In the end, you get a RAID 5 system, which is both reliable, fault-tolerant and powerful enough to process your data faster than before.
| Parameter | RAID 0 | RAID 1 | RAID 5 |
|---|---|---|---|
| Structure | Striping | Mirroring | Striping with Parity |
| Number of Disks | Minimum 2 | Minimum 2 | Minimum 3 |
| Performance | High | Average | High |
| Space Utilization | 100% | 50% | (n-1)/n |
| Durability | Low | High | Medium |
| Recovery | None | Easy | More Complex |
| Use Case | For Speed | For Critical Data | For Balance Between Speed and Reliability |
How to convert RAID 1 (mirroring) into RAID 5 (parity)
All right, we’ve got a software md_RAID1 system created on a Linux operating system. This array consists of two drives.
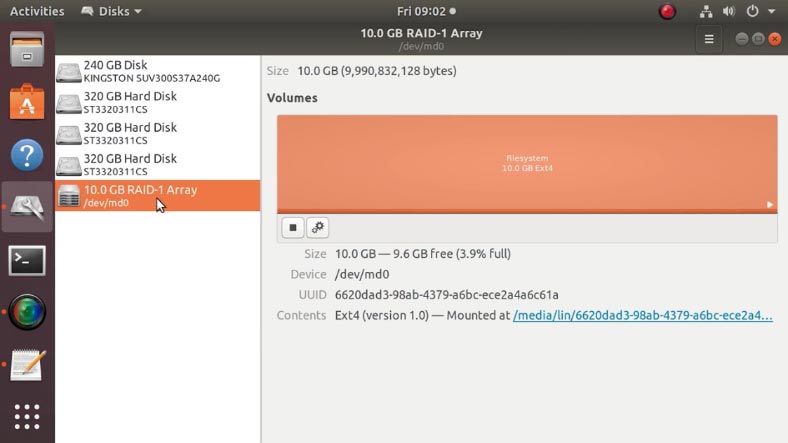
We need to convert it into RAID 5 and then add one more drive, and while doing that we have to make sure that all the data from the disk array doesn’t disappear. There are several files there: photos, videos, documents, and so on.
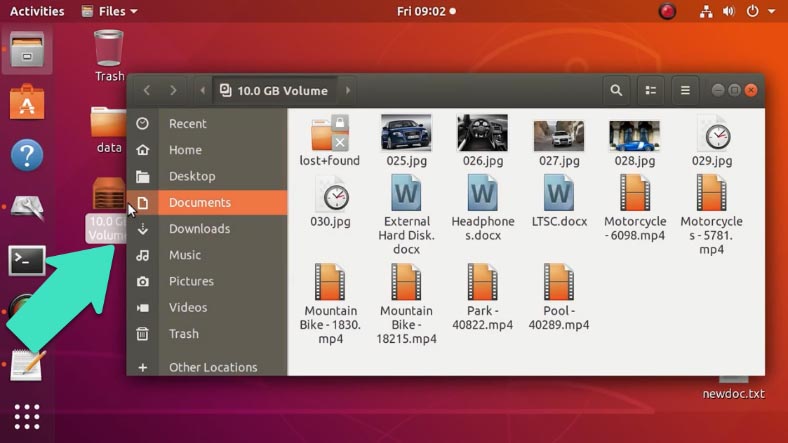
Before you start the conversion, it is recommended to back up important information because if you make a mistake while typing commands, important data can be erased.
Open the terminal, and run this command to make sure that all the operations are performed with superuser rights:
sudo -i
and type the password.
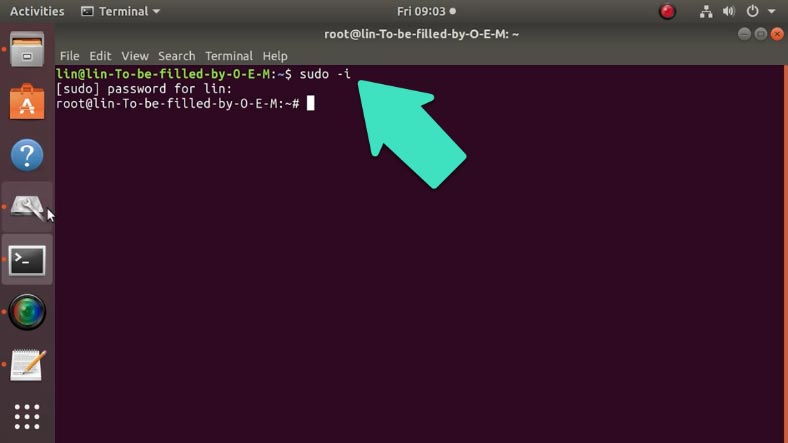
If the disk array is mounted, you need to unmount it with this command:
umount /dev/md0
or
umount /mnt
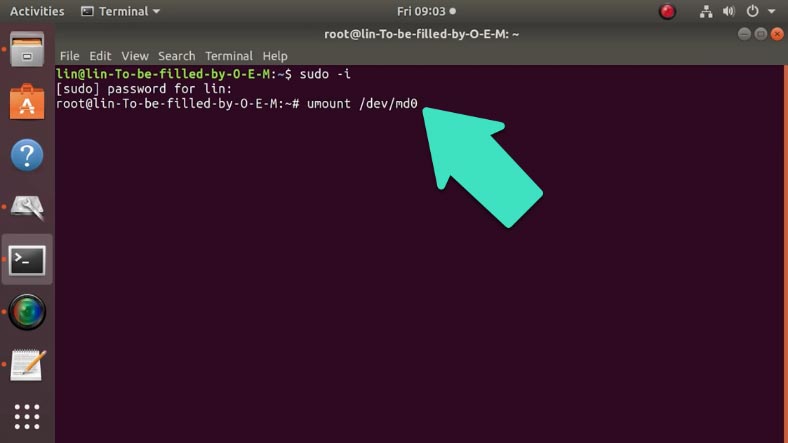
If the operating system tells you the target is busy, try to force this action:
umount -f /dev/md0
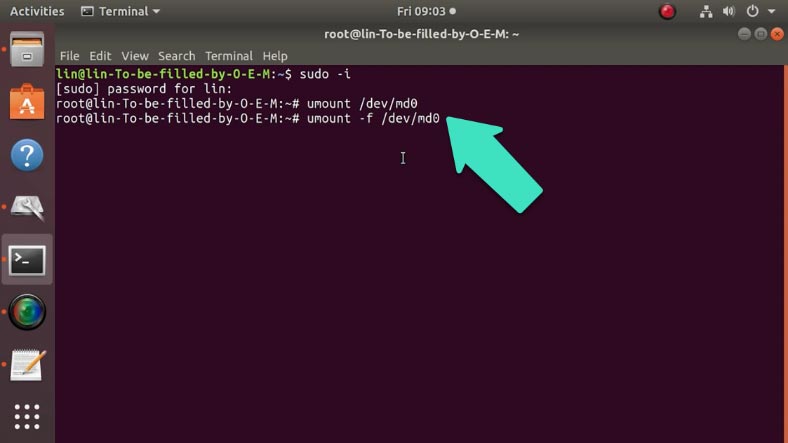
After that, you have to stop your RAID 1 system, with the following command:
mdadm --stop /dev/md0
(whether it is md0 or another name depends on the path, which needs to be checked)
where md0 is the identifier for your RAID system.
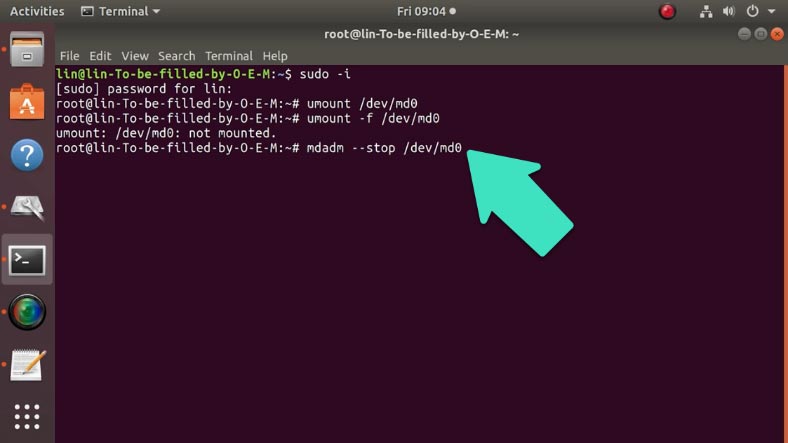
Of course, you can’t stop it if this is the RAID system you boot from, and in this case, you’ll have to use a LiveCD.
Now you need to overwrite the metadata of the old RAID 1 system; to do it, create a RAID 5 system with the same drives that were included in the RAID 1 system - sdb and sdc - by typing this command:
mdadm --create /dev/md0 -a yes -l 5 -n 2 /dev/sdb1 /dev/sdc1
where,
l5 sets the array level,
n2 sets the number of drives it includes, and then these drives are specified.
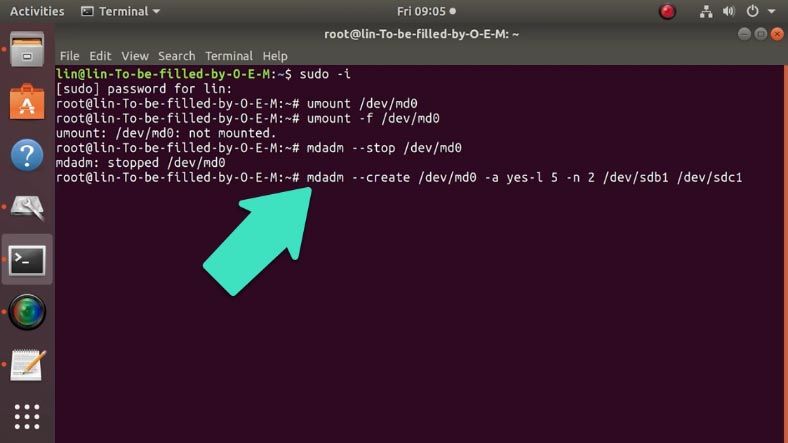
When the command is performed, the program will warn you that these drives are already used in a RAID 1 system, so hit Enter to continue.
To check if the conversion was successful, type this command:
cat /proc/mdstat
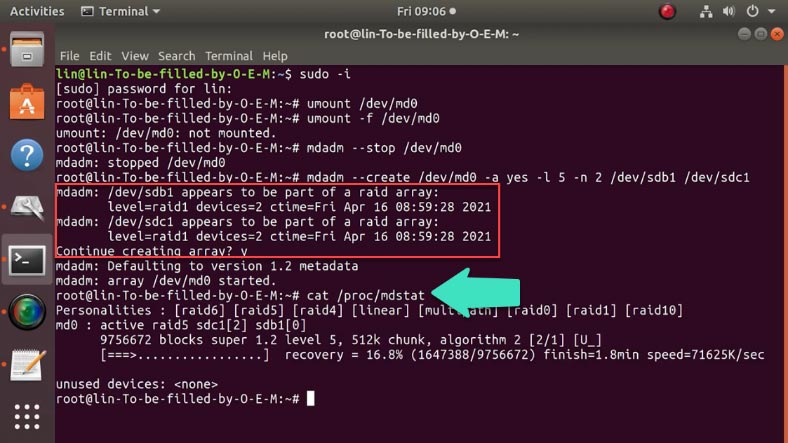
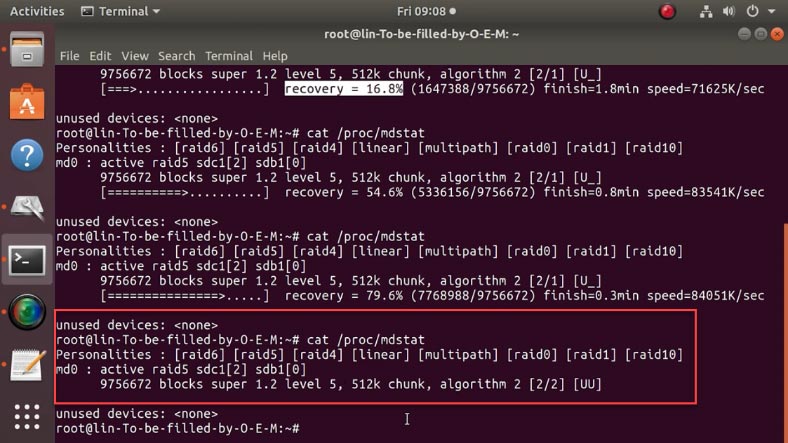
Now all you have to do is to wait until RAID 5 is built: the status of this process is shown here, in percent.
When it is over, the command cat /proc/mdstat will display the following data.
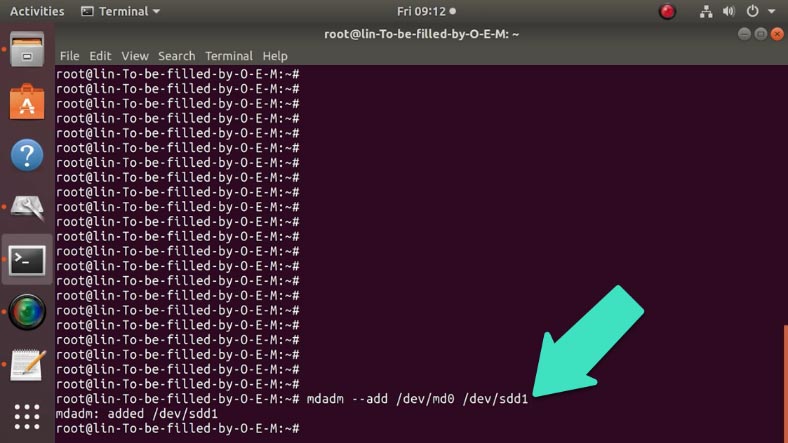
After that, you can add a new drive to the array, and make it a full-featured RAID 5 system. This new drive will be added as a spare one. Use the following command for this step:
mdadm --add /dev/md0 /dev/sdd1
After that, extend the RAID system to the three active drives (now including the spare drive) with this command:
mdadm --grow /dev/md0 --raid-disks=3
Check the result with the command cat /proc/mdstat:
cat /proc/mdstat
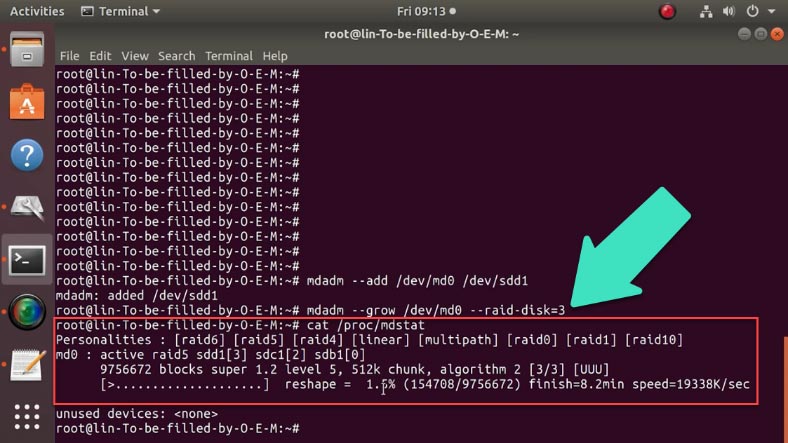
Now you can see that the RAID system is using three drives - sdb, sdc, sdd and the process of conversion (reshape) has begun.
Its progress is shown in percent; wait until it is complete.
In the end, check the disk array for errors with the following command:
e2fsck -f /dev/md0
and use another command to extend it:
resize2fs -p /dev/md0
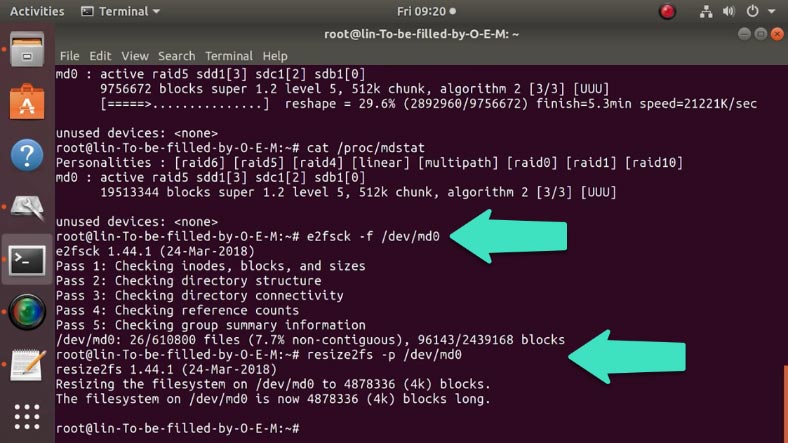
Finally, the last command updates the configuration file:
mdadm --examine --scan >> /etc/mdadm.conf
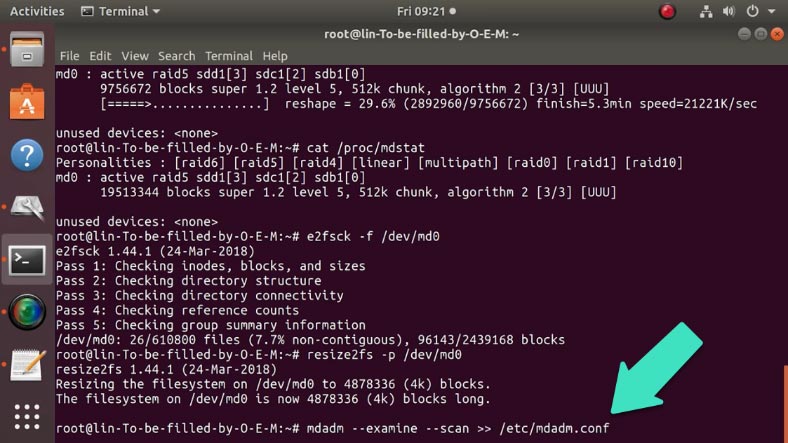
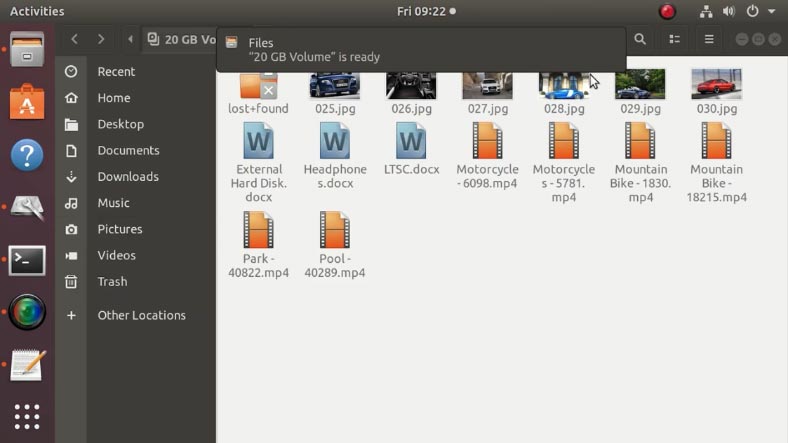
If there are no errors in the course of performing these commands, all the data existing on your RAID 1 system will be transferred onto the new RAID 5.
Mount it and check what’s going on: as you can see, all the files are still here, and the array type has changed to RAID 5.
How to convert RAID 0 (striping) into RAID 5 (parity)
However, you can’t use this method to change from RAID 0 to RAID 5 without formatting and losing all the data. Instead, there is a way to convert it quickly with a single command.
Migration from RAID 0 to RAID 5 is only possible when there are two drives - then RAID 0 coincides with RAID 5 in terms of structure. All the changes will affect the array level only, while the information on the drives remains intact.
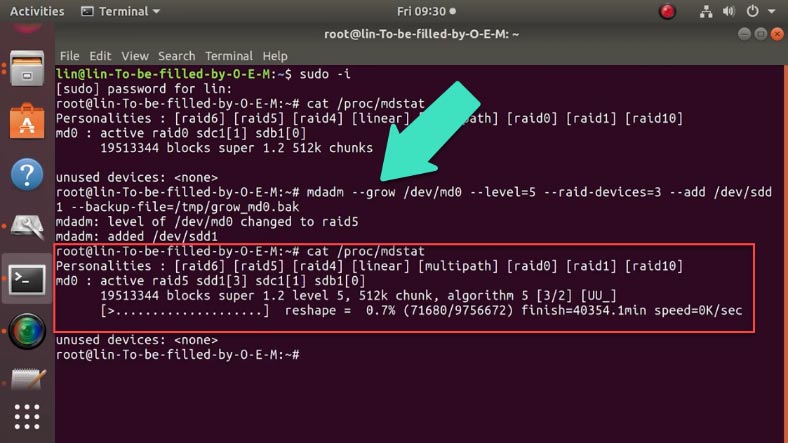
Here is the command that transforms a RAID 0 consisting of two drives into a RAID 5 including three drives.
mdadm --grow /dev/md0 --level=5 --raid-devices=3 --add /dev/sdd --backup-file=/tmp/grow_md0.bak
Before you run it, unmount the array.
Check the result with the command:
cat /proc/mdstat
Wait until the reshape operation is complete.
After changing the array type to RAID 5, you can add more drives with the command I have already mentioned in this tutorial:
mdadm --add /dev/md0 /dev/sdc1
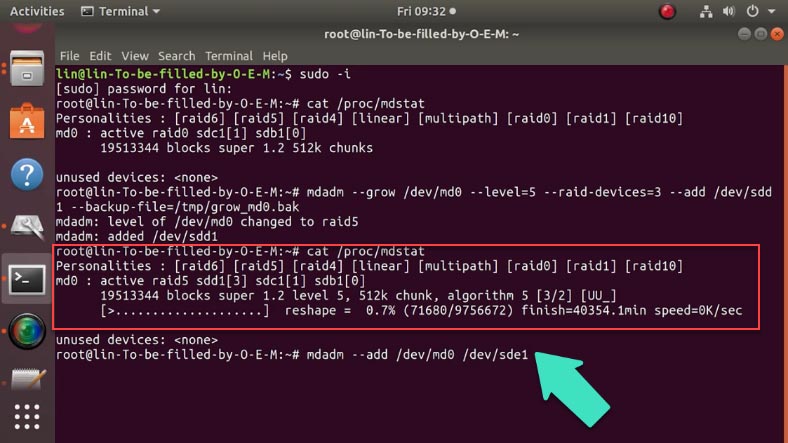
After restarting, the array name will change to RAID 5.
If the RAID 0 system contains more than two drives, you need to reduce their number, and only then you’ll be able to convert the array to RAID 5.
How to convert LVRAID1 into LVRAID5
If you used LVM features to create a RAID system, then you can convert it from one array type to another with the command lvconvert:
lvconvert
Run the command
pvdisplay
to view the information on this group of disks.
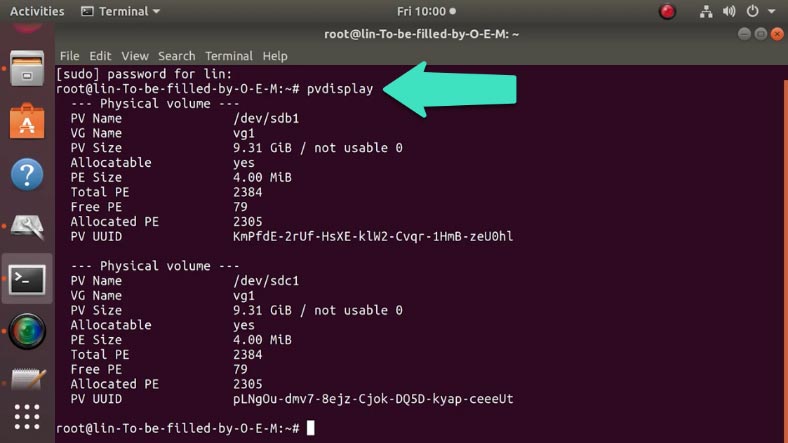
If you want to know more about creating MD and LV RAID systems, check one of the previous videos by following the link below.

💽 How to Setup Software RAID with MDADM Comand on Linux Ubuntu in 2021 💾
To start the conversion, unmount the logical volume. Type the command:
umount /dev/vg1/lv1
Use the following command to change the RAID level:
lvconvert --type raid5 /dev/vg1/lv1
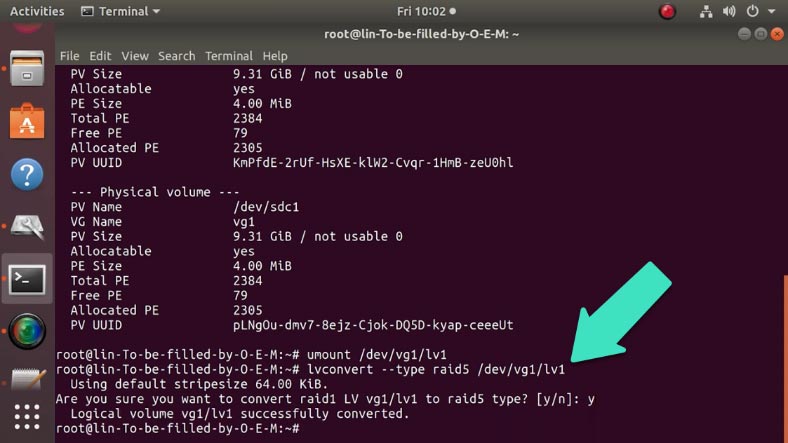
The last step is to add the third drive to the existing group of disks with this command:
vgextend vg1 /dev/sdd1
When you perform it, the program warns you that the disk is already formatted. Type “y” to confirm your decision and press Enter.
To make sure that the disk is added to the group, use this command:
pvdisplay
Now you can see the group consists of three disks.
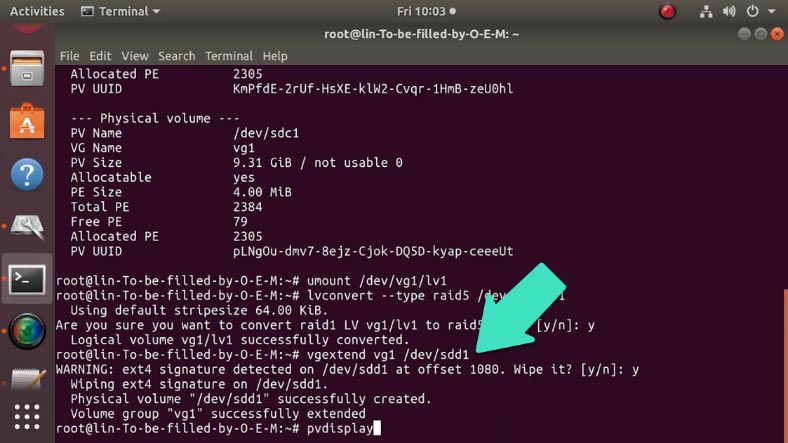
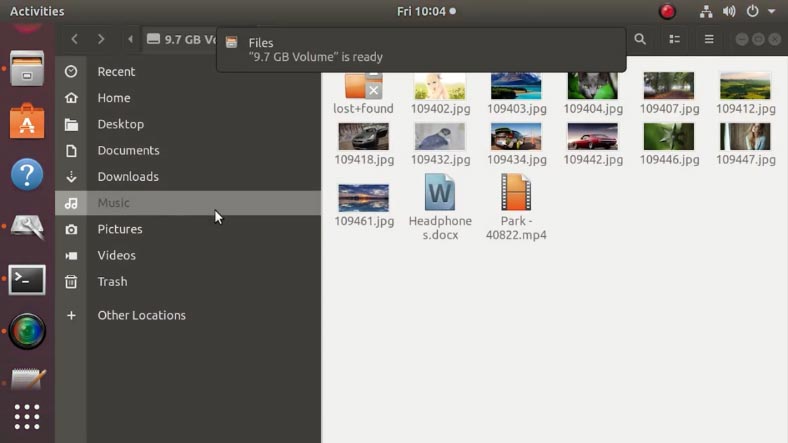
Mount the array again and open it in the file manager: all the data is here, nothing is lost.
How to convert LVRAID0 into LVRAID5
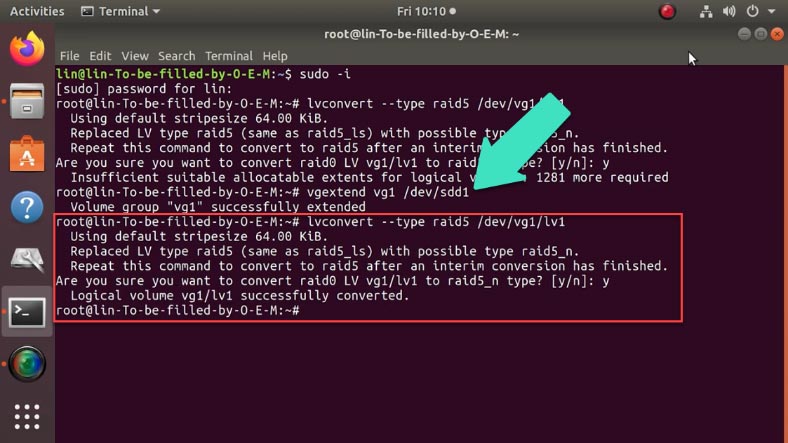
The same command is used to change from RAID 0 to RAID 5. The only important step is to add the third disk to the group before you start the conversion; otherwise, you’ll see the warning that you don’t have enough space for this command to run.
Add the third disk:
vgextend vg1 /dev/sdd1
Use the following command to change the RAID level:
lvconvert --type raid5 /dev/vg1/lv1
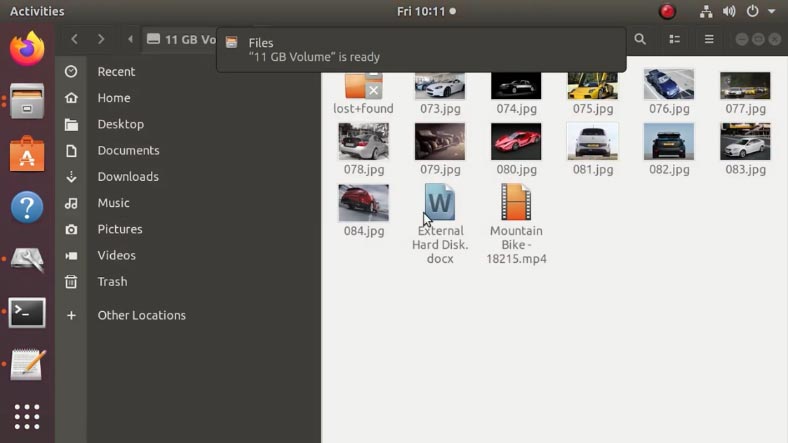
Mount the array and check what information is available. As you can see, all files are here.
How to recover data from damaged RAID systems
If there was an error in the process of converting one RAID level into another, or if you erased some information accidentally, use a reliable data recovery tool, – Hetman RAID Recovery. The utility reads from the storage system all the information about the controller, the motherboard, or the software used to create a disk array.
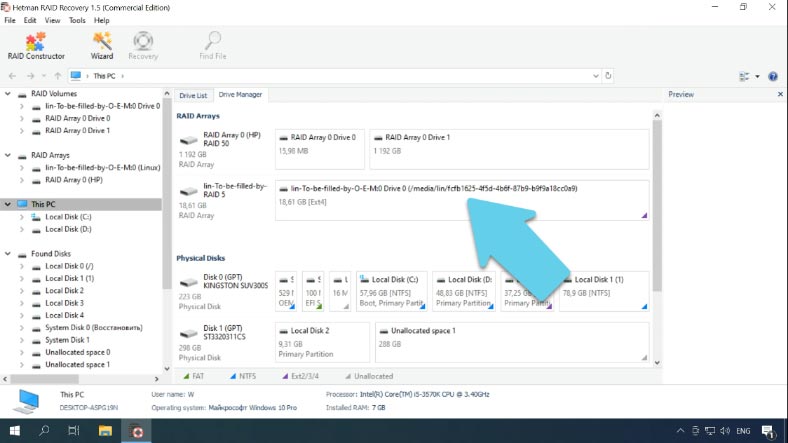
Our product can rebuild the crashed RAID and it lets you copy all critical information from there.
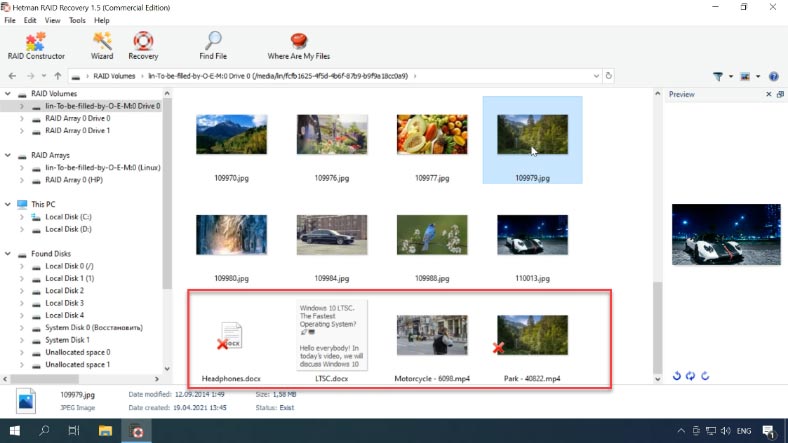
Find more information about recovering MD and LV RAID in one of the previous videos - I’ll put the link in the description as always.

🐧 How to Recover Data from Linux-Based Software RAID 0, RAID 1, RAID 5 🐧
Conclusion
Changing from one RAID level to another may take several steps. At first, you convert the array into a interim type, and then transform it into the type you need. For example, to convert RAID 1 into RAID 6, you need to turn it into RAID 5 first, and only then it can be transformed into RAID 6 system.



Before rebooting the computer, try mounting md1 to any mount point (do not modify the fstab file until you can mount the disk successfully).
It may fail to mount because you need to change the md1 size before you mount it.
In this case, Md126 is not the primary RAID array; the primary one is md127, so all I would do is to add this new disk again to md127 with this command:
mdadm --manage /dev/md127 --force --add /dev/sdb
and the RAID will begin to rebuild itself.
Dismount all file systems located on LVM volumes with the unmount command, disable the LVM volume group vg0 with this command: vgchange -an vg0,
disable the RAID array with this command: mdadm --stop /dev/md0,
remove the RAID device with this command: mdadm --remove/dev/md0,
and only then reset the superblock on sda4 with the command: mdadm --zero-superblock /dev/sda4.