Monitor Calibration: Brightness, Contrast and Gamma
In this article, we’ll take a closer look at the settings of modern monitors, explore how to adjust brightness, contrast, and color gamma properly, and how to calibrate your monitor.
- 1. Display settings / HDR
- 2. Display color calibration
- 3. Color gamma
- 4. Brightness and contrast adjustment
- 5. Color balance adjustment
- 6. Previous calibration / Current calibration
- 7. How to restore factory display settings
- 8. Text adjustment (ClearType)
- 9. Display calibration failure
- Conclusions
- Questions and answers
- Comments
Usually, people buy a large and quality monitor for comfortable work with their computer. But in most cases, they just connect it to the system unit, without thinking that it can be adjusted for their personal needs to improve the picture quality and reveal its hidden potential. You may have noticed that over time, you develop headache, your eyes feel sore and the work process becomes an ordeal. In today’s article, we’ll discuss the roots of this problem and how it can be solved by calibrating and adjusting the display to suit your eyes best. This can be done on all version of Windows, and I’ll show it on Windows 11.
| Parameter | Description | Action |
|---|---|---|
| Brightness | Adjusts the overall level of screen lighting. | Increase or decrease the brightness to a comfortable level. |
| Contrast | Controls the difference between the darkest and lightest parts of the image. | Adjust the contrast to ensure that details are clearly visible. |
| Resolution | Determines the number of pixels displayed on the screen. | Select the recommended resolution for your monitor. |
| Refresh Rate | Determines how many times per second the screen refreshes the image. | Set the refresh rate supported by your monitor (e.g., 60 Hz or 144 Hz). |
| Color Temperature | Affects the overall tone of the image (warm or cool). | Adjust the color temperature to a comfortable level (e.g., 6500K for neutral white). |
| Gamma | Affects the brightness level of mid-tones. | Adjust the gamma for optimal display of details in shadows and highlights. |
| Image Mode | Select a mode for different types of content (movie, games, text). | Choose the appropriate image mode depending on your activity. |
| Font Size | Affects the size of text on the screen. | Adjust the font size for comfortable reading. |

1. Display settings / HDR
For starters, open Windows settings and find display settings. Before you can change them, turn off the Night Light.
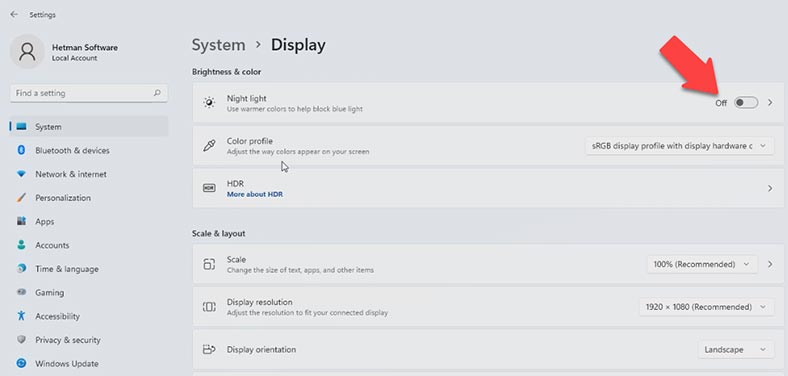
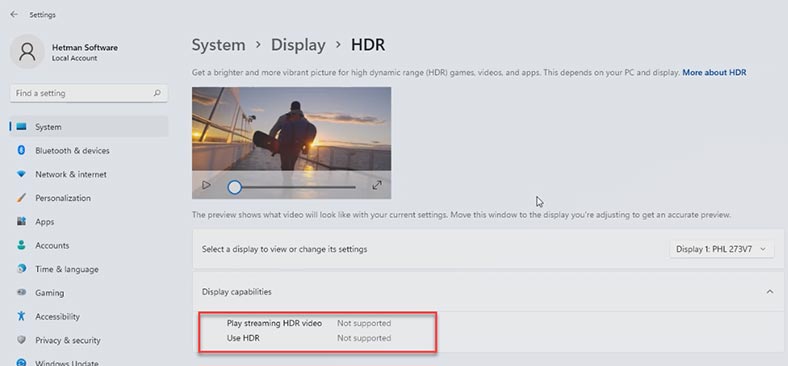
If your monitor supports HDR, you don’t have to use this tutorial, because if HDR is turned on, your computer will adjust things immediately. But if your monitor doesn’t support HDR, you should continue.
2. Display color calibration
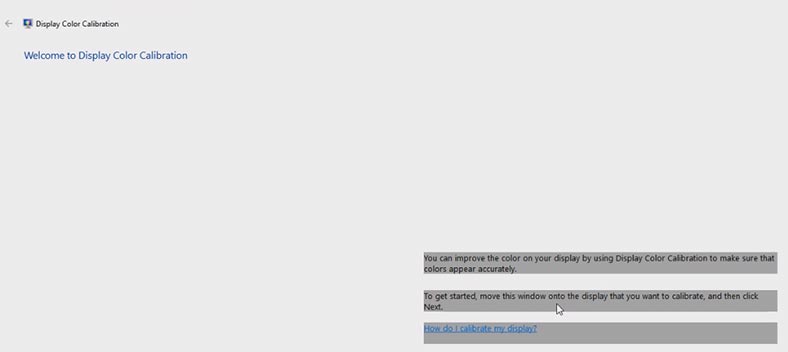
Click on the Start menu and type Calibrate display color.
Here’s an important note! If you want to calibrate the display correctly, you should be sitting right in front of it – like you do when work with your computer every day.
A new window will open. As you can see, here are some hints – the steps for correct calibration. If you are using several monitors at the same time, drag this window to the monitor you want to calibrate and click Next (you can find this button in the bottom right corner).
To start work and configure main color settings, press the Menu button. Usually, this button can be found on the lower panel of your monitor: in my case, it is on the right side of the lower panel. Have a look into the user manual supplied with your monitor to learn the location of specific buttons and what they do.
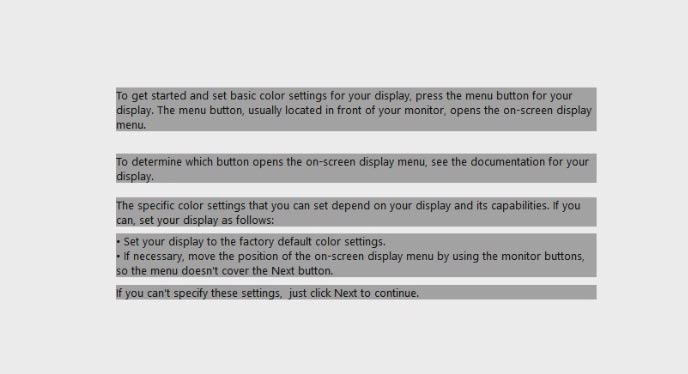
Get all settings to factory default values and click Next to continue in the Calibration window.
3. Color gamma
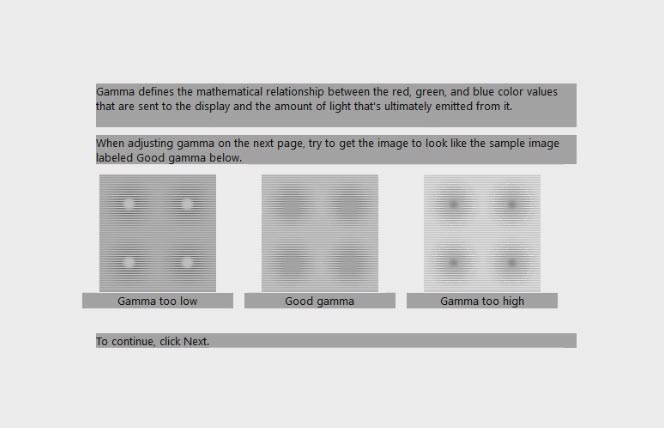
You will be suggested to adjust gamma so it looks like the example in the middle. That’s why you need to click Next.
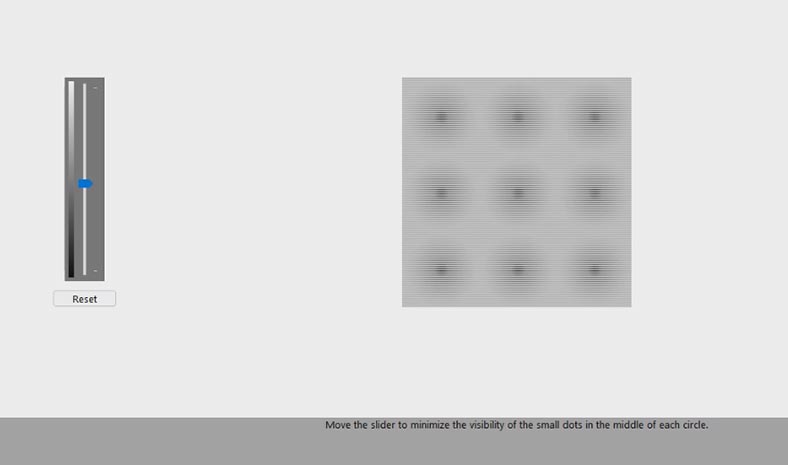
Adjust the slider so that the dots will become barely visible.
Click Finish!
4. Brightness and contrast adjustment
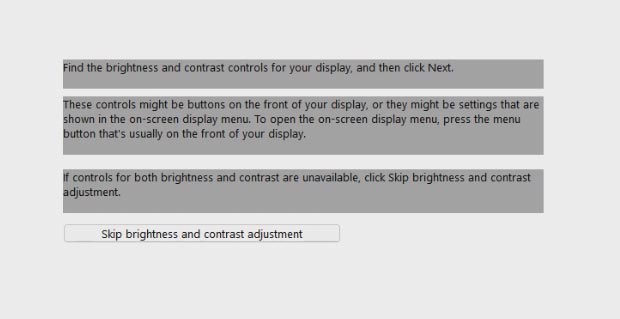
Let’s move on to the next step – adjusting brightness and contrast. You’ll need the display settings which I have mentioned a bit earlier. If you’re happy with the default brightness level, you can click Skip brightness and contrast adjustment.
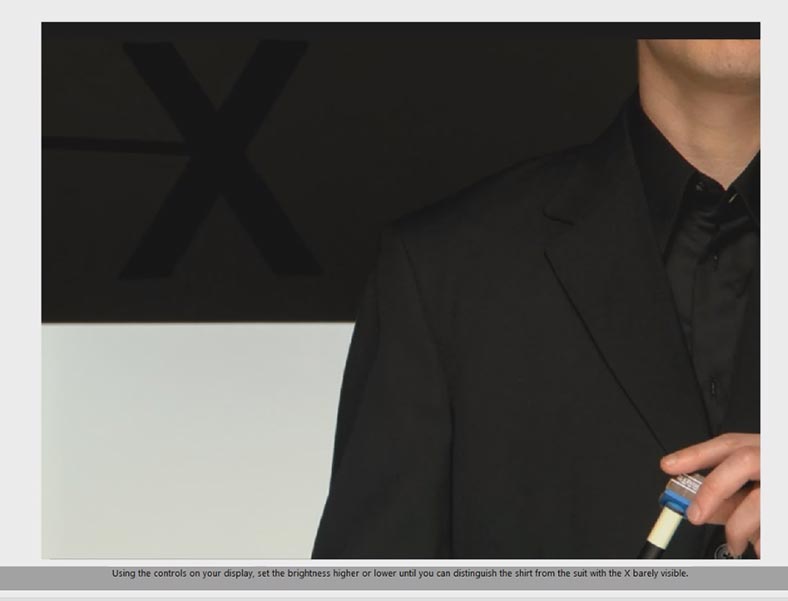
Change the display settings like in this picture, and try to make the X letter barely visible, but avoid merging the jacket and the dark background.

Contrast adjustment means a comparison between dark and very light areas of an image. Adjust the settings in the next page so that wrinkles and buttons on the shirt are visible.
5. Color balance adjustment
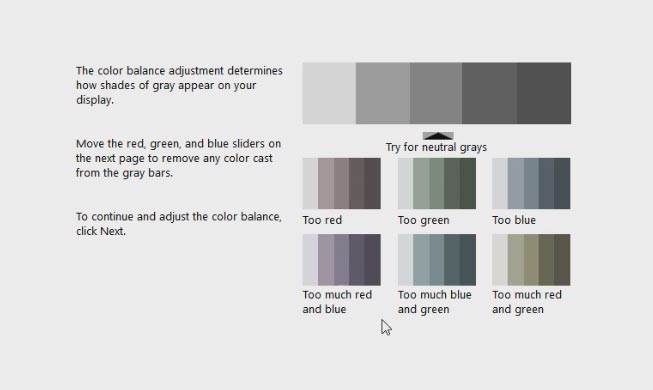
The next stage is adjusting the proper color balance by setting the right shade of gray.
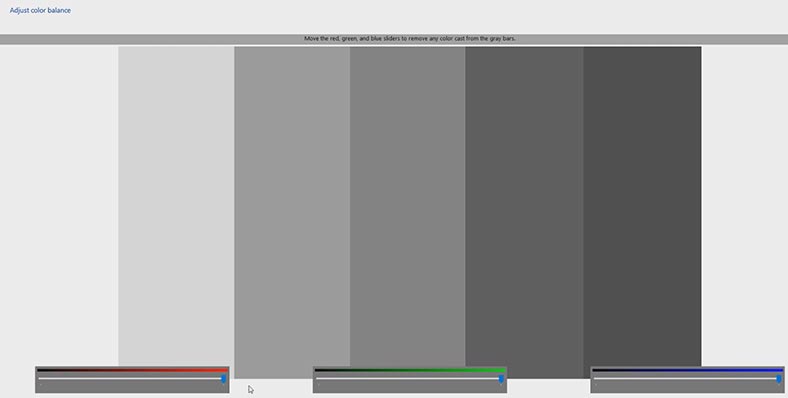
Get the shade you need.
6. Previous calibration / Current calibration
Now the operating system suggests comparing the changes you have made to the display settings. You are prompted to click on either button: Previous calibration or Current calibration.
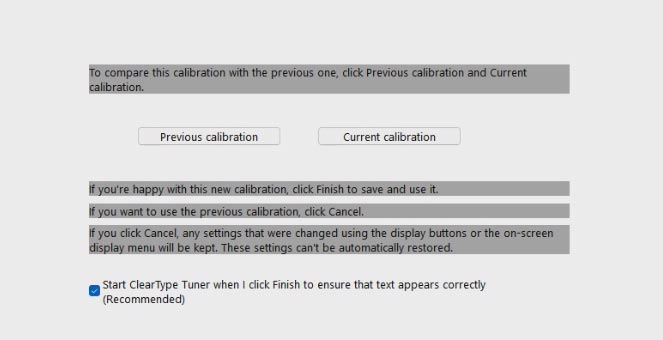
If you’re satisfied with the adjustment results, click Finish and the settings will be applied.
7. How to restore factory display settings
To revert all settings to their default values, click Cancel. Remember that the settings you changed using the monitor buttons will not be restored, so if you want to change them again, you have to do it manually.
If you don’t remember what settings your monitor had, most likely they were factory defaults. To get back to them, use the feature available in all monitors: look through the menu and find the Reset option.
8. Text adjustment (ClearType)
Finally, the last step – text adjustment.
Please note that the calibration menu has this option Start ClearType Tuner – this is actually the tool to adjust how the monitor displays text. Check the box next to the option Turn on ClearType – or uncheck it, if you find it unnecessary.
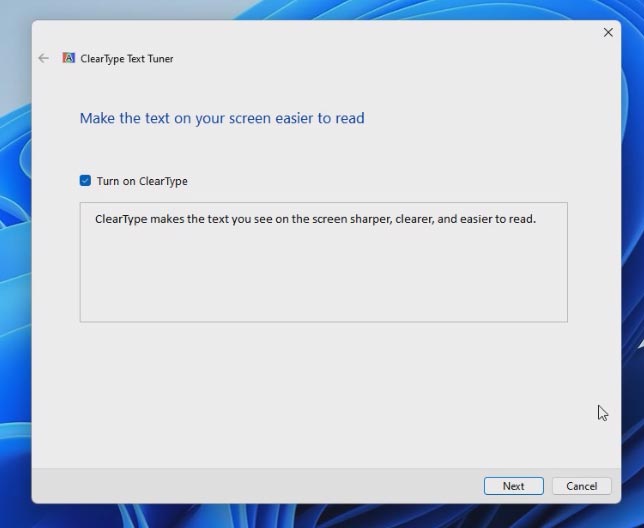
Check the box for ClearType and click Finish. Choose a picture where the text is the best to read and click Finish. The settings have been applied.
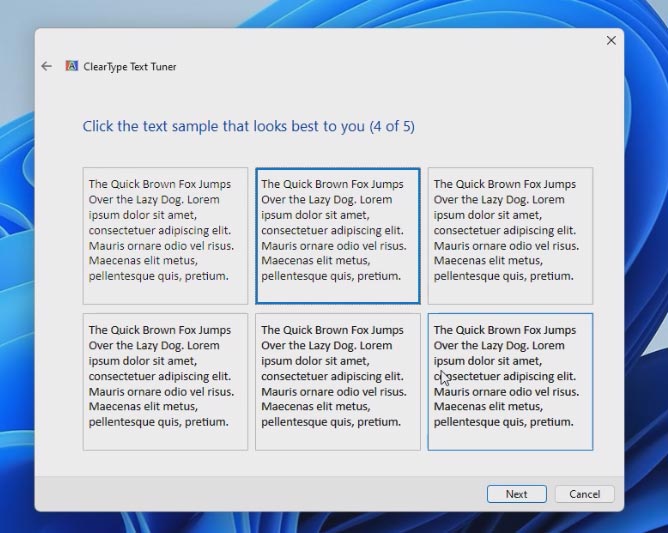
To disable the ClearType feature, type its name – ClearType – in the Windows search field, start this tool and disable it by unchecking the box. As you can see, the text display quality changes immediately.
9. Display calibration failure
If you encounter a display calibration failure for some unknown reason, and you can’t restore it back to normal, reinstalling the graphics driver can be a solution you need.
We have a detailed video tutorial about downloading and installing a graphics driver in our channel.

How to Download and Install Drivers for AMD, NVIDIA and Intel Graphics Windows 10 🖥️🎬📀
Conclusions
As we have seen today, the factory default calibration is not always the best and may not suite a particular user’s eyes. Everyone’s got different eyesight peculiarities, and your environment conditions can be unique. Display calibration is quite an easy thing to do, and sometimes it is advisable to adjust your monitor for better user experience.


