Diskpart Data Recovery: Can You Rescue Data After Using the Clean Command?
Accidentally used the Clean command in Diskpart and lost valuable data? In this article, we uncover the methods and techniques to recover data after using the Clean command in Diskpart. Our experts share valuable insights, tips, and solutions to help you retrieve those crucial files. Whether it’s accidental formatting, partition deletion, or other issues, we’ve got you covered.
- Step 1. Cleaning the Disk with the Help of DISKPART → CLEAN
- Step 2. Loss of Data as a Result of Using DISKPART → CLEAN
- Step 3. How to Recover Data Lost After Applying the Command DISKPART → CLEAN?
- Step 4. How to Restore Operability of the Cleaned Disk?
- Step 5. DISKPART Basic Syntax and Commands
- Questions and answers
- Comments
Step 1. Cleaning the Disk with the Help of DISKPART → CLEAN
Cleaning a hard disk and its partitions with the Diskpart tool and the command Clean is one of the ways to recover a memory card, a USB stick or a hard disk if they don’t work properly, terrorize you with failures or show the wrong memory size. This command is also used to unlock a write-protected USB drive, memory card or hard disk in Windows 10, 8 or 7.
Use the command Clean in Diskpart to remove partitions which cannot be deleted with other integrated tools such as Disk Management. This command launches the process to completely remove the disk partition table so that you can create it from the scratch.

diskpart
list disk
select disk 1
clean
Step 2. Loss of Data as a Result of Using DISKPART → CLEAN
Yet sometimes when you use this system tool, things may go wrong. For example, you can select the wrong disk or partition and delete it by mistake.
As a result, you will get a clean disk without any file system.
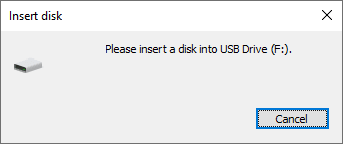

Only a few data recovery apps can restore the information lost this way.
Step 3. How to Recover Data Lost After Applying the Command DISKPART → CLEAN?
So what can be done if you cleaned the disk with the Clean command, or tried to use this command to recover a disk, USB stick or memory card which are blocked or cannot be formatted?
We are going to use Hetman Partition Recovery to get the lost files back, and soon you will see why.
-
Start the program, and you will see all disks connected to this computer.
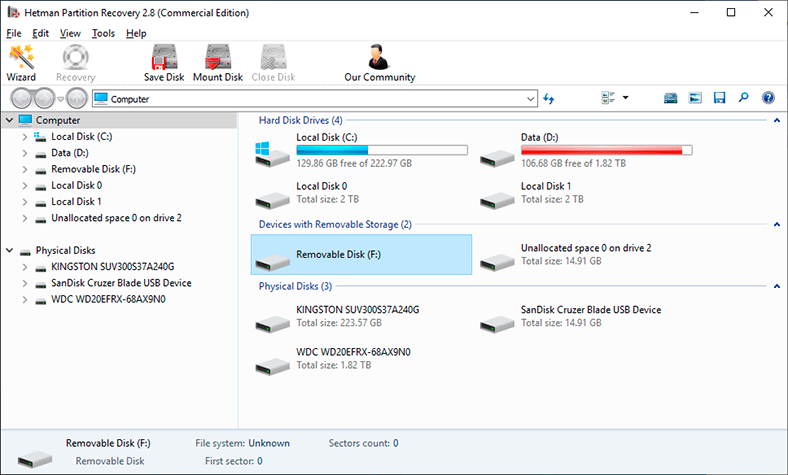
The disk we have cleaned is a 16 GB USB drive. It could be any other memory device - the type doesn’t matter.
-
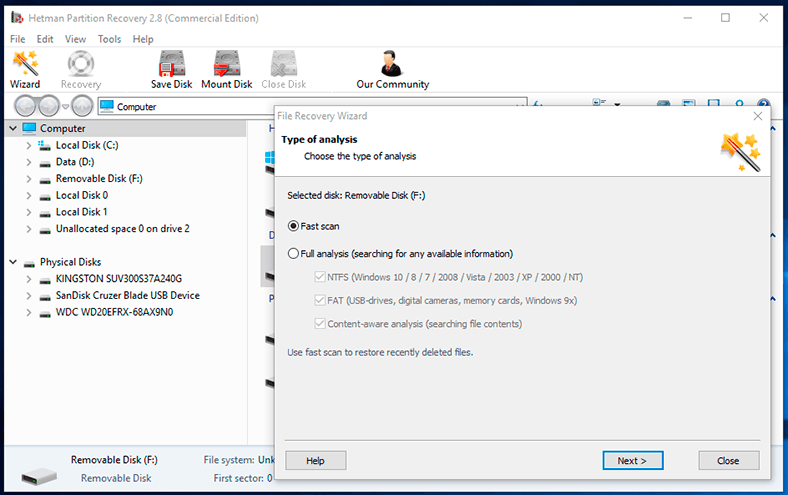
Find it among other drives detected by the program and try analyzing it.
-
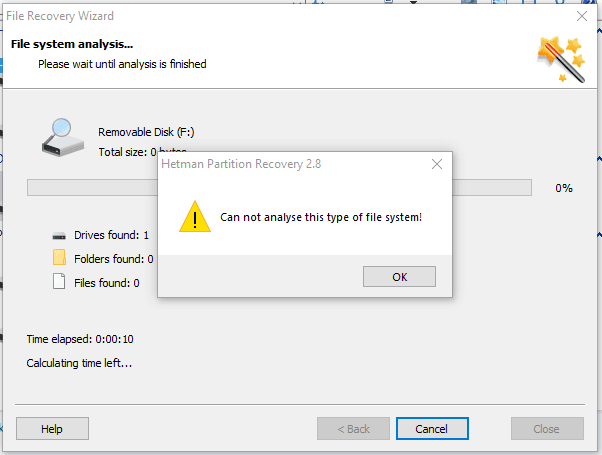
Select Fast scan and here is what you get. The program cannot analyze the USB drive because it doesn’t have any file system. This is exactly what you are going to face when you use most data recovery tools trying to analyze a disk after the Clean command.
-
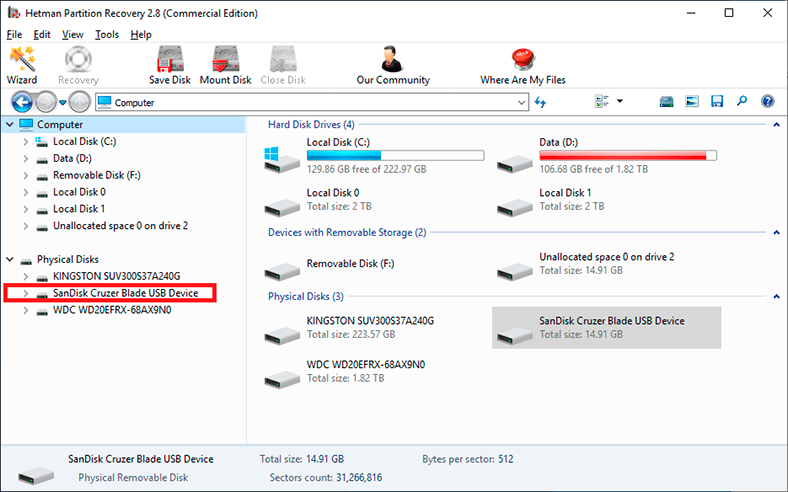
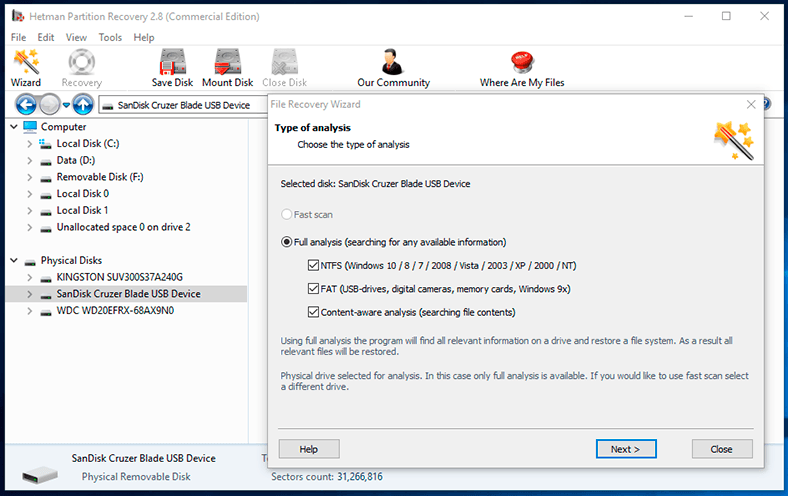
In order to recover data, you need to analyze the USB drive as a physical device rather than its file system. As a result, the program will try to detect any file systems that previously existed on this USB drive, and the data that it used to store. To do it, select the USB drive from the Physical Disks list.
-
Scan it using Full Analysis. The time required to analyze your drive depends on its size. Wait until the analysis is complete.
-
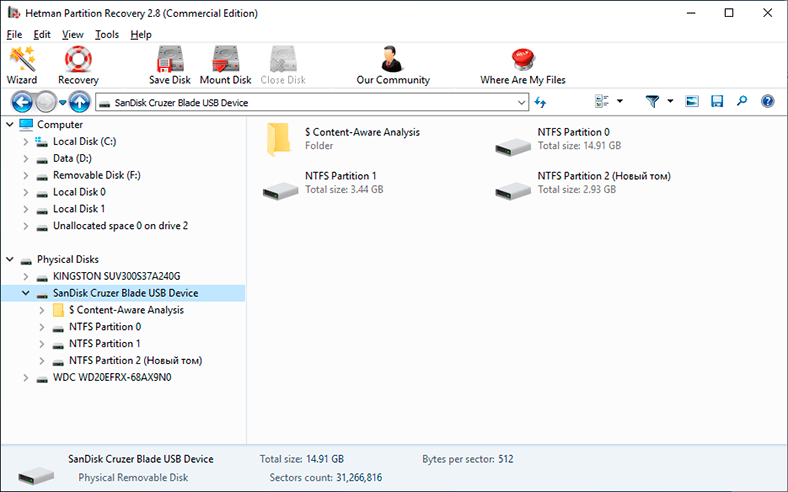
As a result, here’s what you see. The program detected several partitions in the cleaned USB drive. These are partitions and file systems that used to exist on this flash drive. For some of them, the utility was even able to restore the names.
-
Now find the lost partition you need. Click on it.
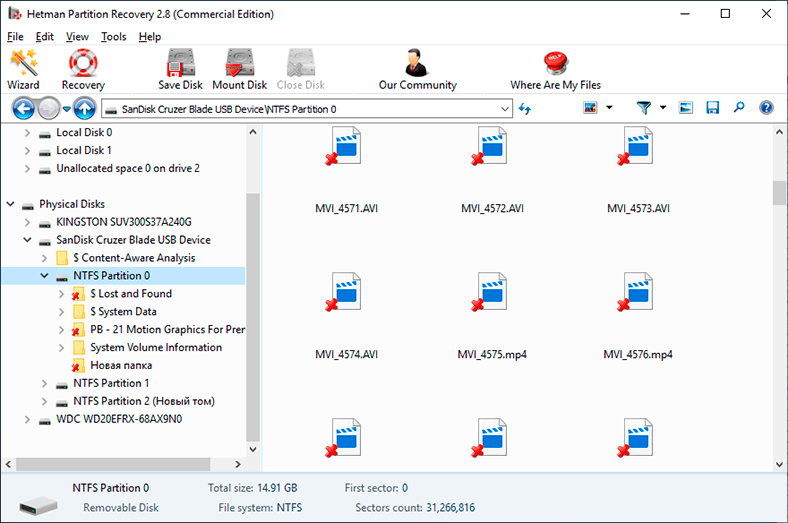
In fact, that’s all. All the files lost after cleaning the drive with the Clean command are now displayed. The ones marked with the red cross next to them are the files which had been already removed at the time of cleaning the drive.
-
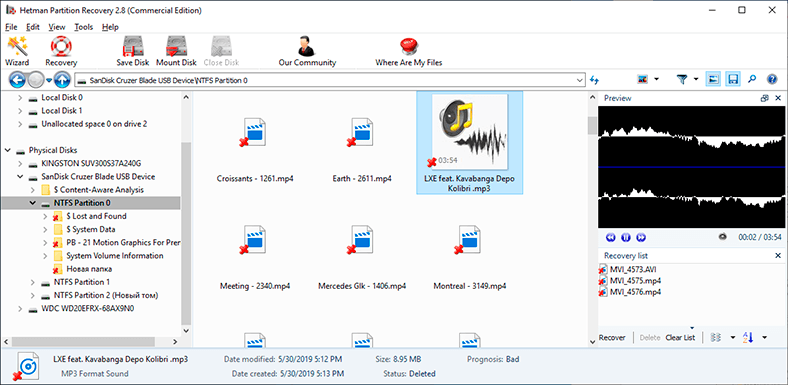
Find the files you want to recover. You can use the preview window to see their contents.
-
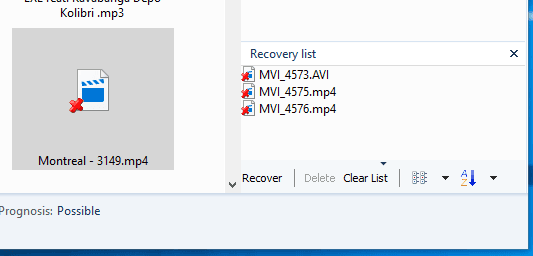
Drag them to the recovery list and click the Recovery button.
-
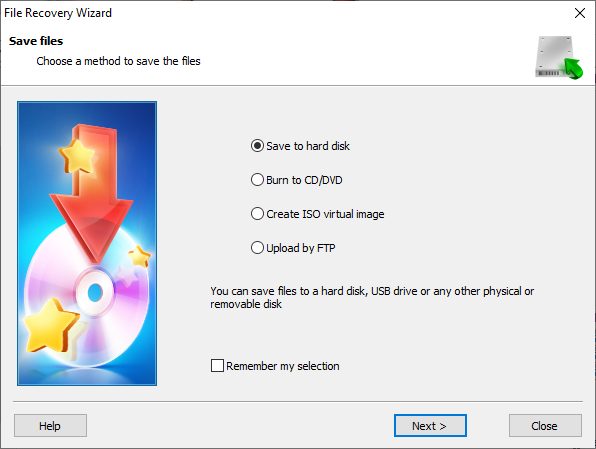
Choose the method and folder for recovery.
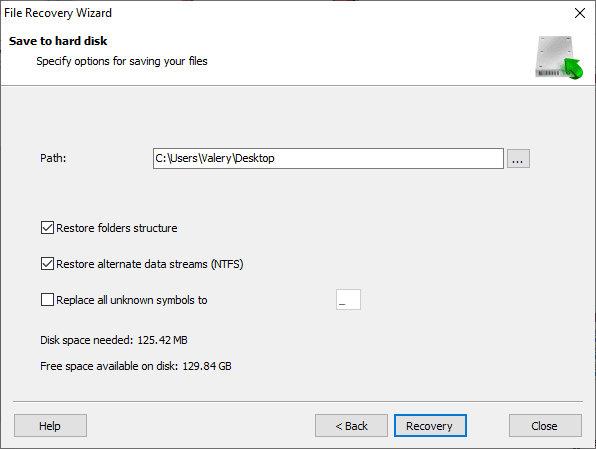
All files have been recovered.
Step 4. How to Restore Operability of the Cleaned Disk?
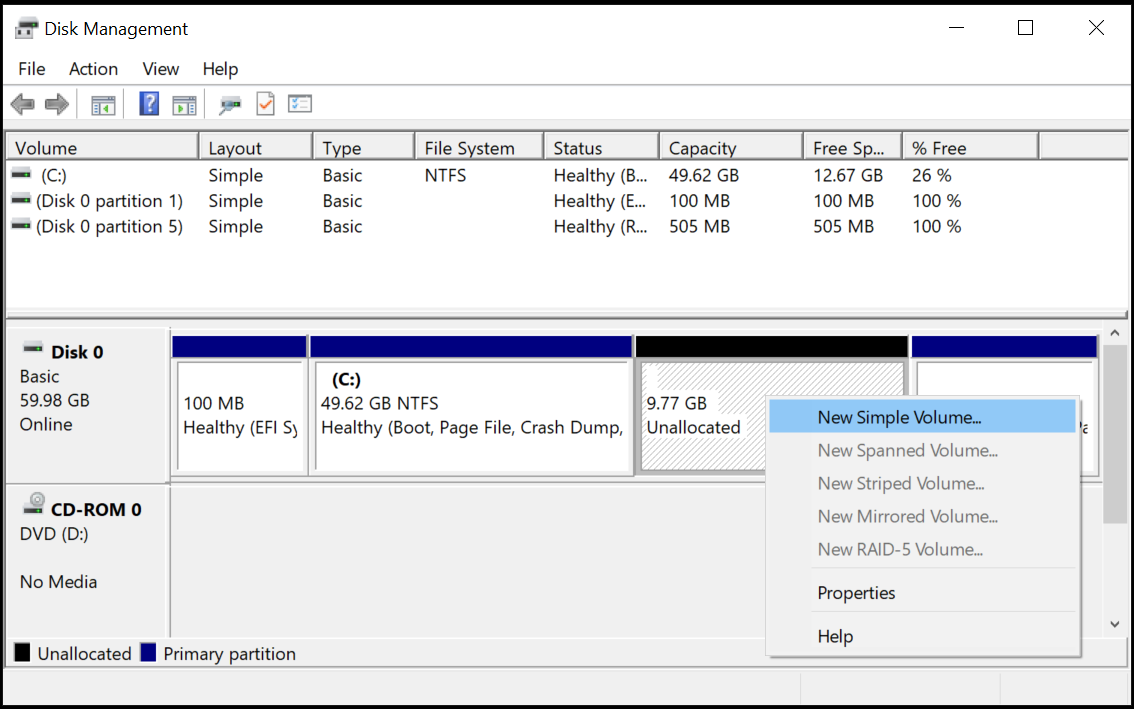
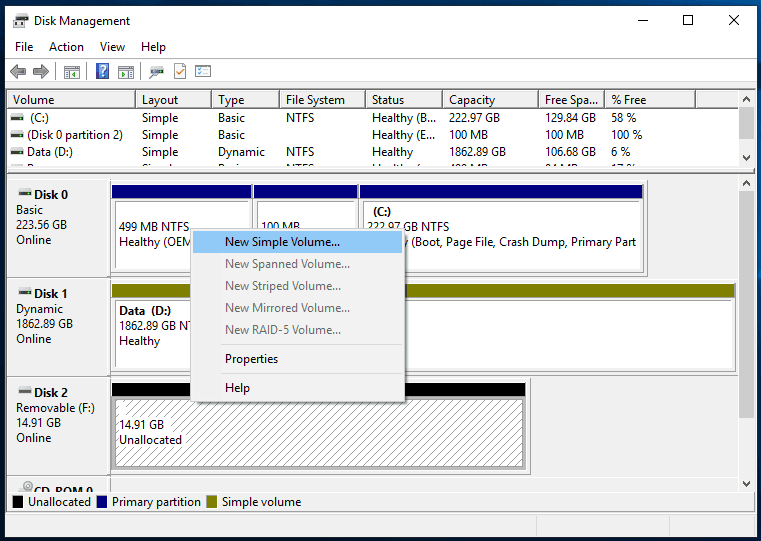
To make the cleaned disk functional again, use the Disk Management menu to create a New Simple Volume and format it.
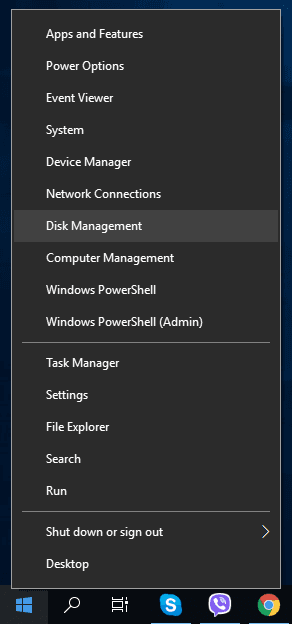
However, I don’t recommend doing it before you recover data from the cleaned disk. The reason is that another round of formatting may reduce the quality and quantity of the data that can be recovered.
Step 5. DISKPART Basic Syntax and Commands
Basic diskpart syntax:
| Parameter | Description |
|---|---|
| diskpart | To start the diskpart command |
| list disk | Displays a list of disks |
| select disk | Shifts the focus to a disk |
| list partition | Displays a list of partitions |
| select partition | Shifts the focus to a partition |
| list volume | Displays a list of volumes |
| select volume | Shifts the focus to a volume |
Basic diskpart commands:
| Command | Description |
|---|---|
| create partition primary [size=(size_in_MB)] | Creates a partition on a disk |
| format fs=file_system_type [label=(label)] [quick] | Formats a disk to accept files |
| assign letter=(letter) | Assigns a drive letter |
| delete partition | Deletes a partition |
| active | Marks the disk's partition with focus, as active |


