Recovering Data From Undetected External Hard Drive: Guide
Having trouble accessing your data from an external hard drive that isn’t detected by your computer? Don’t worry – data recovery is possible! In this article, we’ll provide you with an essential guide to recovering data from an external hard drive that isn’t detected by the computer. From troubleshooting connection issues to using specialized recovery software, we’ll walk you through the process step by step. Whether it’s photos, documents, or videos, we’ll help you retrieve your precious data and minimize data loss.
- Why an external hard drive isn’t showing up
- What can be done if it happened?
- Recovering data from a formatted external hard drive
- Questions and answers
- Comments
An externalhard drive is just as good as any other storage device of this type, and in the same way, it may break down or encounter errors, so it is good to be prepared and know how to deal with such problems. We believe that this article could be equally interesting to people facing such a problem and everyone else using external hard drives every day.

💽 How to Fix a Pen Drive or External Hard Disk Not Showing Up? 💻
Why an external hard drive isn’t showing up
Most of us tend to use an external hard drive to store data backups, but this type of drives is not always suitable for the purpose. That is why experts recommend backing up important data to various storage devices, and the issue of an external hard drive suddenly becoming unreadable or undetected may become crucial, if it was the only place for all your backups.
Here are some of the cases when an external hard drive is not detected by the computer:
- If a power surge happened while data was transferred from / to the drive
- As a result of physical damage
- If an operating system failure (error) happened while the computer was working with this drive
- After a virus attack or malware infestation
- Because of wear-out caused by overuse
- After drive system files are deleted or the operating system is damaged.
If the hard drive is not detected by the operating system properly, you may not see anything at all after you connect it to the computer. There won’t be any sounds or opening the drive’s root directory automatically, and it may not show up in the Device Manager either. Sometimes, you may see a notification like this You need to format the disk in drive X before you can use it. Do you want to format it?. In this situation, formatting the drive is the only option left. However, it means all data on such drive will be removed.
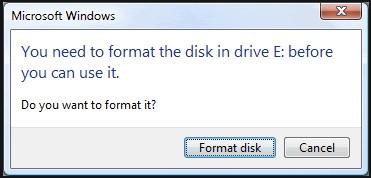
So what needs to be done to get the drive to work again – and do so without losing data for good?
What can be done if it happened?
Before taking the hard drive to a service center or repair shop, try the following:
- Plug the external drive into another USB port. If the drive shows up in This PC – the problem is caused by the faulty USB port, not the storage device.
- Connect the external drive to another computer.
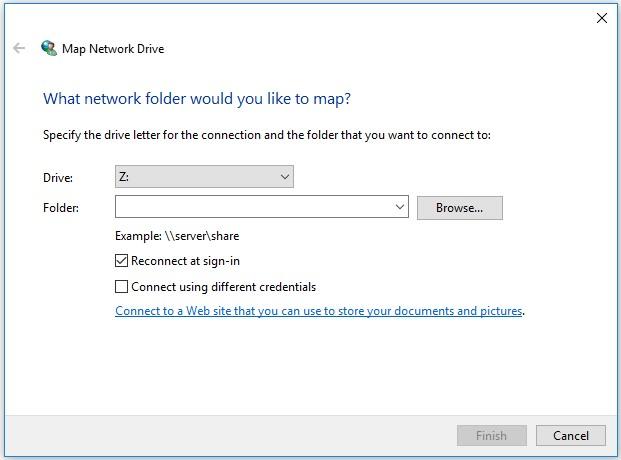
- Change the hard drive letter (change its name). To do it:
- Open This PC folder.
- Look at the letters already assigned to other drives.
- In the menu above, click on Map Network Drive and select the option Drive
- In the Drive menu, choose the letter which is not in use
- Hit Browse to select the undetected hard drive and click “Ok”
- Restart the computer and reconnect the hard drive.
The last step should help the computer to detect the hard drive properly, but you may be asked to format it. Don’t worry, you can still bring your data back even after you format the drive.
Recovering data from a formatted external hard drive
After the hard drive is formatted, do not write anything there. Don’t save any data to such drive, and don’t let other devices and applications access the drive. Al your files are still available for recovery until it gets overwritten with new data.
So as soon as the format operation is complete, disconnect the hard drive from the computer, then start Hetman Partition Recovery. In the main menu, select the external hard drive you need to restore files from.
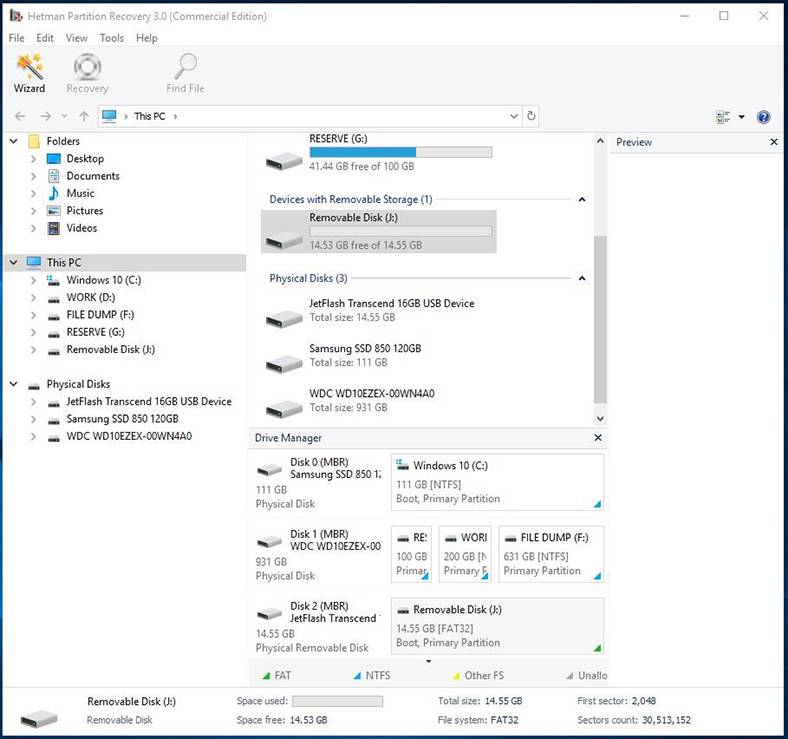
Double-click on it. In the next window, select the analysis type and click “Next” to continue. When the analysis is over, you will see the list of files and folders available for recovery. Click on any of the elements to see its preview on the right.
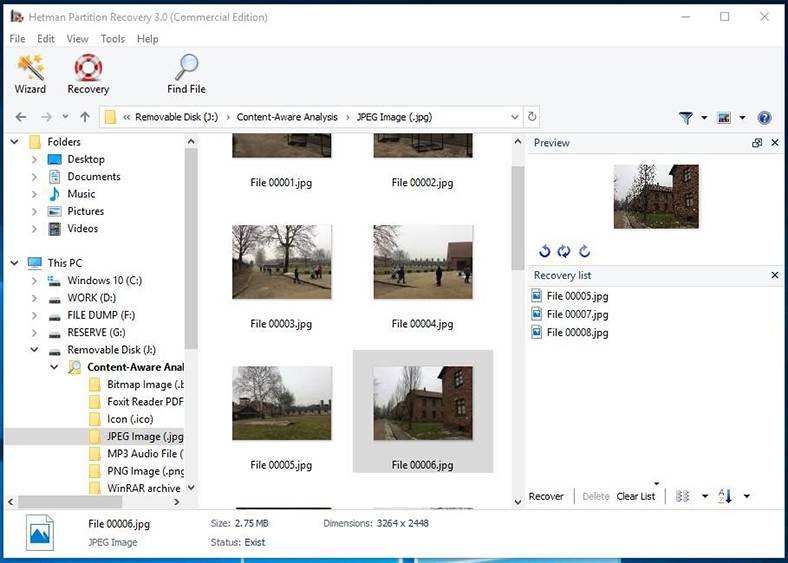
Select the files to recover and bring them to the recovery list. After that, click Recovery. You will be shown a new window to choose the method and path for recovery. Choose the options you prefer and click “Next”. When the recovery is complete, you can view the files in the corresponding folder that you have chosen to restore them to.
Remember to have at least two backups to keep important data in, and never interfere with the hard drive when it is working. Yet even if you face a situation similar to what is described here, don’t panic – follow our advice on data recovery.

💽 Nine Common Causes of Partition Loss, and Data Recovery Methods to Use 💽


