How to Recover bhyve VM Data on FreeBSD: IMG, ZVOL and ZFS Snapshots
-
Author:
Vladimir Artiukh

-
Editor:
Oleg Afonin



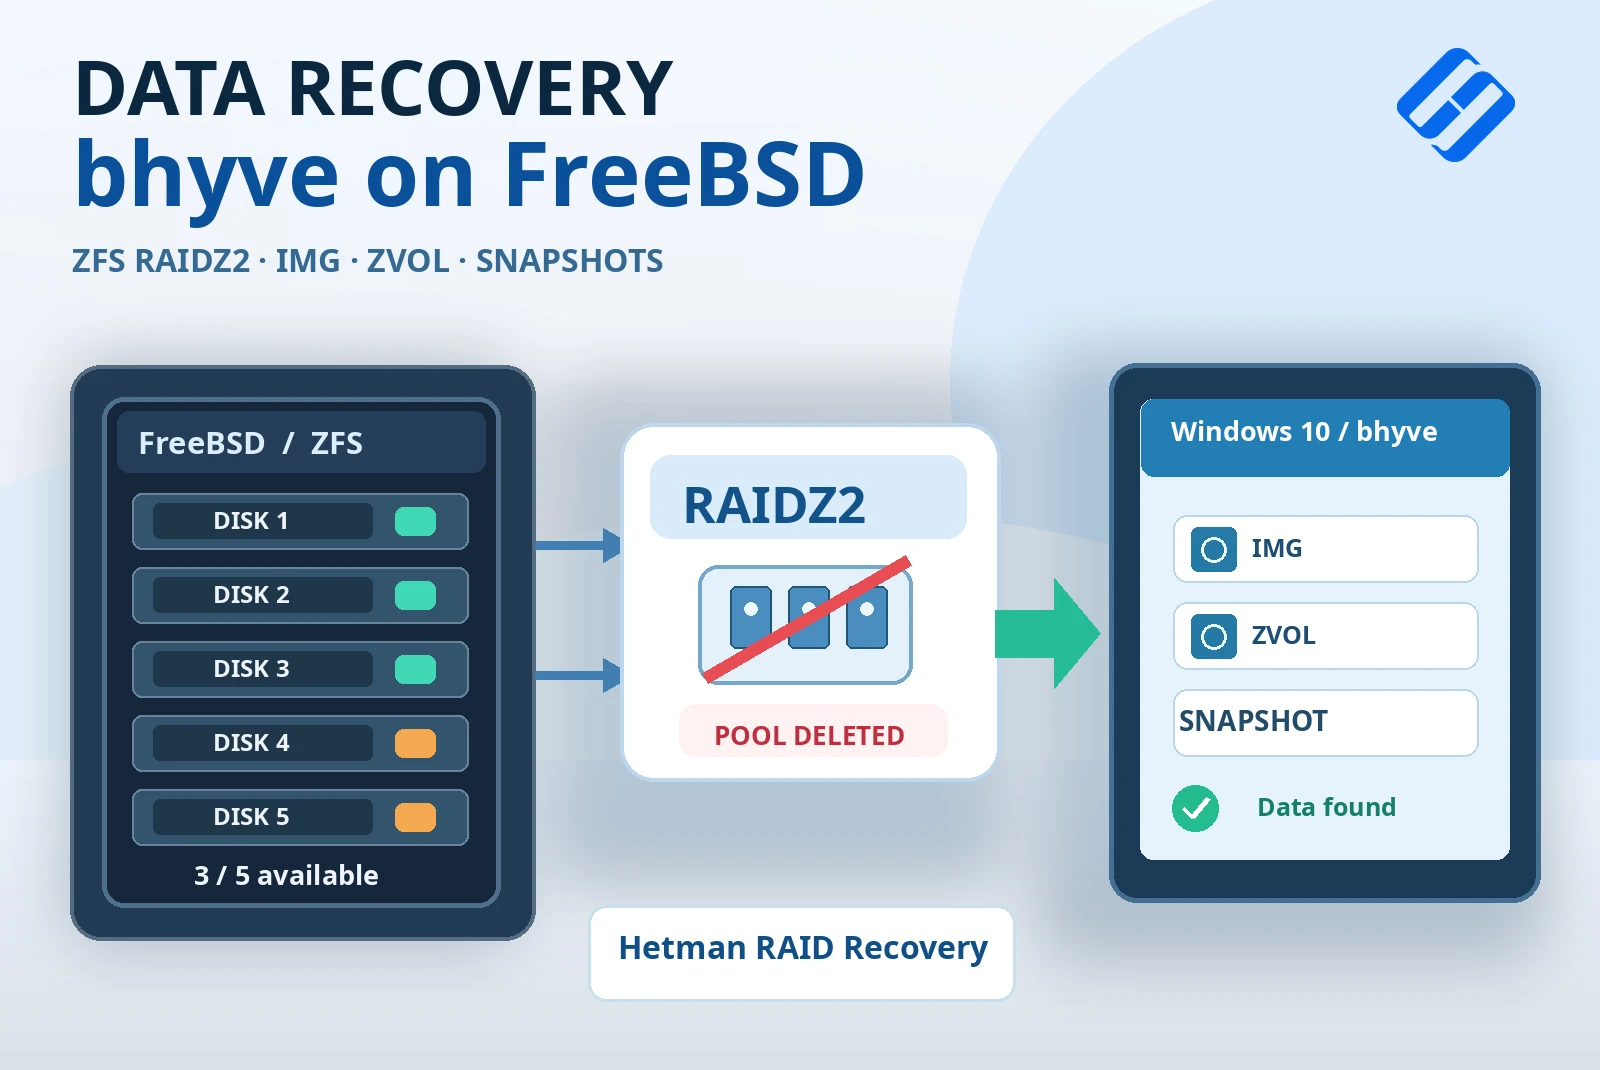
How can you recover a bhyve virtual machine’s files on FreeBSD when its IMG and ZVOL disks become inaccessible after a ZFS pool is deleted? What if files are deleted inside the Windows guest but a snapshot is still available? Using a five-drive ZFS RAIDZ2 array, we show how Hetman RAID Recovery discovers a destroyed pool from three available drives, opens IMG images and regular or sparse ZVOL volumes, and retrieves data from earlier virtual-disk states without starting the VM.
- Test environment: FreeBSD, bhyve and ZFS RAIDZ2
- Connecting three drives and automatically detecting RAIDZ2
- Recovering IMG and ZVOL virtual disks from deleted pool3
- Recovering deleted bhyve files from a ZFS snapshot
- What to consider before recovering RAIDZ2 and virtual disks
- Results of bhyve data recovery on FreeBSD
- Frequently Asked Questions
- Comments
Recovering data from bhyve involves two layers: accessing the FreeBSD storage first, then accessing the file system inside each virtual disk. Losing a ZFS pool and deleting files in a guest operating system are different problems, so we address them separately.
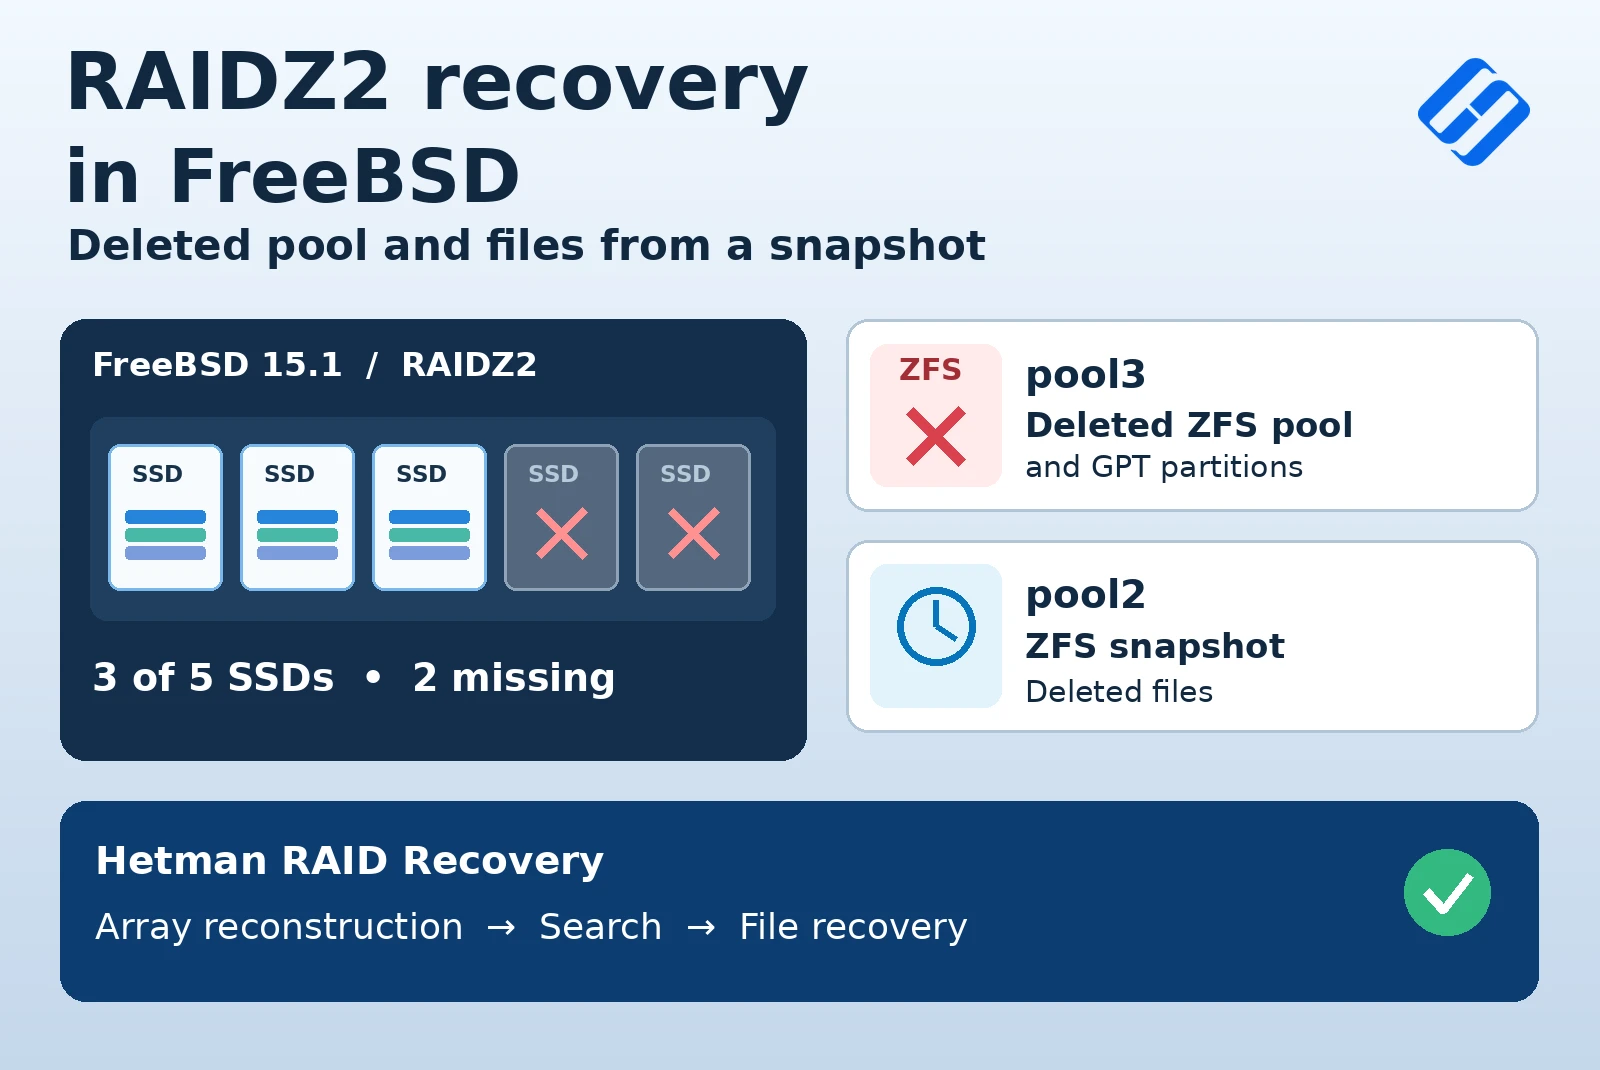
In the first scenario, pool3 and its GPT partitions were destroyed, but the files stored within the copied virtual disks were not deleted. In the second scenario, pool2 remained accessible, but test files in Windows 10 were removed with Shift+Delete. Their previous state was retained in a ZFS snapshot.
We use Hetman RAID Recovery on a Windows PC for the demonstration. The software is also available for Linux and macOS.

How to Recover Data from FreeBSD bhyve VMs: IMG, ZVOL & Deleted Files
Test environment: FreeBSD, bhyve and ZFS RAIDZ2
On a FreeBSD server we configured the bhyve hypervisor and a Windows 10 VM. Its disks are managed through bhyvemgr. The storage comprises five physical drives, each partitioned using GPT for three independent ZFS RAIDZ2 pools. Each pool has one five-drive RAIDZ2 vdev.

The bhyvemgr VM creation window shows the name windows10, the Windows 10.x guest type, and a 20 GB system disk image. After the additional drives were attached, Windows Disk Management displayed four disks, matching the virtual disks we later searched for in ZFS.

| Specification | Value in our test |
|---|---|
| Server OS | FreeBSD |
| Hypervisor and guest OS | bhyve, Windows 10 |
| Physical drives | 5 drives; 3 were used for recovery |
| ZFS topology | 3 pools; each spans GPT partitions on 5 drives and has one RAIDZ2 vdev |
| pool3 scenario | Pool and GPT partitions deleted; virtual disk copies still contain test files |
| pool2 scenario | Recursive snapshot created before deleting files in Windows |
The VM has four disks: two IMG images and two ZVOL volumes, including one sparse ZVOL. An IMG is stored as a disk-image file, whereas a ZVOL is a ZFS block volume. Their types and sizes matter: the recovery software shows IMG images as files and ZVOLs as separate volumes whose content can be opened for mounting.
| bhyve disk | Format | Size | Purpose |
|---|---|---|---|
| disk0.img | IMG | 20 GB | Windows 10 system disk |
| disk1.img | IMG | 1 GB | Additional disk with test files |
| disk0 | Sparse ZVOL | 1 GB | Additional sparse block volume |
| disk1 | ZVOL | 2 GB | Additional regular block volume |

On one physical drive, FreeBSD Control Panel shows three freebsd-zfs partitions named pool1_d1, pool2_d1 and pool3_d1. These are portions of three separate pools, not three self-contained RAID arrays on a single disk. Corresponding partitions on the remaining drives formed the five-drive RAIDZ2 vdevs.
Scenario one: deleted pool3
We first placed copies of the VM disks, containing test files, on pool3. The directory /pool3/bhyvemgr/windows10/ held disk0.img, disk1.img and bhyve configuration files; the ZVOL block volumes were stored in the ZFS structures. We therefore need to look for both IMG files and ZVOL objects in Hetman RAID Recovery.

Next, as part of the controlled test, we ran zpool destroy pool3 and deleted its GPT partitions on all five drives. FreeBSD Control Panel shows, for example, the command gpart delete -i 3 mfid1 being confirmed for the third partition of one drive. FreeBSD could no longer access the VM disk copies normally.


The zpool destroy and gpart delete commands were used solely to simulate data loss. Never run them on storage containing data you intend to recover.
The files inside the copied IMG and ZVOL disks were not deleted in this scenario. The goal is to find the former pool, retrieve the virtual disk images and read their contents.
Scenario two: deleted files and a snapshot of pool2
On pool2, we created a recursive ZFS snapshot named snapshot_0, covering the root dataset and its child datasets, including ZVOLs. We inspected its components with zfs list -t snapshot -r pool2. The output includes pool2/bhyvemgr/windows10@snapshot_0, pool2/bhyvemgr/windows10/disk0@snapshot_0 and pool2/bhyvemgr/windows10/disk1@snapshot_0. These entries capture the virtual disks’ state before the subsequent file deletions.

After creating the snapshot, we started Windows 10 with disks from pool2, deleted the test files using Shift+Delete and shut down the VM normally. The current IMG and ZVOL objects remained in the pool, while the earlier state was retained in the snapshot.

Connecting three drives and automatically detecting RAIDZ2
For recovery, we use three of the server’s five physical drives. Connect them to a Windows PC and start Hetman RAID Recovery. Depending on the disk interface, you can attach them directly or use a suitable adapter or docking station.
If Windows prompts you to initialize or format the drives, decline. Do not create partitions or write any data to drives from which you need to recover information.
At startup, the software automatically detected the ZFS RAIDZ2 configurations, including the deleted pool3. Select this pool in the main window.

The right pane lists File system — ZFS and RAID type — RAIDZ2. Under RAID Disks, it shows three available members and two Empty disk entries. The recovered pool3 appears as a RAID volume of approximately 90 GB. Each member’s listed size refers to the region allocated to pool3, not the capacity of the entire SSD.

RAIDZ2 uses dual parity and can tolerate two unavailable members within a single vdev. In our five-drive test, the three available drives and surviving metadata were sufficient to determine the configuration without entering parameters manually.
This is the result of a particular test, not a guarantee that every destroyed ZFS pool can be recovered. If critical metadata has been overwritten or too few members are available, the outcome may differ.
Recovering IMG and ZVOL virtual disks from deleted pool3
STEP 1. Scanning pool3 and locating bhyve disks
Double-click the detected pool3, select Fast scan in the wizard and begin scanning. The software uses surviving ZFS metadata to reconstruct the accessible directory tree. In this test, Fast scan was sufficient to locate the VM disks.

In the results, browse to bhyvemgr → windows10. The detected objects include disk0.img, disk1.img and the two ZVOL volumes named disk0 and disk1. Opening the relevant volume reveals an object with the .zvol extension.

To examine a block volume, open disk0 in the same directory tree. The application displays disk0.zvol as a separate object of approximately 1 GB. The disk1 volume similarly contains disk1.zvol of 2 GB. Do not confuse these objects with the disk0.img and disk1.img files.

STEP 2. Saving an IMG and a regular ZVOL
To save several disks from different levels of the directory tree in one operation, right-click disk1.img and select Add For Recovery. The image appears in the Recovery list pane on the right. Then open the regular disk1 volume and drag its disk1.zvol object into the same list.

Check the list, click Recover and choose Save to hard disk in the wizard. Specify a directory on a different drive with enough free space. The IMG is saved as a disk-image file, while ZVOL data is saved as a file that can subsequently be mounted for analysis.

Never save recovered images or files back to the original ZFS RAIDZ2 physical drives. Writing new data there could overwrite information that has not yet been read.
STEP 3. Mounting an IMG and recovering Windows files
Once the image is saved, click Mount Disk, select the RAW format and point to disk1.img. A separate disk and its partitions appear under Mounted Disks. In our test, the software recognized an NTFS partition. Open that partition and run Fast scan.


After scanning, browse the NTFS folder structure, including Lost and Found and General level 1, and locate the test documents, images and videos. Select an object and inspect it in Preview. The screenshots show an image preview, which helps evaluate the file before saving it.


Use Find File to search by name. Under Advanced, you can narrow results by size or date, include hidden and system files, enable case-sensitive matching or search for whole words only.

Select the required files, click Recovery, choose Save to hard disk and specify a different physical drive. When the operation finishes, open the destination folder and verify the recovered files.

In Windows File Explorer, verify the results folder on the separate drive. The recovered files are present in the chosen destination. This provides an additional check beyond the software’s Preview pane.

Remember that disk1.img in this example came from the copy on deleted pool3. Its files were inaccessible because storage was lost, not because they had been deleted inside Windows. We cover genuinely deleted files separately in the pool2 snapshot scenario.
STEP 4. Opening regular and sparse ZVOL volumes
A saved regular ZVOL, disk1.zvol, can be opened through Mount Disk and analyzed much like an IMG. If the file with the .zvol extension is not shown in the file picker, change the filter to All files and select it manually.

If there is not enough space for a complete copy, you can mount a disk without first saving it, directly from the pool scan results. Return to pool3 → bhyvemgr → windows10 → disk0, right-click disk0.zvol and choose Mount File as Disk.

Open the mounted ZVOL partition, scan it and inspect the files. The data is read directly from the reconstructed RAIDZ2, so analysis may take longer than with a local image. No space for a full virtual-disk copy is needed, but you still need space to save the recovered files.

After selecting the required files, start Recovery and save the results to another drive. The screenshot shows the file recovery wizard for a ZVOL mounted without exporting the whole volume first.

Recovering deleted bhyve files from a ZFS snapshot
Unlike pool3, the virtual disks themselves remained accessible on pool2. The test files in the Windows 10 guest, however, were deleted after the recursive snapshot was created. We will use the saved dataset and ZVOL states to retrieve earlier versions of those files.
STEP 1. Finding IMG and ZVOL snapshots on pool2
In the main Hetman RAID Recovery window, select pool2, run Fast scan and open the Snapshots folder. It contains separate entries for windows10, disk0, disk1 and the other components of the recursive snapshot_0. These are not incompatible recovery points: the software displays the saved states of the different datasets and ZVOLs included in the same recursive snapshot.

STEP 2. Recovering an IMG from the windows10 snapshot
Open the windows10 dataset snapshot, which contains disk0.img and disk1.img. Select disk1.img and save it in a separate folder so it cannot be confused with the image recovered from pool3.
Use Mount Disk → RAW to mount the file from the snapshot, open its partition and perform Fast scan. The results include test files that were still present when the snapshot was taken. Check them in Preview and save them using Recovery.

Once disk1.img from the snapshot is mounted, open its NTFS partition. The saved state from before Shift+Delete contains test images and documents that can be selected and saved separately from the files retrieved from pool3.

STEP 3. Mounting a ZVOL directly from a snapshot
Return to Snapshots and open the separate entry for volume disk0. Right-click disk0.zvol and select Mount File as Disk. The software mounts the ZVOL state recorded in the snapshot, not its current contents.


Open the mounted disk’s partition, run Fast scan, find the required data, inspect it in Preview and restore it to another drive using Recovery. This retrieves files from before deletion without starting Windows 10 or rolling back the entire pool2.

What to consider before recovering RAIDZ2 and virtual disks
The outcome depends on the condition of the physical drives, ZFS metadata and virtual disk images. In our test, three members of the five-drive RAIDZ2 and surviving metadata were enough to find deleted pool3. Recovery may be incomplete if required blocks have been overwritten.
A snapshot contains only the data state it captured. If the snapshot was created after the desired file was deleted, or does not include the relevant dataset or ZVOL, this method cannot retrieve the file from an earlier snapshot state.
Do not initialize or format the server’s disks in Windows, create a new pool over the lost one, or save recovered data to the source drives. If a physical drive is unstable, consider working from a sector-by-sector copy when one can be created safely.
For more information about the underlying pool structures and snapshots, see the guide to recovering a deleted ZFS RAIDZ2 pool on FreeBSD.
Results of bhyve data recovery on FreeBSD
In the first scenario, Hetman RAID Recovery detected pool3 after zpool destroy and deletion of its GPT partitions. Three of five drives were sufficient to reconstruct the test RAIDZ2. We accessed IMG images, a regular and a sparse ZVOL, mounted the virtual disks and saved the test files.
In the second scenario, the software found snapshots of pool2 and recovered Windows 10 files from states captured before deletion, from both IMG and ZVOL disks. Neither starting the VM nor rolling back the entire pool was necessary.
You can either save the virtual disks to another drive first or, when supported for the detected object, use Mount File as Disk to analyze them without a full copy. The choice depends on drive health, available storage and data volume.