How to Recover Files from Encrypted Oracle VirtualBox Disks and Snapshots
-
Author:
Vladimir Artiukh

-
Editor:
Oleg Afonin



Deleting files, file system corruption, or formatting a partition can result in data loss in an Oracle VirtualBox virtual machine. If virtual disks are encrypted, recovery becomes more complicated because the disk images must be unlocked and snapshot chains must be reconstructed correctly. Let us consider how to find deleted files, compare saved disk states, and recover data without starting the virtual machine.
- Test environment
- STEP 1. Connecting encrypted disks
- STEP 2. Unlocking and analyzing disks
- STEP 3. Mounting the disk with snapshots
- STEP 4. File preview and recovery
- Conclusion
- Frequently Asked Questions
- Comments
Encrypted Oracle VirtualBox virtual disks can store files in different formats and have multiple dependent states, or snapshots. Accurate analysis requires the source images, related differential files, and virtual machine configuration data needed to unlock encryption.
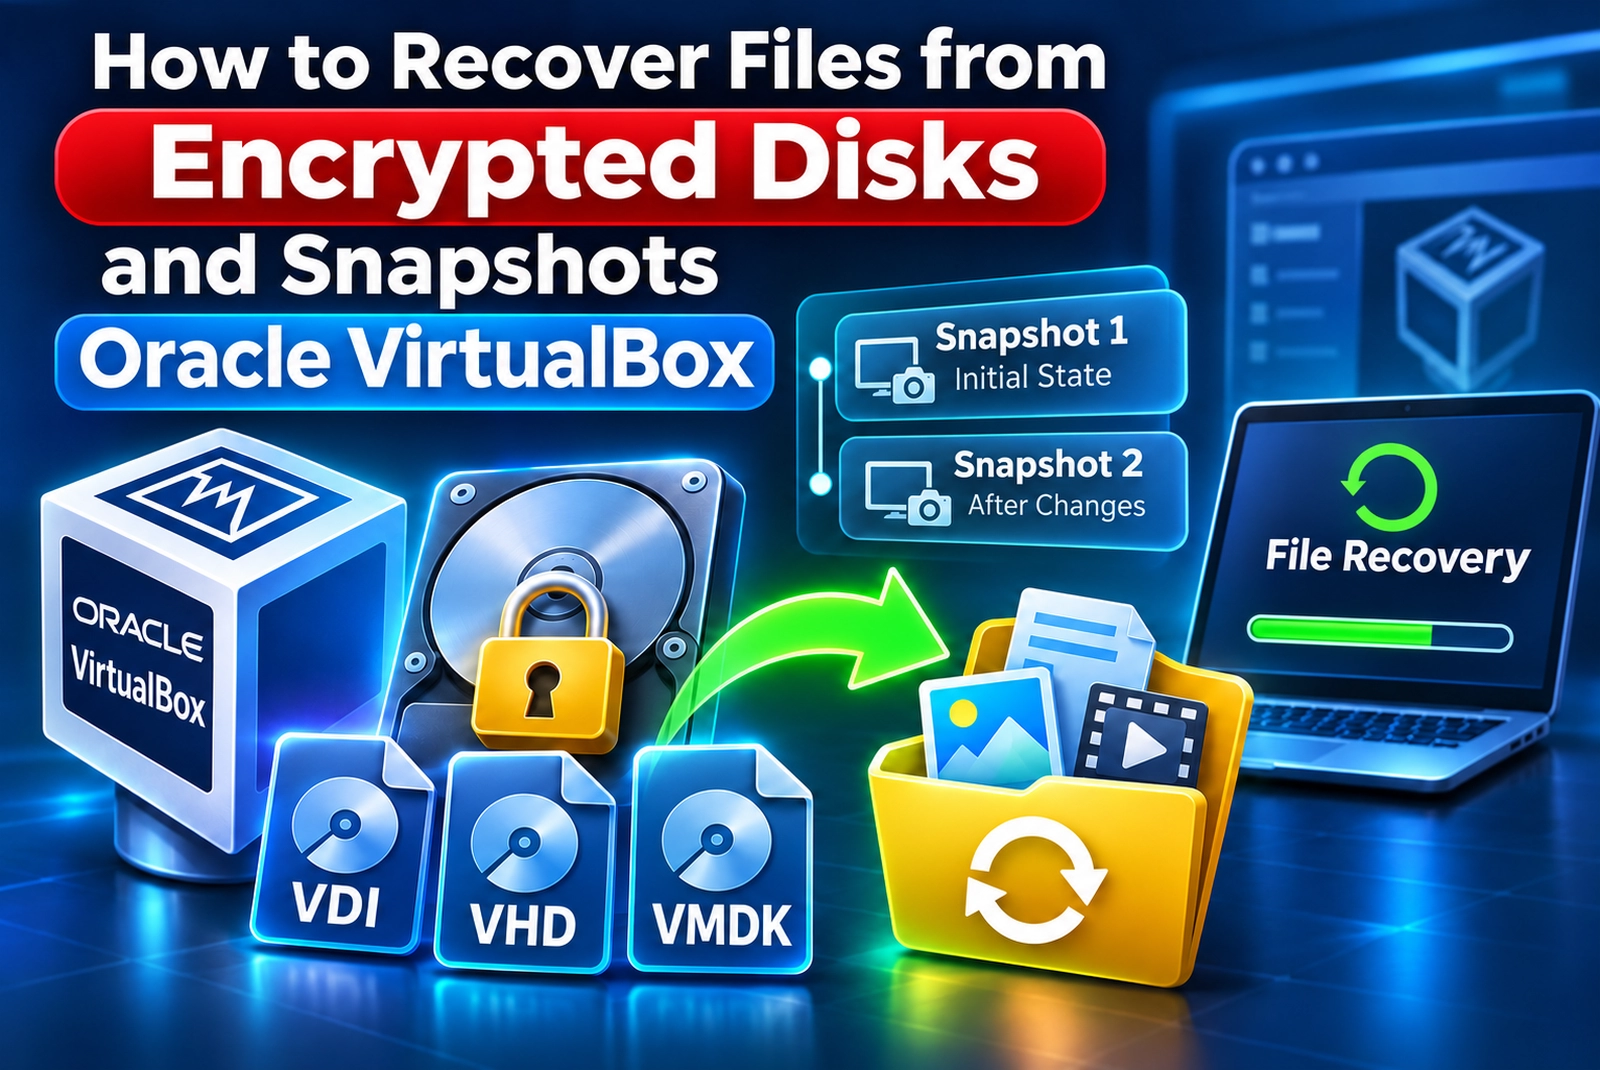
In our test environment, we will examine VDI, VHD, VMDK, HDD, QCOW, and QED, unlock the images with a password in Hetman RAID Recovery, compare two snapshots and the current disk state, and save the found files to another drive.

Recovering Files from Encrypted Disks and Snapshots of Oracle VirtualBox VMs
Test environment
For the demonstration, we created a virtual machine with guest Windows 10 in Oracle VirtualBox. The operating system was installed on a 20 GB VDI disk, and nine additional 2 GB disks were added for testing:
- Three disks in VDI, VHD, and VMDK formats were created with preallocated storage.
- Six disks in HDD, QCOW, QED, VDI, VHD, and VMDK formats use dynamic allocation, meaning the image files grow as data is written.
Regardless of the storage method, each additional disk inside the virtual machine has a capacity of 2 gigabytes.
Oracle VirtualBox test environment:
| Component | Configuration and characteristics |
|---|---|
| Virtualization platform | Oracle VirtualBox |
| Guest operating system | Windows 10 |
| Main virtual disk | VDI |
| Main disk capacity | 20 GB |
| Number of additional disks | 9 |
| Capacity of each additional disk | 2 GB |
| Total capacity of additional disks | 18 GB |
| Total number of virtual disks | 10 |
Additional test disks:
| No. | Disk format | Disk space allocation | Size |
|---|---|---|---|
| 1 | VDI | Fixed (preallocated) | 2 GB |
| 2 | VHD | Fixed (preallocated) | 2 GB |
| 3 | VMDK | Fixed (preallocated) | 2 GB |
| 4 | HDD | Dynamic | 2 GB |
| 5 | QCOW | Dynamic | 2 GB |
| 6 | QED | Dynamic | 2 GB |
| 7 | VDI | Dynamic | 2 GB |
| 8 | VHD | Dynamic | 2 GB |
| 9 | VMDK | Dynamic | 2 GB |

All disks were encrypted using VirtualBox. During writing, data is encrypted automatically, and during reading it is decrypted automatically. For the guest Windows system, this process is transparent: it works with files as usual. Access to the encrypted content is protected by a password.
Test files were written to the additional disks, and a snapshot was created to capture their initial state. Then a Video folder with video files was added, and a second snapshot was created. This resulted in two saved states: before and after adding this folder.

Then part of the files were deleted using Shift + Delete, bypassing the Recycle Bin, and the virtual machine was shut down normally. The disk images and both snapshots remained available.

Now we will analyze the current disk state, find the deleted files, and compare the contents of the saved states.
STEP 1. Connecting encrypted disks
Launch Hetman RAID Recovery and click Mount Disk. In the list of image types, select VirtualBox disk images.

For encrypted disks, it is important to take into account the program in which they were encrypted. For example, if a disk is in VMDK format but encryption was configured in VirtualBox, you should also select VirtualBox disk images for mounting. If you mount such an image as a VMware disk, the program may not recognize the encryption.
Go to the location of our virtual machine and select the folder containing its files. This allows the program to find the related disks, snapshots, and configuration file. For encrypted disks, this file is especially important: it contains the password-protected encryption key required for unlocking. After that, the found disks and related snapshots are displayed in the list. Here we can see their names and capacity, and the Encrypted label indicates recognized encryption.

Let us examine one of the groups. It contains the base image with its original name and extension, as well as related differential images with service names. The base image is labeled Snapshot #1: after the first snapshot was created, VirtualBox saved its state, and subsequent changes were written to separate files. The Active label corresponds to the current disk state.
First, we will show how to work with base images in different formats. To do this, in each required group, select the item labeled Snapshot #1. These are the images with original names and the extensions VDI, VHD, VMDK, HDD, QCOW, and QED.
Click Next. After mounting, the selected disks appear in the main window under Mounted Disks.

Select one of them to view its parameters in the right pane: capacity, number of sectors, sector size, and path to the image file. In our case, the selected disk has a capacity of 2 gigabytes and a sector size of 512 bytes.

In the Encryption section, we see the type VirtualBox Image and the status Locked — the disk is encrypted and currently locked.
STEP 2. Unlocking and analyzing disks
Let us proceed with analyzing the mounted encrypted disks.
Open one of the disks with a double-click. In the Unlock Disk window, enter the password that was set during encryption in VirtualBox, and confirm the unlock.
Hetman RAID Recovery uses the entered password to access the encrypted data. In our test, all disks are protected with the same password, and the program will apply it to the other mounted images as well — there is no need to enter it again for each one.

After unlocking, select Fast scan and wait for the analysis to complete.

As a result, we see a partition of approximately 2 gigabytes with the NTFS file system.

Open the found partition. In its root directory, we can see the General folder with the test files.

Go to General: the directory structure is preserved, and the files that were later deleted are displayed as normal. This is the initial disk state captured when the first snapshot was created.

Likewise, perform Fast scan on several other mounted disks and open their contents. Regardless of the image format, we see the same picture: the General folder with the original set of files, before the Video folder was added. The analysis process is the same for all these disks.
STEP 3. Mounting the disk with snapshots
We have already reviewed the initial disk contents. Now, using one of the disks as an example, let us compare what changed after adding the Video folder and deleting part of the files. To do this, we will mount the disk together with its snapshots.
Click Mount Disk, select VirtualBox disk images, and specify the virtual machine folder.

In the list, select one of the disks and mark all three of its states: both snapshots and the current one labeled Active. They are grouped together, so it is clear which entries belong to the same disk. Add them to the program.

Start with the first snapshot. Unlock it with the password and run Fast scan.

Open the found partition: here we can see the familiar initial set of files in the General folder, and the Video folder is still absent.

The entered password is also applied to the other states of this disk, so there is no need to enter it again.
Open the second snapshot and run Fast scan in the same way.

Now, next to General, we see the Video folder.

Open it — it contains the video files that we added before creating this snapshot. The remaining test data is also present: at that time, nothing had been deleted yet.

Now we need to check the current disk state — the one that was marked as Active during mounting. Run Fast scan and open the found partition.
The Video folder is present, and some test files are marked with a red cross — this is how the program identifies deleted files. The disk remained in this state after deletion via Shift + Delete and shutting down the virtual machine.

STEP 4. File preview and recovery
In the current disk state, the program found the files that we deleted with Shift + Delete. Let us verify their contents and save the required data to another drive.
Select one of the files marked with a red cross. Its contents are shown in the Preview pane.
For a more detailed view, open the file in the preview window and maximize it. This makes it easier to inspect image details or read document text.

Let us review several deleted files of different types. For images, check whether the picture is displayed completely and without distortion. For documents, pay attention to the text, and for spreadsheets, to the cell contents. Launch the video file and check playback. For an archive, review the list of files inside. This helps evaluate the contents of the found files before recovery.

If there are many files, use the Find File function. Specify the name of the required file, or part of it, and start the search. If needed, open Advanced to refine the conditions, for example by setting the file size or modification date. Search results can also be checked in the preview.

To save the required files, select them and click Recovery. In the wizard, select Save to hard disk and specify a folder to save the files to another drive.

Do not save recovered files to the same physical drive that contains the source images or the data to be recovered: writing may overwrite the lost information. Start the recovery and wait for it to complete.
Conclusion
In this article, we reviewed how to use Hetman RAID Recovery to open encrypted Oracle VirtualBox disks in different formats and recover deleted files. We analyzed images with preallocated and dynamic storage allocation, and compared two snapshots and the current state of one disk. In all cases, Fast scan was sufficient for the analysis.
We traced how the disk contents changed: from the initial set of files to the addition of the Video folder and the subsequent deletion of part of the data. The deleted files found in the current state were checked in preview and recovered to another drive — without starting the virtual machine.
If you have experienced file loss in VirtualBox, write in the comments what happened and whether you managed to recover the data!