Comprehensive Tutorial: Recovering Data from RAID 6 on Synology CS407 NAS Effortlessly!
Discover how to recover data from RAID 6 on Synology SC407 NAS with our essential guide. Whether you’ve encountered data loss due to hardware failure or other issues, this step-by-step tutorial will walk you through the process of recovering your valuable data from RAID 6 on Synology CS407 NAS with ease.
- How to create a RAID
- How to create a backup
- Recover Synology CS407 NAS data
- Conclusion
- Questions and answers
- Comments
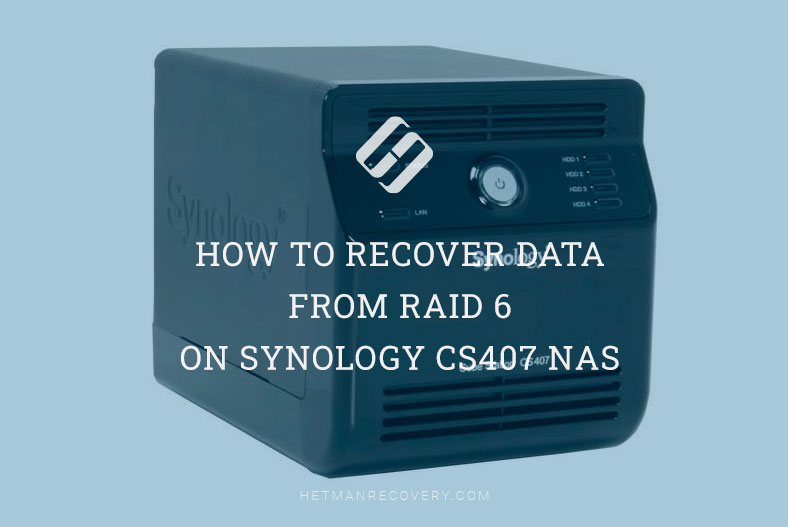
NAS devices by Synology are among the most popular and widely used network-attached storage solutions. The product line is pretty wide and lets you choose a suitable device for any of your needs. It includes a number of models, ranging from compact desktop solutions to storage systems of large capacity. All devices of this type are characterized by reliability and ease of use, while the RAID technology is meant to ensure the fault-tolerance of their hard disks. However, since quite a lot of old models are still in use, we think it would be relevant to explore how to recover user data in case a Synology NAS device breaks down one day.

How to Recover Data from RAID 6 on Synology CS407 NAS
How to create a RAID
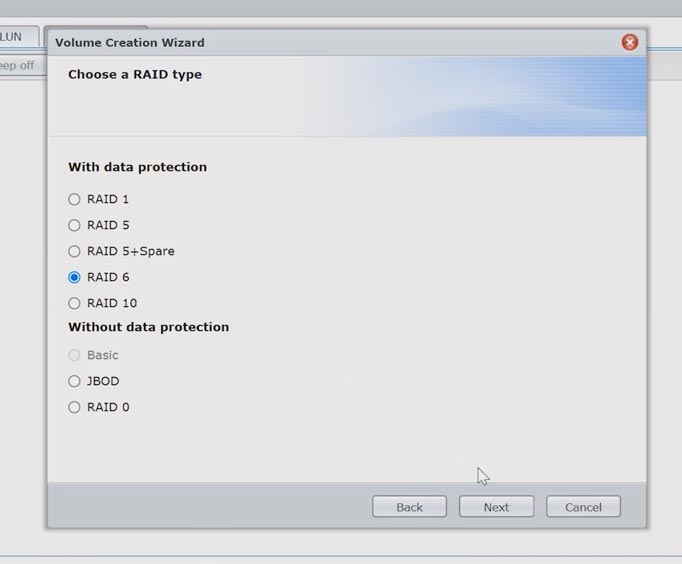
In order to ensure reliability of data storage, this device provides the option to create a RAID system. To enjoy the maximum fault tolerance, it is recommended to use RAID 5 or RAID 6.
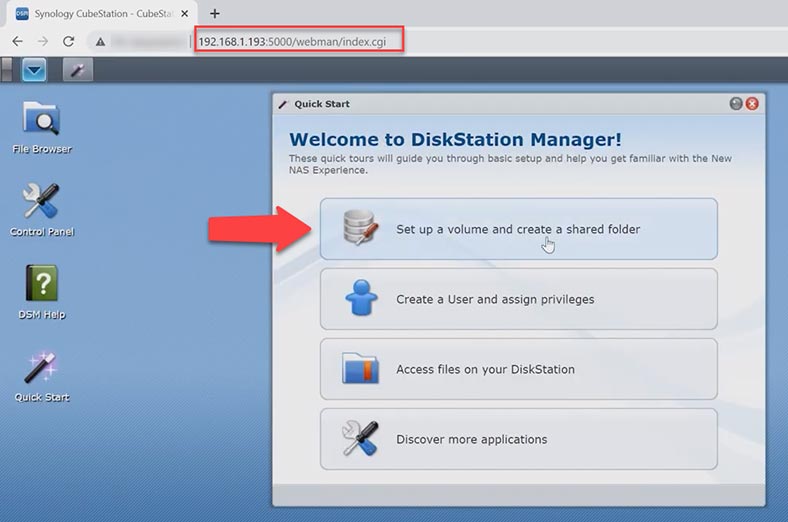
To create a disk array, open the device management panel, and when you do it for the first time, you’ll see a window that suggests creating a volume. Otherwise, access the menu to open Storage Manager. Click on the Create button.
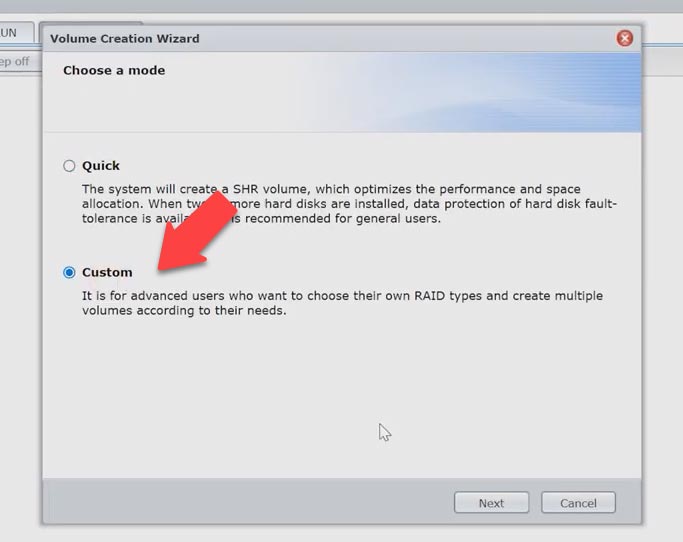
Choose the creation mode – Quick or Custom – Next.
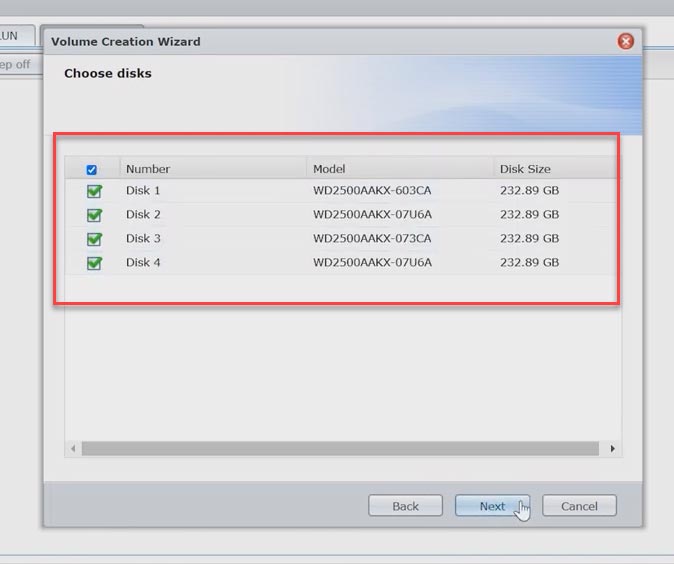
Then decide how many volumes you would like to have on this array – one or several. Select the disks that the future RAID will consist of, and click Next.
You will see a warning that data on these disks will be erased, so click Yes to confirm it. Now choose the RAID type and decide if you need a disk check first.
Review the displayed information about the future disk array and click Apply to confirm your decision.
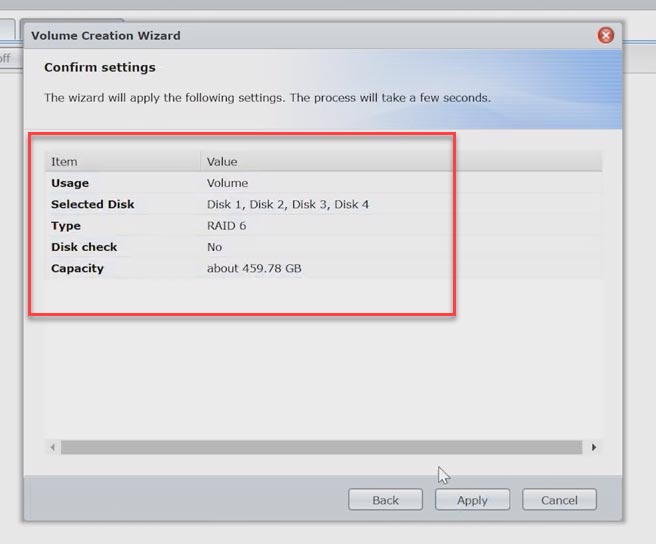
It starts the process of RAID creation. To start using the new volume, wait until initialization is complete. This process can take quite a long time.
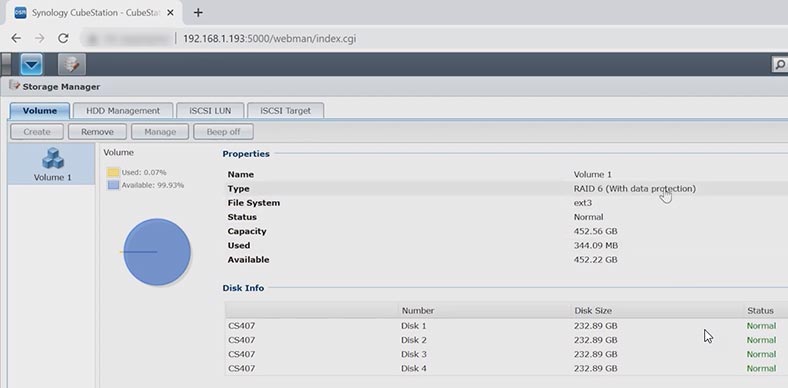
After initialization is over, create a new shared folder. After that, you’ll be able to use the storage device to write new files there.
How to create a backup
Your best precaution against data loss is to back up important data regularly, so keep that in mind. To create a backup of a certain folder, open the menu and start the Backup and Restore utility.
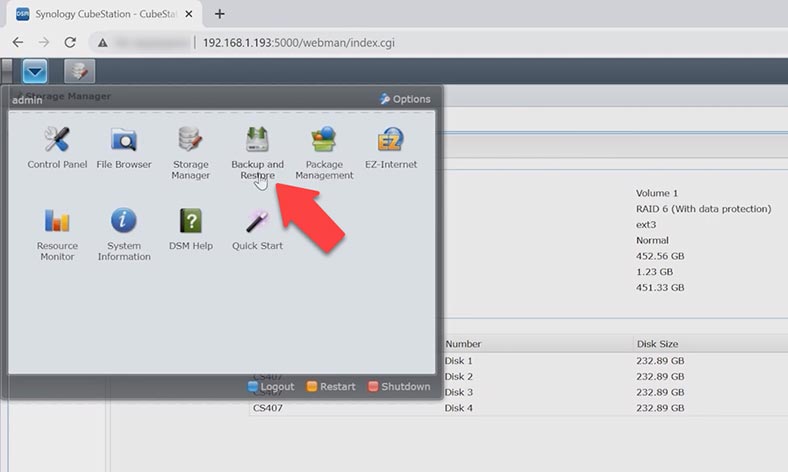
In the window that opens, click Create – Next, set a name and choose a directory where to save the backup.
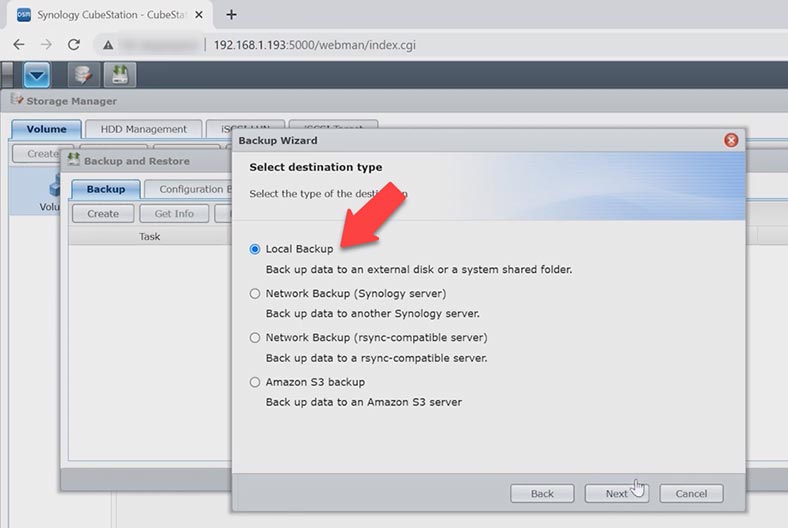
Select a destination folder and click Apply to confirm it. Wait until it is over.
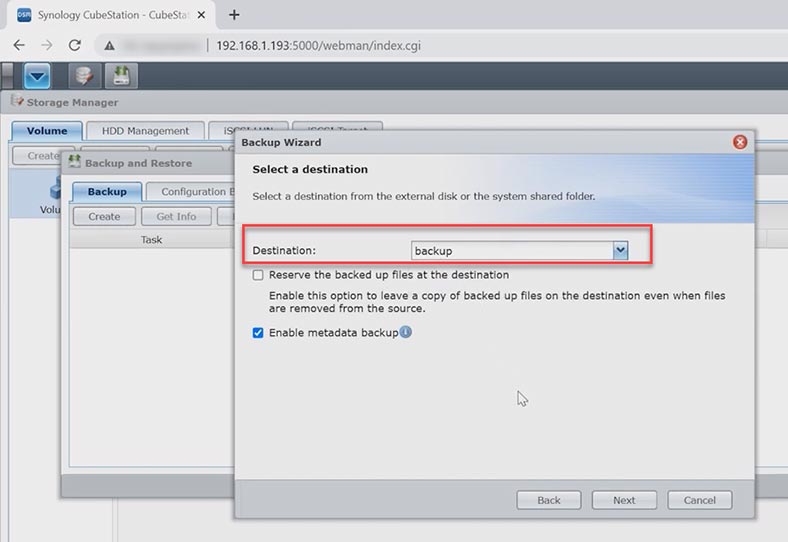
If you need to recover accidentally deleted files, just upload the latest backup. However, you should understand that a backup can only restore the condition of your folders as of the specific date and time when this backup was created. Before you decide to restore it, back up the current condition so that you don’t lose the changes you have made since the last backup session.
To recover files from a backup, open Backup and Restore and click on the Restore button.

Select the folder you’d like to recover, then click Next and Apple to confirm the action. When the recovery process is over, all the files that have been removed after the backup was created will be restored, but this action will also delete new files that have been added after the backup was created.
Recover Synology CS407 NAS data
How to recover necessary files
All right, but how can we recover files if there is no backup to use, or when the RAID has just crashed? If you realize that you have accidentally removed files from a network drive and there is no backup at all, you’ll need a special software tool to bring the files back. If you lost access to RAID data because the storage device broke down, the RAID was misconfigured or rebuilt, or if you deleted files or formatted the hard disks by accident – just download the specialized data recovery tool – Hetman RAID Recovery.
Hetman RAID Recovery supports all popular file systems and RAID types. Before you start the recovery process, power off the NAS storage and take out all of its hard disks.
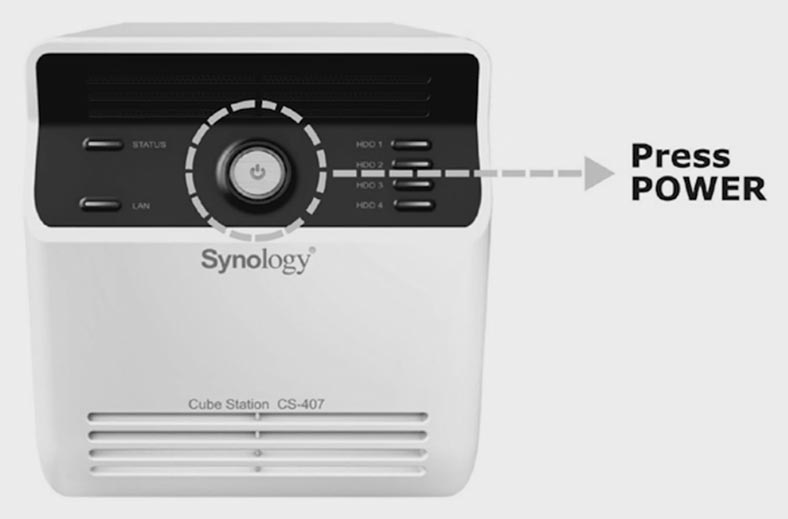
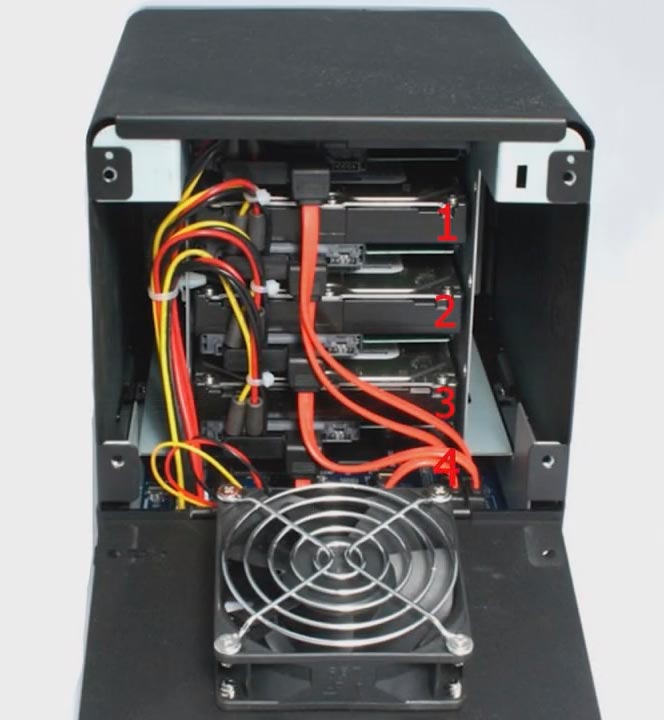
Remember the order in which they were installed in the system case: to avoid confusion, we recommend marking them with numbers.
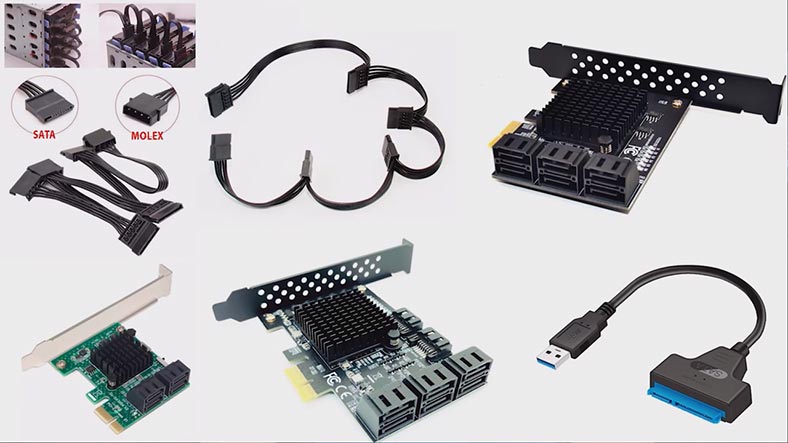
Connect all the disks to a Windows computer, using USB or SATA ports. If your motherboard lacks SATA ports or power connectors to use all the disks you need, you can add adapters or expansions cards to solve the problem.
The most important thing is to connect all disks at the same time. The only exception is when you work with a RAID system that can remain operable when one or more hard disks are missing. In the case of RAID 6, two hard disks can be excluded from the array, provided that the rest of the disks are still operable. If it’s impossible to check operability of all disks, just connect all the HDDs that this RAID consisted of.
The program will scan the drives automatically, and then it will rebuild the damaged array. Detailed information about this disk array is shown below. To view all array data, open its properties.
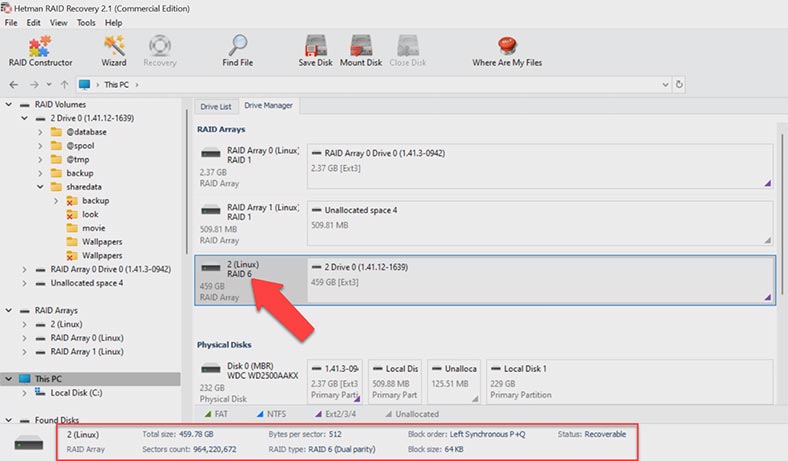
To search for deleted files, right-click on the disk and choose Open. Choose the scan type. We recommend beginning with Fast scan – this will take less time, and it works fine in most typical recovery scenarios.
Open the folder where the information was stored, select the files to be restored, click Recovery, choose where to save them, then click Recovery again.
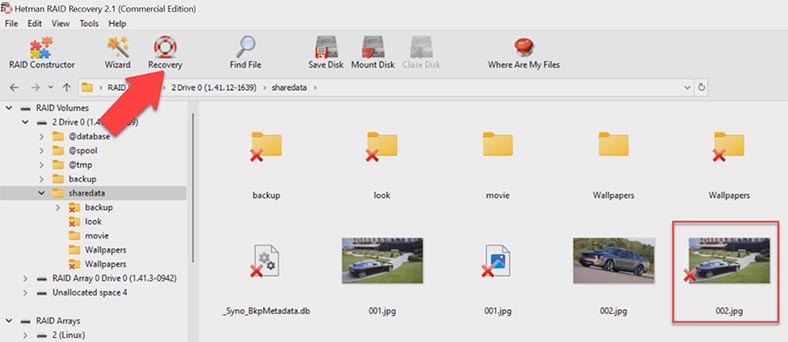
When the recovery process is over, you’ll see all the files in the specified directory. If the program can’t find the missing files, then go for Full analysis. To do it, return to the main menu, right-click on the disk and choose Analyze again – Full analysis. Choose the file system type. You can uncheck the option for signature-based search, as it will make the process go faster.
If there is an error or the access to the network drive is lost, don’t try recovering the array unless you feel confident about what you’re doing. An attempt to rebuild or reconfigure the array can easily erase the remaining information on the hard disks, and it can make recovery useless. The best method would be to take the hard disks out of the storage immediately and begin the process of searching and recovering data with a specialized software tool.
How to recover data from an iSCSI drive
If you are using an iSCSI connection and you accidentally removed some files from the network drive and you can’t see them in the Recycle Bin, they can be restored with specialized data recovery software called Hetman Partition Recovery. If files are just deleted from a network iSCSI drive, you don’t have to take the hard disks out of the NAS, connect them to a computer and rebuild the RAID. In this case, all you need is to scan the array and recover the necessary files.
Hetman RAID Recovery identifies such iSCSI volume as a physical disk, just like the operating system of your computer does, and it means you can easily scan it and recover the accidentally removed data from there.
To start the recovery process, right-click on the disk and choose Open. Select the scan type and start the analysis. Go to the folder where the deleted files used to be, select them and click Recovery.
| Step | Action | Description |
|---|---|---|
| 1 | Connect ISCSi Disk | Ensure your ISCSi disk is properly connected to the computer or server where you plan to perform data recovery. |
| 2 | Check Disk Status | Use disk diagnostic tools to check the status of the ISCSi disk and look for any damage. |
| 3 | Select Recovery Software | Install a data recovery program that supports ISCSi disks. For example, Hetman Partition Recovery. |
| 4 | Scan Disk | Run a scan of the ISCSi disk to find lost data using the selected software. |
| 5 | Preview and Select Files | After scanning, review the list of found files and select the ones you need to recover. |
| 6 | Save Recovered Data | Save the recovered files to a different storage device (not the same ISCSi disk to avoid data overwrite). |
Conclusion
If your NAS breaks down or some files are removed accidentally, you should take some steps to recover them as soon as possible, because if you continue to use the array, this can result in losing that data permanently. You should stop using the storage device as soon as you notice any signs of failure or data loss. Wrong and hurried steps may lead to excessive damage to your NAS and reduce your chances for successful data recovery.


