BtrFS Data Recovery: Expert Tips for Drive & RAID Systems
From this article, we provide a detailed guide on how to recover data effectively from a BtrFS drive or RAID setup. From understanding the unique characteristics of BtrFS to utilizing specialized recovery techniques, we cover everything you need to know to retrieve your valuable data safely. Whether you’re dealing with accidental deletion, file corruption, or other data loss scenarios, this article equips you with the knowledge and tools to restore your data and regain peace of mind.
- BtrFS file system
- Create a mount point
- How to create a RAID 5
- How to mount a RAID drive
- How to replace or add a drive
- How to recover a damaged volume
- Data recovery from BtrFS RAID 5
- Peculiarities of BtrFS file system
- Conclusion
- Questions and answers
- Comments
Usually, mdadm and lvm are used to create a RAID system in Linux, and you can learn more about them from other videos on our channel.

🐧 BtrFS File System. How to Recover Data from BtrFS RAID 🐧
In addition to the tools described in this video, another helpful thing you can discover is the integrated RAID support in BtrFS file system. It uses its own means to build and manage disk arrays, so let’s have a closer look at all of its features.
BtrFS file system
BtrFS is a modern file system with the integrated Copy on Write feature and RAID support. The core of this option is that old data does not have to be overwritten when copied. As a huge bonus, it makes file recovery after failures and crashes much easier, because an error or interruption during the copying process does not affect the previous condition of the files.
| Characteristic | Description |
|---|---|
| File System Type | Copy-on-Write (COW) |
| Snapshot Support | Ability to create snapshots for quick data recovery |
| RAID Support | Built-in support for RAID configurations (RAID 0, 1, 5, 6, 10) |
| Data Compression | Supports transparent data compression to save space |
| Data Integrity | Data integrity checks via hashing and automatic recovery |
| Defragmentation | Automatic and manual data defragmentation |
| Expandability | Dynamic file system size expansion without unmounting |
| File Cloning | Ability to clone files quickly without duplicating data |
BtrFS stores metadata separately from the file system data, and its main advantage is that you can use various RAID levels for data and metadata. Another purpose of this journaled file system is to provide a more effective way to manage the storage system and improve data integrity features in Linux.
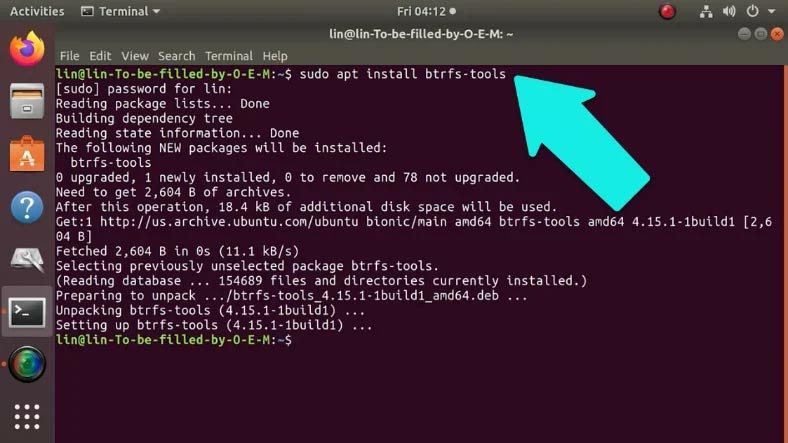
Before you can start using BtrFS, it is required to install several tools for file system management, by running the following command:
sudo apt install btrfs-tools
Create a mount point
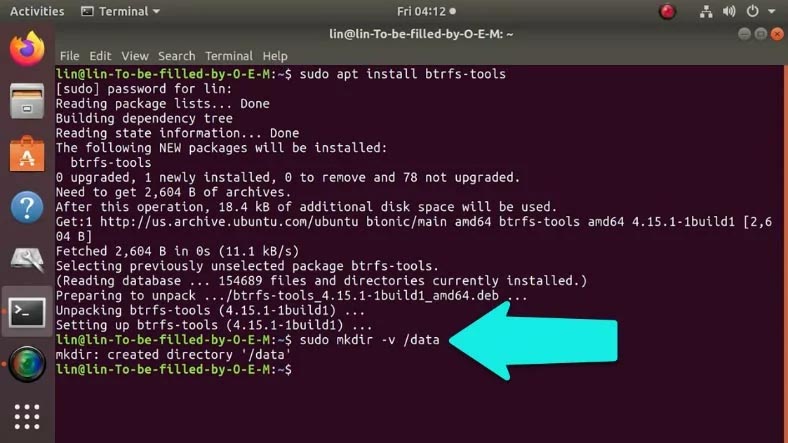
You have to create a mount point directory for BtrFS file system before you can build a RAID array.
Let’s create the directory:
Sudo mkdir –v /data
Where “data” is the directory name.
Now let’s move on to create a disk array.
How to create a RAID 5
When you create an array, you don’t have to divide drives into partitions, as this file system has no such requirement. You can unite both entire drives or specific partitions into a disk array, and even combine drives and partitions. For illustration, I’ll show you how to use five hard disks to create a RAID 5 system.
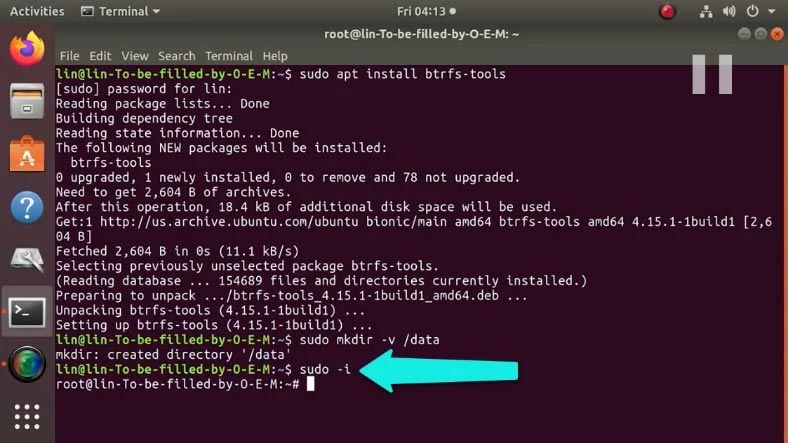
To save the trouble of having to enter the root password every time, run the sudo -i command and type the password, and now you can run all commands as administrator.
To build a RAID system, type this command in the terminal:
sudo mkfs.btrfs -L data -m raid5 -d raid5 -f /dev/sdb /dev/sdc /dev/sdd /dev/sde /dev/sdf
Where:
L is the mark or name of the file system
Index:
d sets the type of RAID5 for data.
m sets the type of RAID5 for metadata.
f forces creation of BtrFS even if any of the drives is already formatted into a different file system.
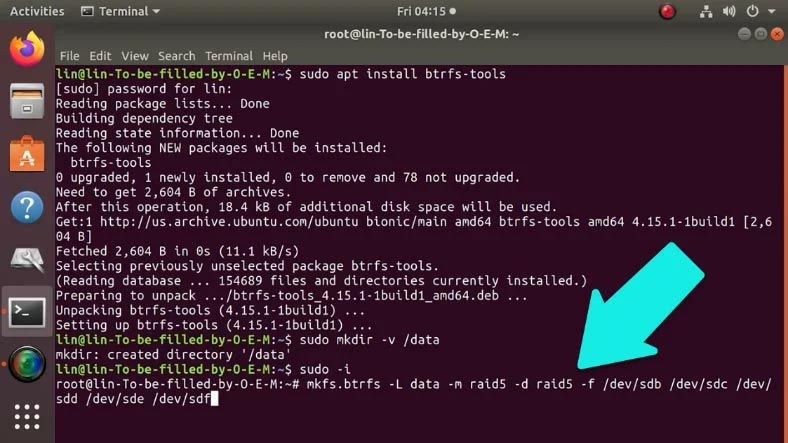
Now you can mount this BtrFS RAID using any of the drives included in your array.
How to mount a RAID drive
In my case, I used 5 drives to create a RAID: sdb, sdc, sdd, sde, and sdf. That is why I can mount the file system data with the help of drive sdb in the directory with the name “data”. Open Disk Management and mount the drive, and then it becomes available.
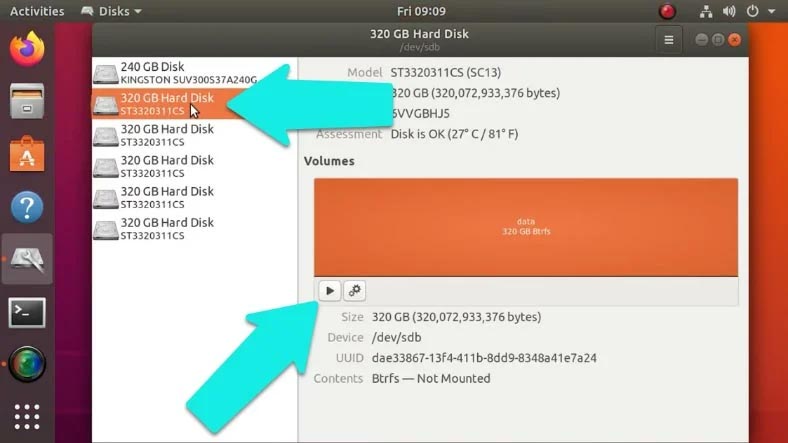
Otherwise, you can use the following command to mount the drive in the terminal.
sudo mount /dev/sdb1 /data
Check the result by typing this command: sudo df -h
sudo df -h
Now the array is mounted in the directory /data
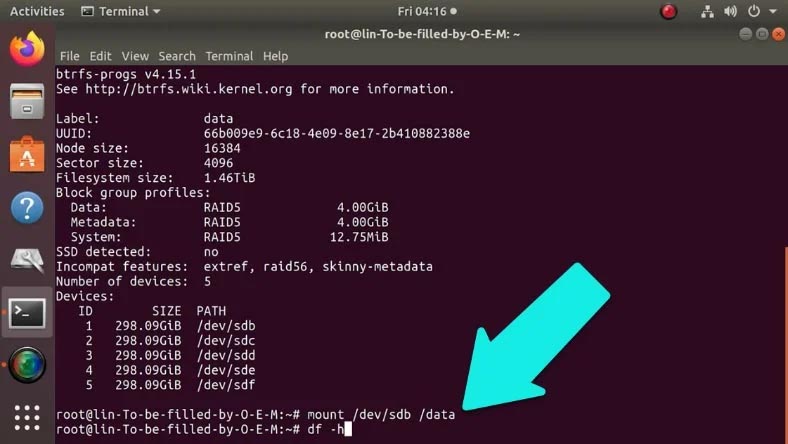
To view the information on the amount of used and free space in this array, type the following:
sudo btrfs filesystem usage /data
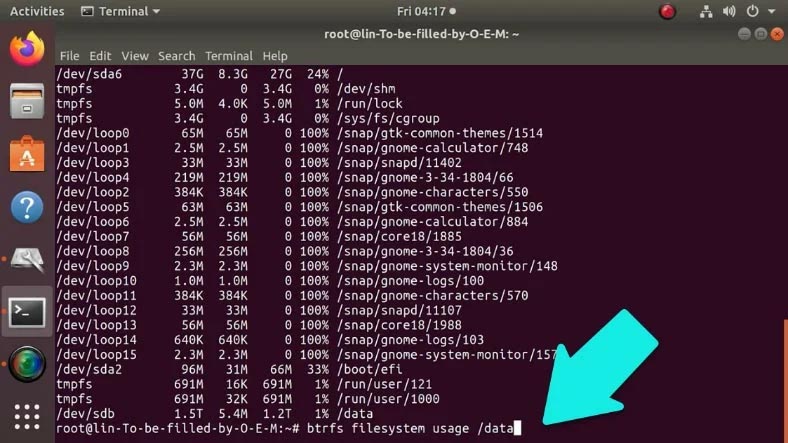
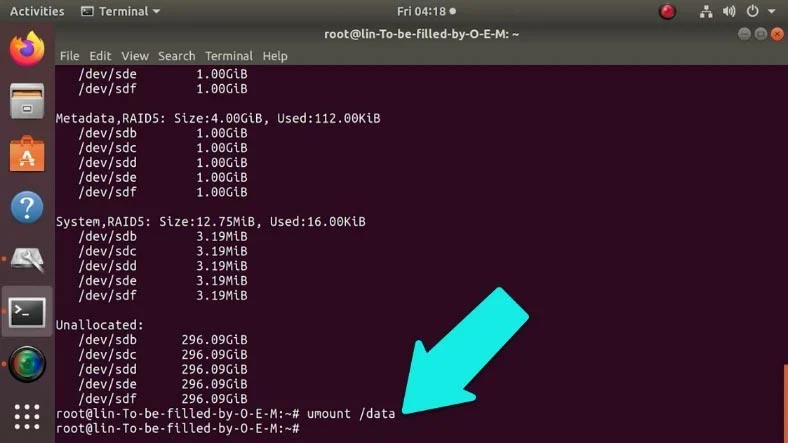
To unmount the array, just type this command:
sudo umount /data
How to replace or add a drive
To replace a drive, type this in the Terminal: btrfs replace. The operation is run asynchronously, that is, in a step-by-step manner:
- start - to launch the process,
- cancel - to stop it,
- status - and to view the operation status.
First of all, you need to identify the number of the damaged drive with the help of this command:
sudo btrfs filesystem show
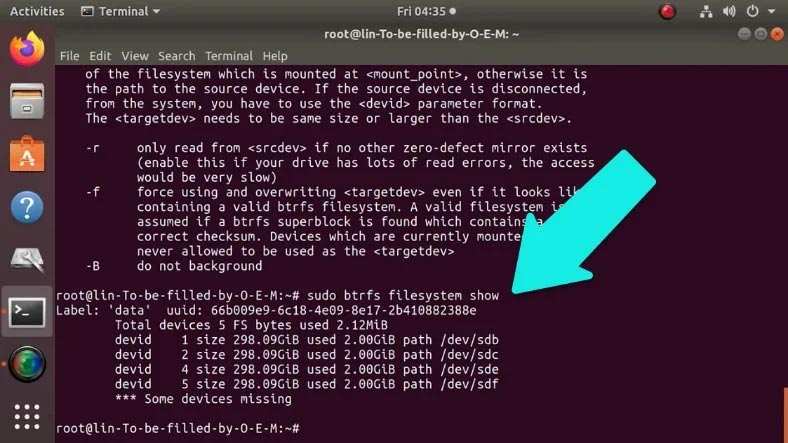
Then replace it with a new one:
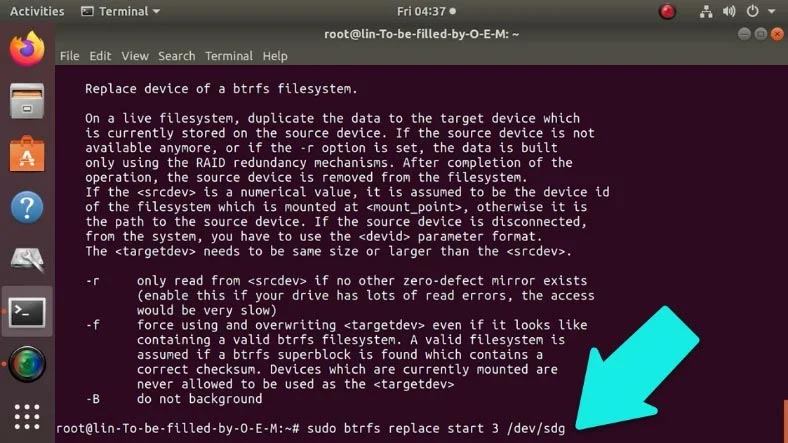
btrfs replace start <removed device or its ID> <added device> <the path where btrfs is mounted>
In my case, I type this:
btrfs replace start 3 /dev/sdg
where: 3 – the number of the missing drive, and sdg – the code of the new drive.
How to recover a damaged volume
To recover a BtrFS array you need to use the integrated mounting option - recovery:
sudo mount -o recovery /dev/sdb /mnt
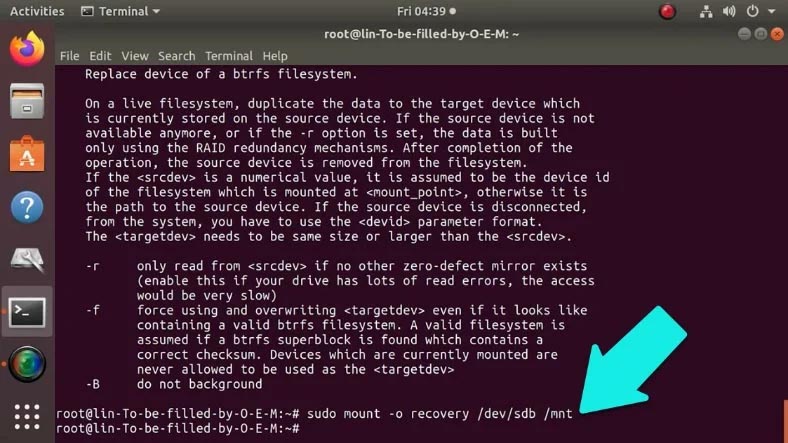
It starts the recovery process.
Data recovery from BtrFS RAID 5
Even the most reliable and fault-tolerant system may fail someday. A system error, drive failure, hardware issues, damaged metadata, accidental removal or wrong settings - any of these may result in knocking the RAID down and causing a loss of important information. If you face anything from that list, just use Hetman RAID Recovery. It is capable of recovering any information from inoperable disk arrays or drives that used to be a part of the array. The utility will rebuild the damaged RAID, reading all available information step by step, and then you’ll be able to copy all the detected data elsewhere.
Connect the drives to a Windows computer, or use a virtual machine, or install Windows as the second operating system.
The program will scan the drives automatically and display all the information about your array.
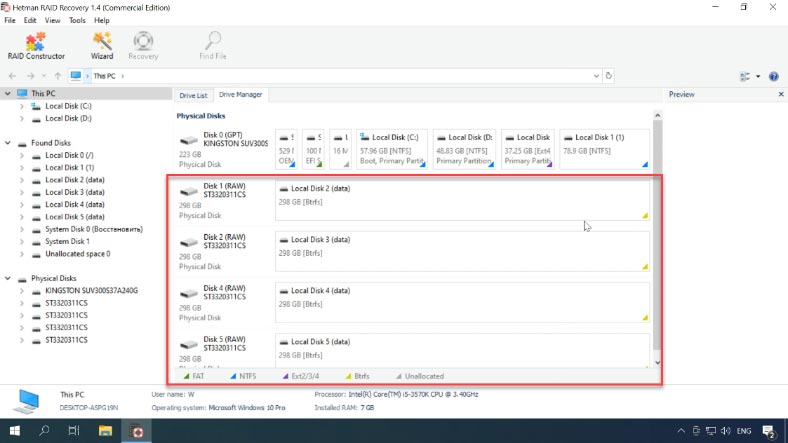
As you can see, in the case with BtrFS RAID the program doesn’t collect the drives into a single array (this can be explained by peculiarities of building this array type), but all the information is stored according to the RAID type which is used.
To start the recovery process, open the Drive Manager, right-click on any drive that used to make up this array, and run the “Fast scan”.
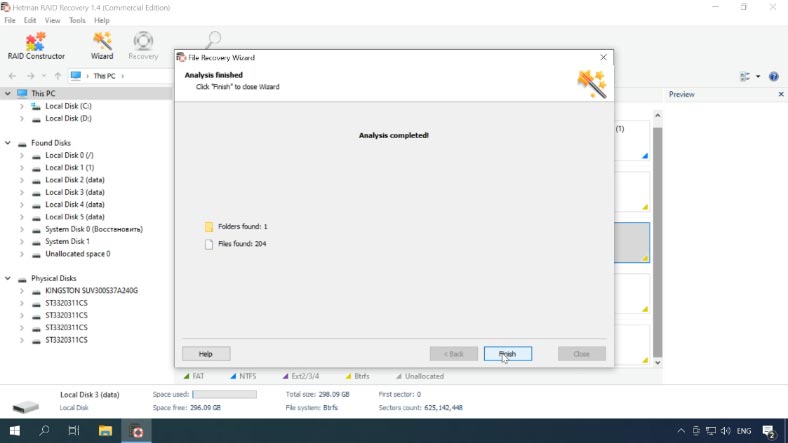
When scanning any drive the result should be the same as all of them are elements of the same disk array.
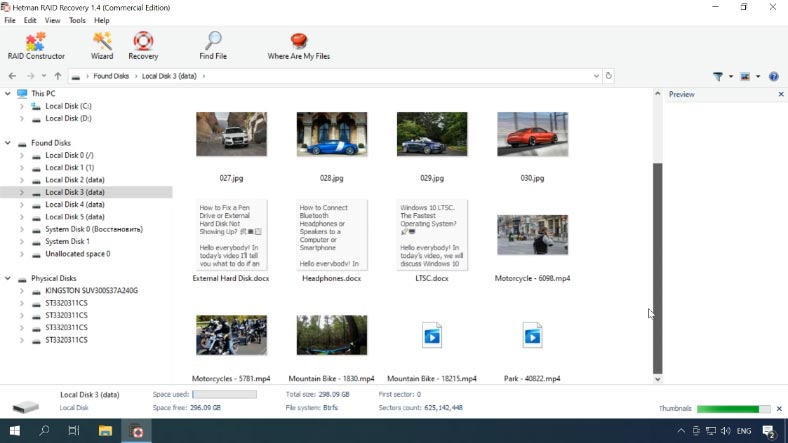
When the scan is over, the program will display the files it has found; the preview feature will help you find the required images or videos more easily.
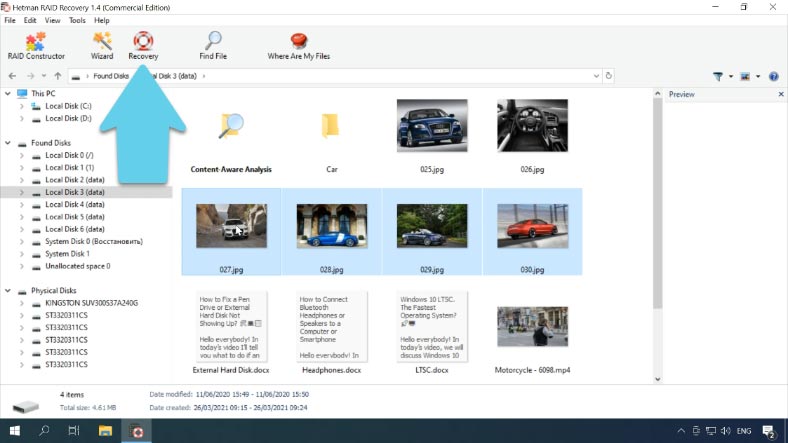
Select the files to be restored, click Recovery, choose where to save them, then click Recovery again. In the end, you will find the recovered files in the folder you have chosen.
If the Fast scan can’t find the information, then go for Full analysis. This type of scan takes much longer, but it’s sure to find all the information still existing on the drive, even if it was removed a long time ago.
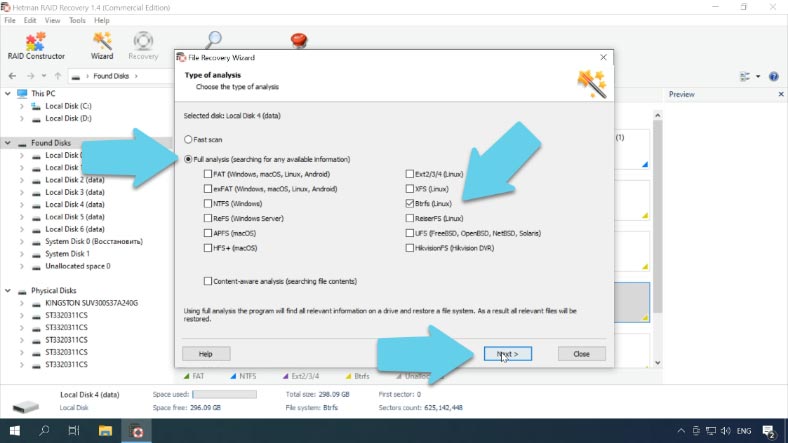
As this is RAID 5, all the information remains intact if one drive is missing, but if two drives are down, a part of the data will be damaged.
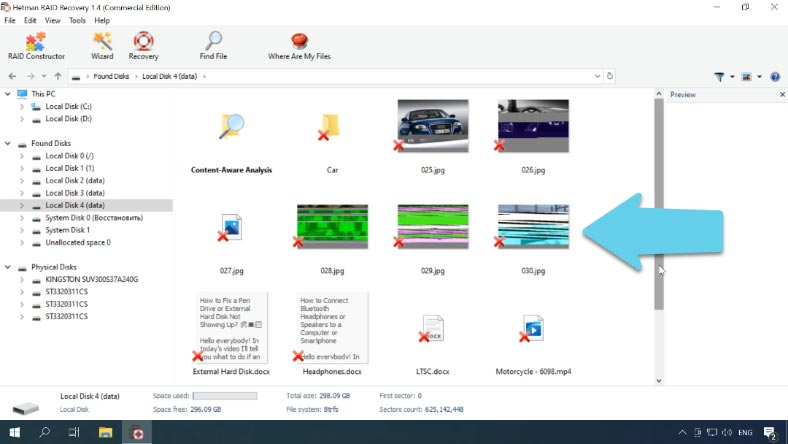
Peculiarities of BtrFS file system
BtrFS supports data compression, that is, all the information available on the drives will be compressed automatically, and when certain data is addressed, the corresponding file will be unpacked.
This feature lets you save a lot of disk space and saves you the trouble of looking for third-party data compression software. BtrFS supports three main file compression methods – zlib, lzo and zstd. They differ by the degree and speed of compression.
Our utility supports the recovery of files compressed with any of these methods. In the program’s interface, compressed volumes and files are shown like this - highlighted in different colors.
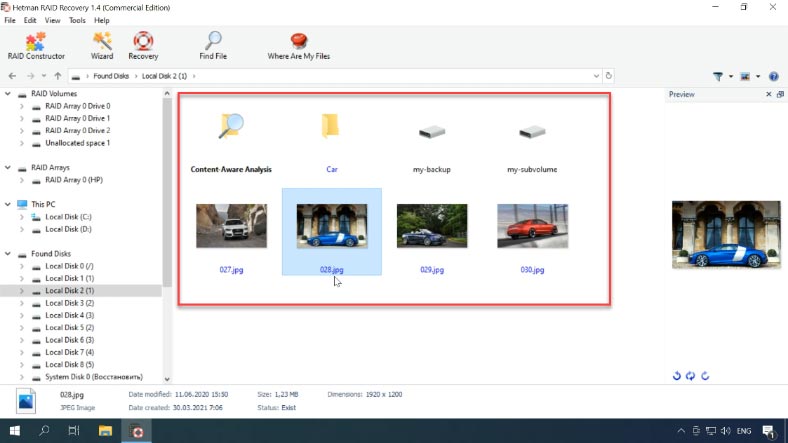
Another serious advantage of BtrFS file system is its ability to create subvolumes. In plain English, you can create, for example, three different disks (subvolumes) on one hard disk. These subvolumes may expand at the cost of free space taken from another volume. When necessary, this feature lets you expand one disk at the expense of another without either compressing or transferring the actual data. These subvolumes are then displayed like this - as disks inside the main drive.
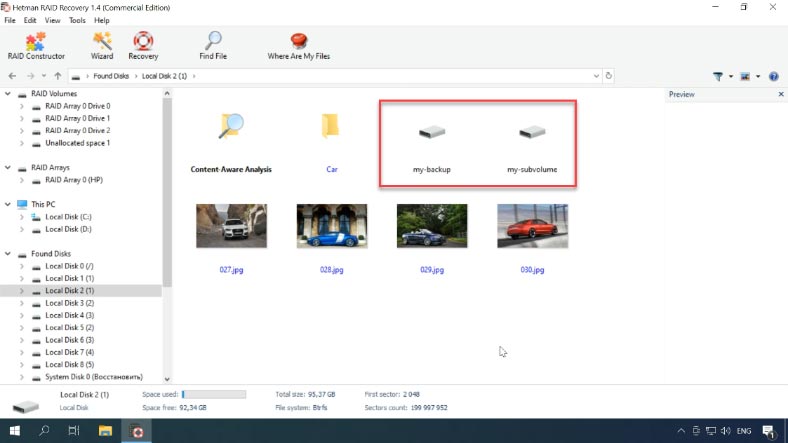
In the same way, folders containing snapshots are displayed.
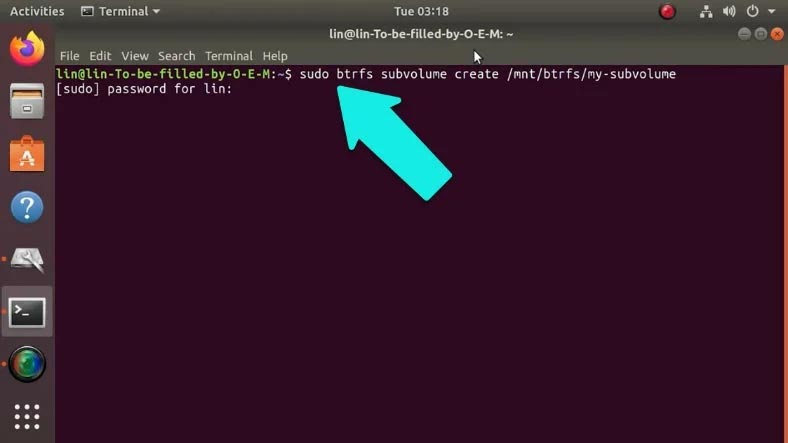
Use the following command to create subvolumes:
btrfs subvolume create /mnt/btrfs/my-subvolume
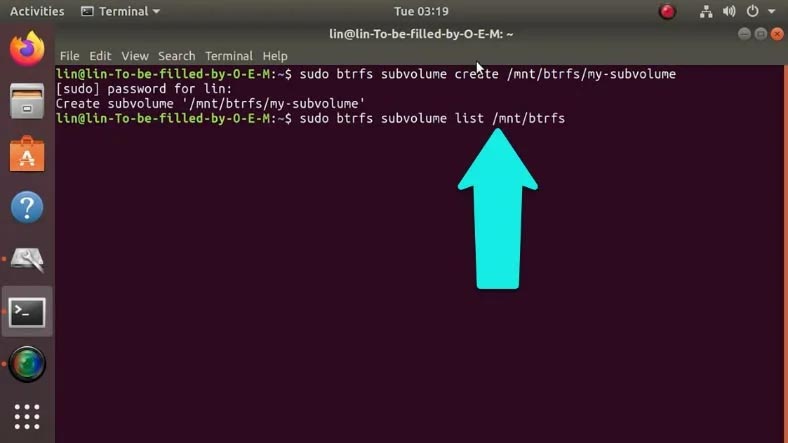
To view the list of subvolumes on this drive, run the following command:
btrfs subvolume list /mnt/btrfs
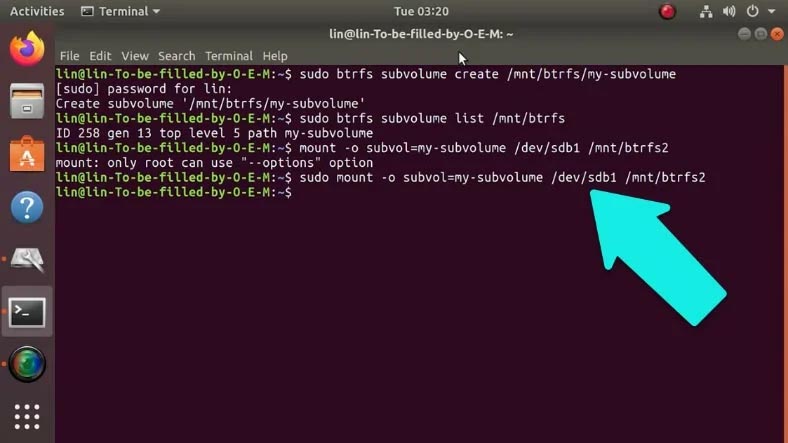
To mount a subvolume, use this command:
mount -o subvol=my-subvolume /dev/sdd2 /mnt/btrfs2
where sdb1 is the drive code.
Conclusion
There are only a few data recovery tools capable of reading BtrFS RAID systems. When choosing which one to use, always remember that information may get erased during the scan, so having an option to create an image of the array and then run the scan on the image instead of the actual set of disks could be a serious advantage. All in all, though, the best way to avoid losing important data is to back up your files regularly.


You can check if it’s possible with the help of this command: # btrfs subvolume list -a /mountpoint
To remove a subvolume, here is another command: # btrfs subvolume delete emptydir
Firstly, update the kernel to the latest version and repeat the mounting attempt. If you have a kernel in the btrfs file system, you will probably have to find the recovery disk with the latest kernel.
Secondly, try mounting the system with such options as -o recovery or -o ro or -o recovery,ro (using the new kernel). One of the options may succeed in mounting the system.
Finally, if there’s anything like that in the kernel logs:
? replay_one_dir_item+0xb5/0xb5 [btrfs]
? walk_log_tree+0x9c/0x19d [btrfs]
? btrfs_read_fs_root_no_radix+0x169/0x1a1 [btrfs]
? btrfs_recover_log_trees+0x195/0x29c [btrfs]
? replay_one_dir_item+0xb5/0xb5 [btrfs]
? btree_read_extent_buffer_pages+0x76/0xbc [btrfs]
? open_ctree+0xff6/0x132c [btrfs]
then you should try using btrfs rescure zero-log
First of all make sure you have passed "compress" mount option in fstab or mount command. If yes, and ratios are unsatisfactory, then you might try "compress-force" option.
This way you make the btrfs to compress everything. The reason why "compress" ratios are so low is because btrfs very easily backs out of compress decision. (Probably in order not to spend too much processor time on performing poor data compression).
By its design, btrfs fi defrag works with a single file system object it received - for example, a file. When you run it on a directory, it defragments the metadata held by the subvolume containing the directory, and not the contents of the directory.
If you want to defragment the contents of a directory, you have to use the recursive mode with the -r flag.