Check TRIM Operability & Enable It: Easy Steps
Learn how to ensure TRIM functionality is working and enable it if needed in this comprehensive guide. Whether you’re using Windows, macOS, or Linux, discover step-by-step instructions and essential tips to verify and enable TRIM for optimal SSD performance. Dive deep into TRIM verification techniques and explore insider strategies to maximize the lifespan and efficiency of your SSD.

Recovering Data from SSD After File Deletion or Disk Formatting ⚕️📁💥
However, it is not enough to have your drive support this technology – it should also be enabled in your operating system and work properly.

SSD Diagnostics: Programs to Find and Fix SSD Errors 🛠️🔎👨💻
Check, Enable and Interact With TRIM in Windows
It should be reminded that TRIM is a controller technology that accelerates the drive’s work greatly by notifying it of the blocks which are no longer in the file system and which can be cleaned in a physical way. Generally speaking, it is necessary to ensure speed and stability of work.
| Feature | Description |
|---|---|
| Purpose | Improves the performance and lifespan of SSDs by informing the drive which blocks are no longer in use and can be erased. |
| Supported Devices | Primarily supported by Solid State Drives (SSDs) and some newer hard drives with special features. |
| How It Works | TRIM sends a command to the SSD telling it which data blocks are no longer needed, allowing the drive to optimize internal data management. |
| Impact on SSD | Enhances the performance of SSDs, especially when deleting files or during system shutdown/startup. |
| Automatic vs Manual | Usually enabled automatically on modern OS (Windows 7 and later). Can be manually invoked if necessary. |
| Supported Operating Systems | Windows (7 and later), Linux, macOS (10.10.4 and later), and others with SSD support. |
| TRIM Command (Windows) | fsutil behavior query DisableDeleteNotify (to check TRIM status) or fsutil behavior set DisableDeleteNotify 0 (to enable). |
| TRIM Command (Linux) | fstrim / (to manually run TRIM on the root filesystem). |
| Benefits | Improved SSD performance, better wear leveling, and increased longevity of the drive. |
| Limitations | TRIM may not work effectively on older SSD models or if the drive is in RAID configuration. |
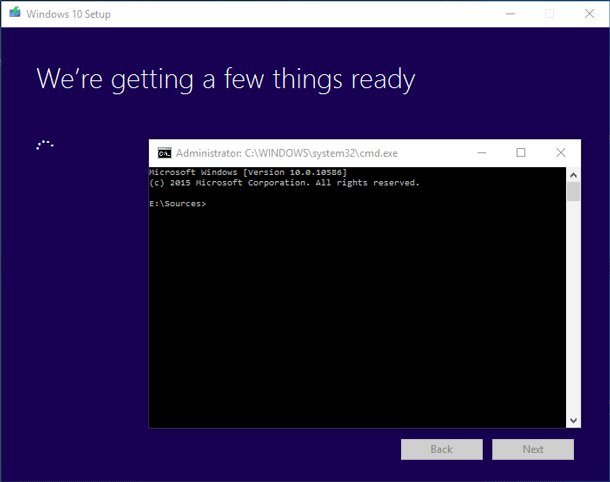
To see if TRIM is enabled in your system, we will need the Command Prompt.
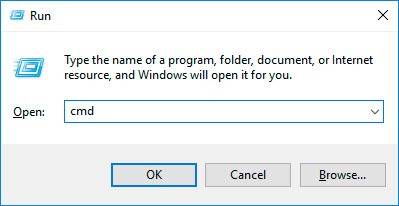
To start the Command Prompt, press Win + R and in the Run windows that appears type in cmd. The command prompt utility is usually located in the folder C:\Windows\System32\cmd.exe and you can start it from there (preferably, like this: Right-click -> Run as administrator).
In the console that appears, enter the command:
fsutil behavior query DisableDeleteNotify
fsutil behavior query DisableDeleteNotify
The answer will be one or two lines with the value 0 / 1 as a result.

The first line (NTFS) accounts for the file system NTFS, and the second – for the server file system ReFS). If you’re not using Windows Server, you should be interested in the first line only.
Now, explanations:
- 0 - it means everything is all right and TRIM is enabled;
- 1 - TRIM is disabled at the system level.
If you have value «1» it is recommended to enable TRIM in order to greatly accelerate performance of your SSD. To do it, enter the command:
fsutil behavior set disabledeletenotify NTFS 0
or
fsutil behavior set disabledeletenotify ReFS 0
for one or the other file system, respectively.
fsutil behavior set disabledeletenotify NTFS 0
fsutil behavior set disabledeletenotify ReFS 0
If you get an error Access denied, repeat the procedure by starting the console as an administrator (above, we have shown how it can be done). After enabling or disabling the function, it is better to restart the computer.
Still, it is not enough to enable or disable TRIM at the system level. It is important that the controller should support all functions of this technology and work correctly, and it is time to check it.
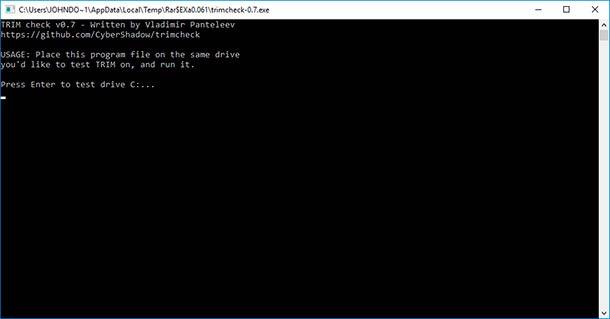
Download the program TRIMcheck for 32-bit or 64-bit version of the operating system (depending on what kind of Windows you have), place the program file onto the corresponding SSD (which you want to check), start it (better do it as an administrator) and press Enter.
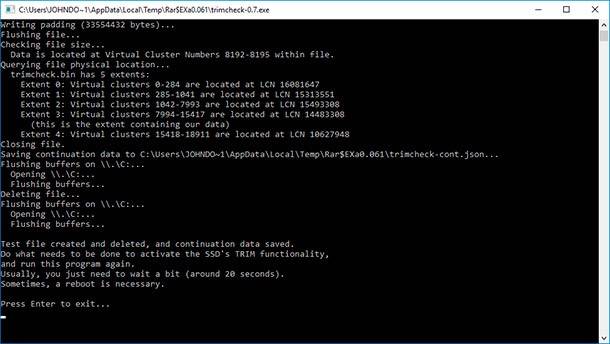
Wait for the script to complete its work and press Enter again. After that make sure you have waited from 20 seconds to several minutes and only then start the program again.
The result will be either «TRIM appears to be WORKING!» and it means everything works perfectly.
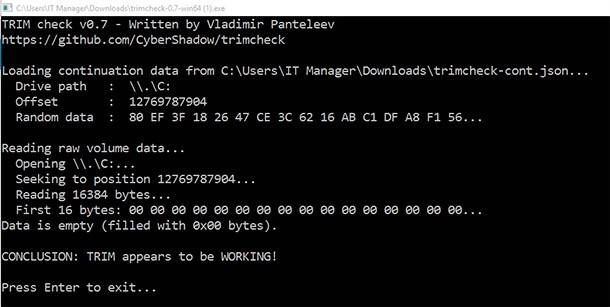
Or Appears to be NOT WORKING, which means that TRIM is not activated. In this case, you’ll have to do the following:
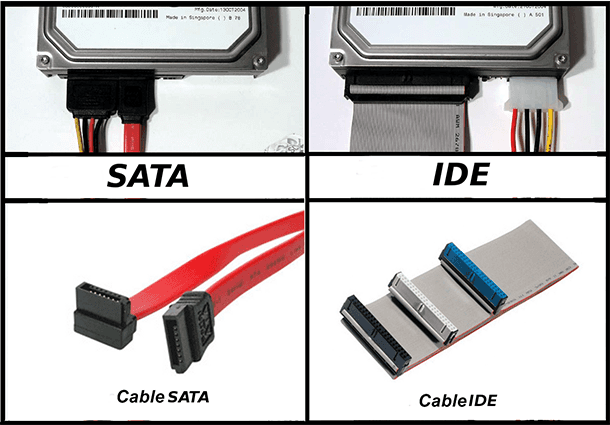
- Make sure that in BIOS the controller mode SATA is set as AHCI, and not as IDE, RAID or in any other way;
- Make sure, as we have done it before, that Windows has enabled TRIM and even if you did that, disable and then re-enable it (restarting the computer after each action);
- Update your motherboard drivers and especially for the AHCI controller which can be done from the manufacturer’s website, or;
- Install the latest firmware for your SSD (go to the manufacturer’s website to learn how to do it).

How to Enable AHCI Mode Without Reinstalling Windows, INACCESSABLE_BOOT_DEVICE Error 💻🛠️🤔
Afterword
We hope that it will help you in troubleshooting or will just assure that your drive is all right and works at its maximal capacity.
As always, if there any ideas to share or if you want to add something, you are welcome to comment on this article.


