How to Perform Hard Disk Error Checking
Learn how to check your hard disk for errors in Windows with this comprehensive guide. Whether you’re experiencing performance issues, file corruption, or system crashes, this tutorial covers everything you need to know. Dive deep into step-by-step instructions and essential tips for performing hard disk error checking to ensure the health and reliability of your storage drive.
- Overview of the Problem
- Why Can Errors Appear On a Hard Disk?
- Checking the hard disk for errors in Windows
- Questions and answers
- Comments
Overview of the Problem
It has to be noted that the operations we are going to describe below cannot solve all problems with your computer freezing or slowing down. Yet in case when the freezing comes from hard disk errors, these actions will certainly help you.
Besides, error correction and keeping your hard drive in a normal condition will help to extend its lifespan and ensure safety of the data which you keep there. That is why it is recommended to run this operation regularly.

How to Check Your Hard Disk for Errors and Fix Them in Windows 10 🔎🛠️🗄️
Why Can Errors Appear On a Hard Disk?
There are various causes for errors to emerge. For example, electricity was cut off when you were working on your computer, and while some files of programs were being used. Besides, some users switch off their computer by pressing the power button instead of clicking on Shutdown button.
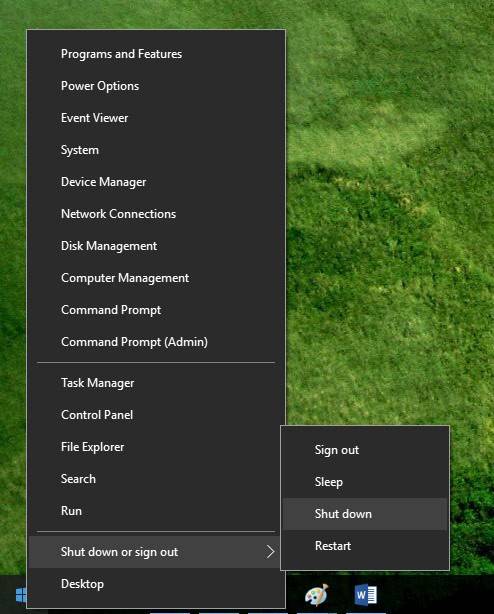
Such actions are the same as an unexpected power failure, and it makes the computer to finish its work in an incorrect way. Moreover, there a lot of other reasons for hard disk errors to appear.
Checking the hard disk for errors in Windows
There are several ways to check your HDD for errors. It can be done with the help of CHKDSK integrated command prompt utility or with the use of third-party software. For beginners, the last variant is the best as it is the simplest of all.
CHKDSK

This process can take up quite a lot of time depending on the size of your HDD and the number of errors detected. It is better not to use the computer during this operation. If you run this check on the system disk where your operation system is installed, it should be done after restarting your computer.

How to Fix a RAW Disk in 2020 and Recover Data from an HDD with RAW Partitions💻⚕️🛠️
Step 1. The First Step
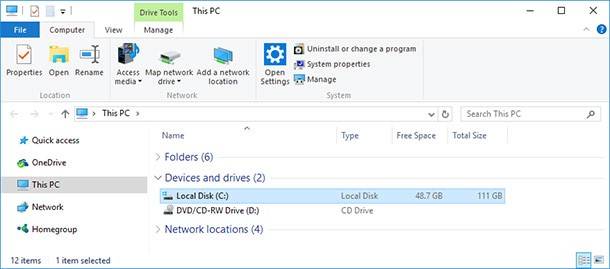
First of all, you should go to This PC. If there is no such shortcut on the desktop, you can do it via Start menu. If you need to place the shortcut on the desktop you can search the web for advice.

Step 2. The Second Step
Then you should select the disk which you want to check and right-click on it. In the menu that appears, select Properties.
Step 3. The Third Step
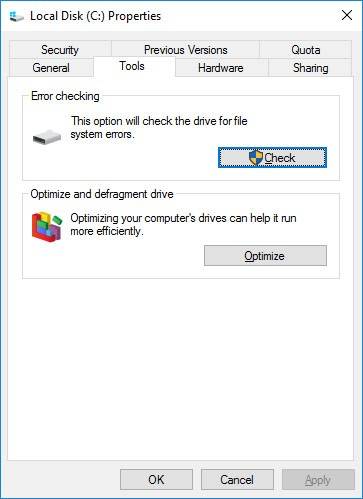
As you get to properties of the disk, go to Tools tab where there is a button Check to click. A window will appear with a section Check disk options. In this window, check the boxes next to Automatically fix file system errors and Scan for and attempt recovery of bad sectors. It will allow discovering file and physical errors on your hard drive. Then click on the button Start.
As you do it, the checking process begins, which does not require a user to control it, so you can do something else during this time. When the check is complete, a window will appear saying that the scanning was successful and showing the number of errors found during the scanning if there were any.
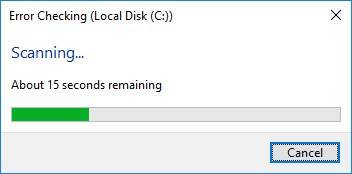
That is basically all. This method is quite easy, so any beginner can use it. If necessary, other methods can be used but they require certain experience in using a computer. Beginners can also try using third-party software to check their hard disk and correct all errors automatically.
Keep your information safe from loss, make sure your data storage is in good running order, and then you will not have to worry about data recovery software.

How to Fix Flash Drive Errors: The Drive Can’t Be Recognized, Wrong Size, RAW File System 🛠️👨💻🤔


