How to Recover Data From a Non-Operational UTM Virtual Machine
Read this article to find out how to recover data from a non-operational UTM virtual machine on MacOS. How to create and configure a virtual machine, what to do if it’s damaged or won’t start, and how to restore its operability.
- Why virtual machine data can be lost
- UTM virtual machine files
- How to retrieve files from a non-operational UTM virtual machine
- How to recover files of a .qcow2 virtual disk files
- Configuring a new UTM virtual machine
- How to recover UTM virtual machine files with the help of Time Machine
- How to avoid loss of UTM virtual machine data
- Conclusion
- Questions and answers
- Comments
UTM is a free and open-source emulator and virtualization tool for macOS, which is based on QEMU. It allows users to run various Windows and Linux operating systems inside macOS. UTM doesn’t require any drivers to be installed, it works in the user’s environment, and supports both Intel and Apple Silicon CPUs. Thanks to a most convenient interface, even novice users can create a virtual machine without effort. Within a few minutes, we’ll explore how to create and configure a Windows virtual machine.

🔷 How to Recover Data of an Oracle VM VirtualBox Virtual Machine 🔷
Why virtual machine data can be lost
For starters, let’s explore why access to virtual machine data could ever be lost.
- The first thing that may occur is accidental removal of your files. Most of the time, it happens when a file is accidentally sent to the Recycle Bin, or when the Recycle Bin is emptied in the virtual operating system.
- Another cause of data loss is when the virtual disk gets damaged or deleted. A virtual hard disk of the UTM hypervisor is a file with the extension .utm or .qcow2. When the file is damaged, the virtual machine will not boot.
- One more thing to cause trouble is various failures when installing apps, drivers or updates. In its turn, such situation may corrupt the data structure.
- An unexpected shutdown of the virtual machine can also affect your data. For example, if your macOS freezes, you choose to restart the computer, and this is why the virtual disk may be overwritten with some errors.
- Finally, system failures inside UTM itself or macOS internal issues might also cause a bit of trouble.
| No. | Cause | Description |
|---|---|---|
| 1 | Deleting a virtual machine | Accidental or deliberate removal of a VM, manually or via the UTM interface. |
| 2 | Disk image damaged | The .utm or .qcow2 file may be damaged due to a system failure, emergency shutdown etc. |
| 3 | UTM update errors | Incorrect updates may affect compatibility with older machines. |
| 4 | A macOS failure | System errors or file system failures may damage virtual machine files. |
| 5 | Disk formatting | Users may accidentally format the volume containing VM images. |
| 6 | Hardware failures | Issues affecting SSD, external drive or other storage devices. |
| 7 | Moving or renaming files manually | Changes in the UTM folder structure without consideration of their relations may result in boot failure. |
| 8 | Conflicts involving other hypervisors | Installation of other VM software may cause conflicts concerning access to resources. |
| 9 | Deleting data inside a VM | Errors in the guest system (for example, Linux or Windows inside UTM) may cause a loss of files. |
| 10 | Encryption or viruses | Encryption software or malware inside the guest OS may destroy or encrypt data. |
UTM virtual machine files
By default, UTM virtual machines are stored in the Documents folder.
Users/User name/library/containers/UTM/Data/Documents
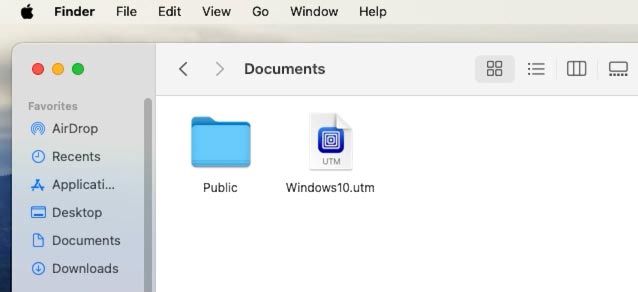
If the default path was modified during initial setup, go to the previously specified folder – you can see it in the virtual machine settings.
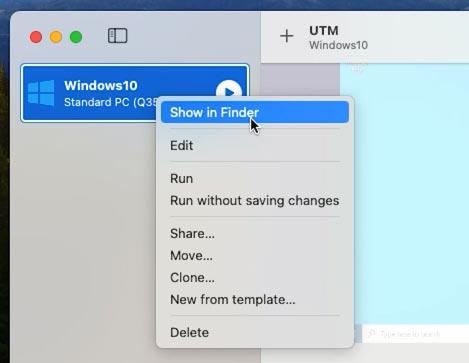
Search the folder for a file with the extension .utm. This file is the container for the whole virtual machine. Right-click on it and select Show package contents.
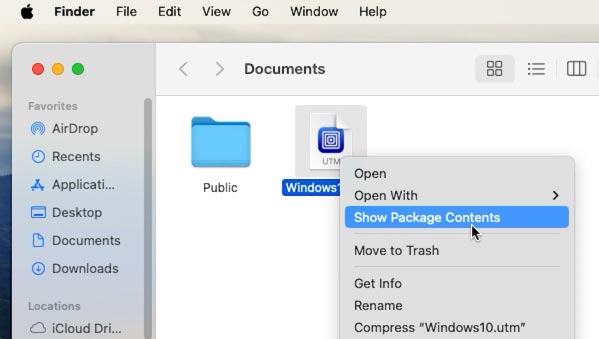
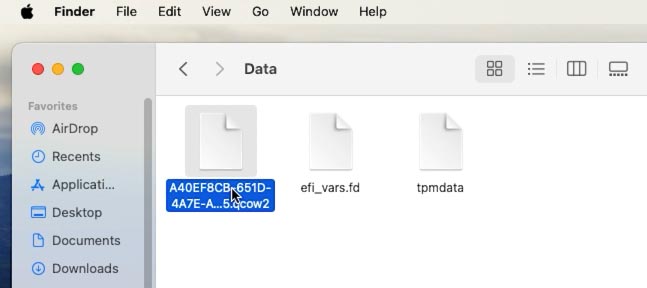
Inside it, you should see a file with the extension .qcow2 - which is the actual virtual disk file. It is from that file that we are going to retrieve the important files stored on your virtual machine.
How to retrieve files from a non-operational UTM virtual machine
If your virtual machine won’t boot, a special data recovery tool called Hetman Partition Recovery will help you retrieve important files. This utility supports all popular file systems as well as most hypervisor apps, including the virtualization solution by UTM.
Go to its website hetmanrecovery.com and download the tool. Choose the version for macOS.
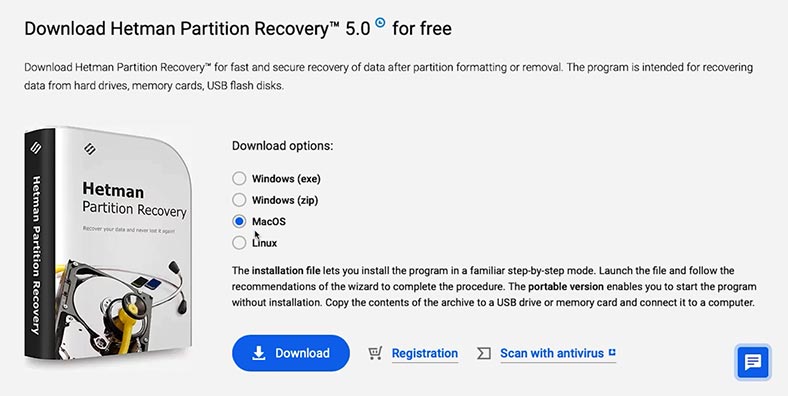
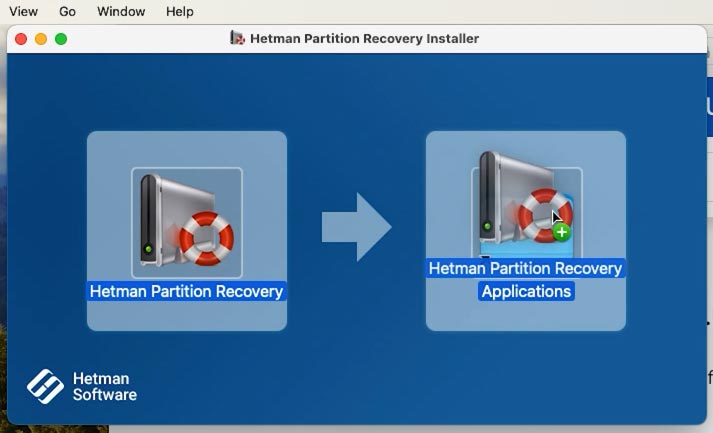
Now install it just like any other app, and drag the shortcut to the folder containing your programs.
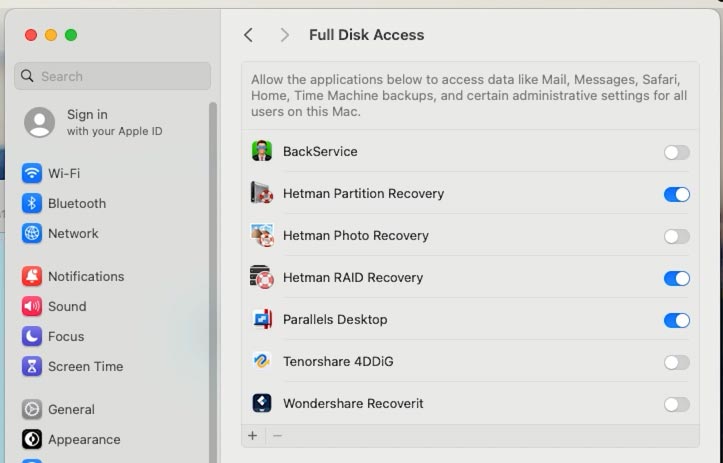
The utility needs full access to hard disks to work properly. Do it by opening the Settings and granting the utility full access to disk.
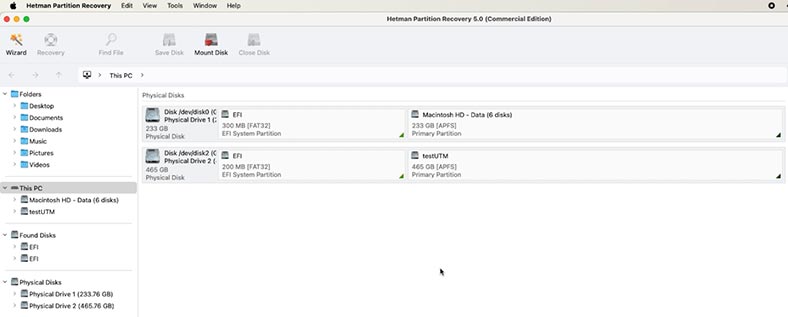
Start the utility - remember to type the administrator password. As a result, you’ll see a list of all connected drives.
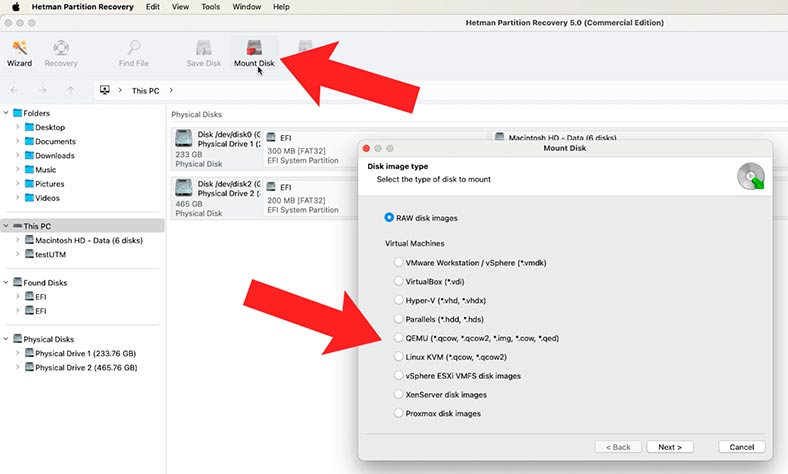
However, to retrieve files from the virtual disk you need to mount it in the recovery tool. To do it:
-
Click on Tools - Mount Disk.
-
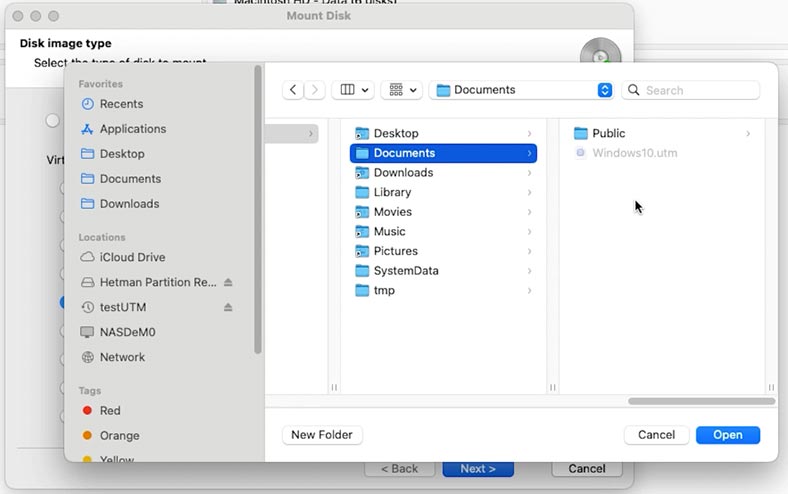
From the list, select virtual machine files with the extension .qcow2, and then give the path to the virtual disk image – and earlier in this video, we have already found its storage directory. When the full path to such folder is ready, click ОК.
-
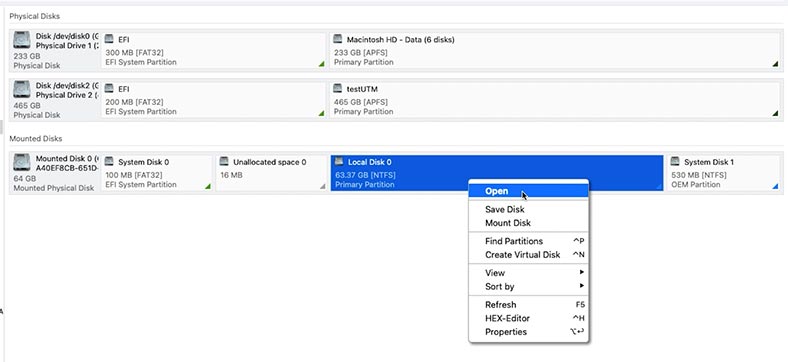
The disk will appear in the main window. To scan the disk, right-click on it and choose Open, then select the scan type – Fast Scan or Full analysis.
To begin with, we recommend running a Fast Scan first - it will take less time and help you find the files in most scenarios involving data loss.
-
If the Fast scan can’t find the required files, then go for Full analysis.
A full analysis will take longer since it makes use of a more complicated search algorithm.
-
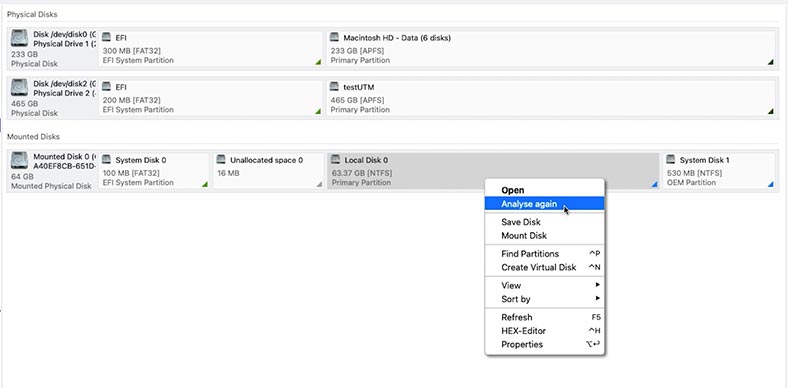
To run it, return to the main menu, right-click on the disk and choose Analyze again, Full analysis.
-
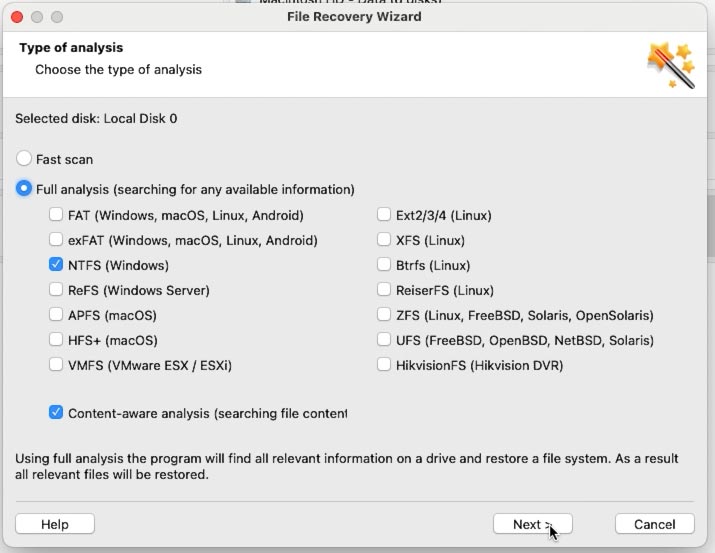
Choose the file system – Next.
-
When the scan is over, open the folder where the lost files used to be. For your convenience, there is a preview feature to see the file contents. Select everything you want to restore, and click the Recovery button.
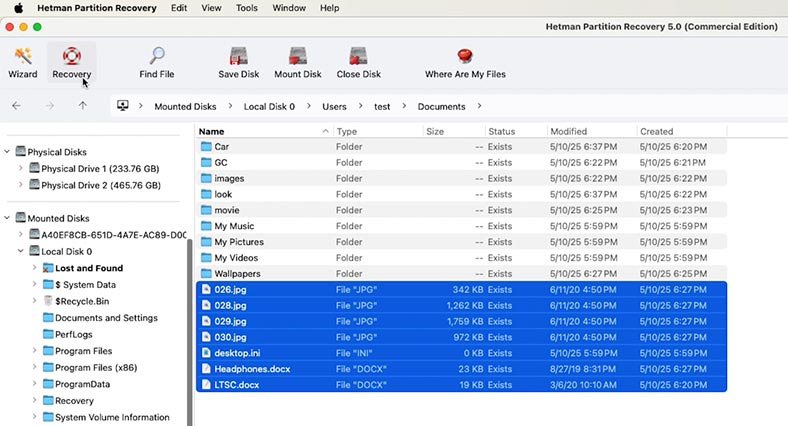
-
Then choose where to save the items (the disk and folder) and hit Recovery again.
-
You will find the recovered files in the folder you have chosen.
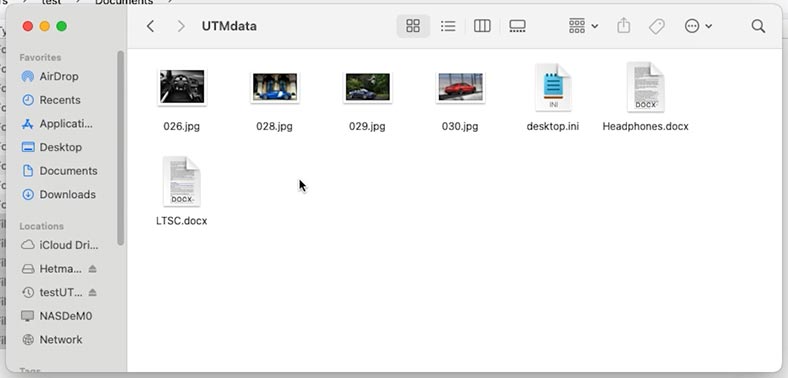
This way, even if the virtual machine is damaged and it won’t boot, you’ll be able to retrieve its data directly.
How to recover files of a .qcow2 virtual disk files
Also, you can use Hetman Partition Recovery to restore accidentally deleted qcow2 virtual disk files.
If the virtual disk files were stored on a removable disk, and you accidentally deleted them or erased the disk, this recovery tool can retrieve them easily, thus restoring the operability of the virtual machine.
Scan the removable disk - right-click on it - Open.
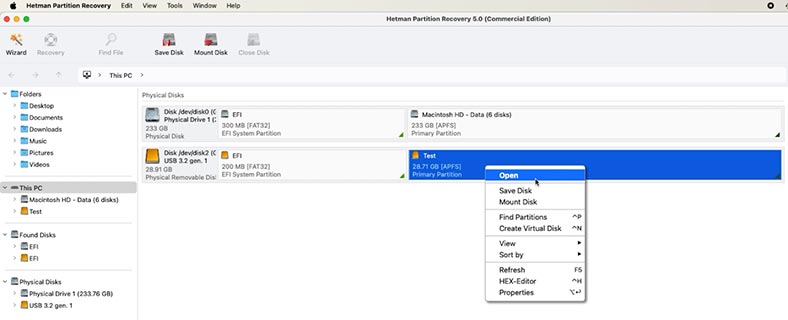
Choose the scan type.
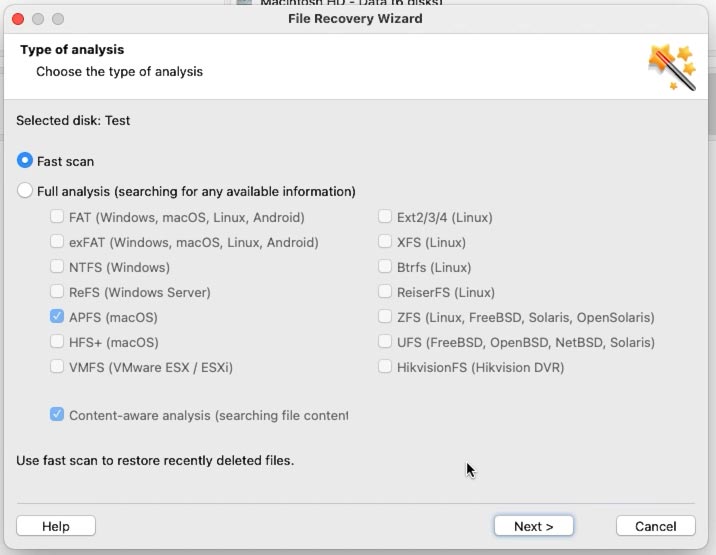
Find the virtual disk file and recover it. Select the ones you need and click Recovery.
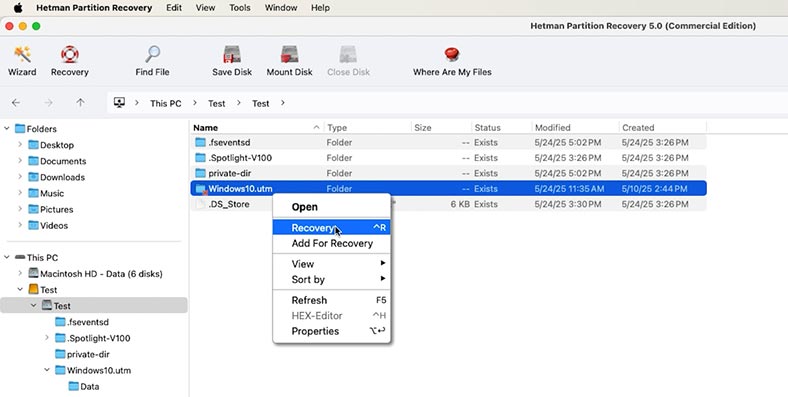
After recovery, you’ll be able to restore operability of your virtual machine by placing the virtual disk file to its original location, or using it to replace the damaged virtual disk file.
Configuring a new UTM virtual machine
Before you move on to the next recovery method, you need to understand how to create and configure a new virtual machine in UTM.
-
For starters, let’s install UTM. Visit its official website and download the app. After that, install it just like any other program.
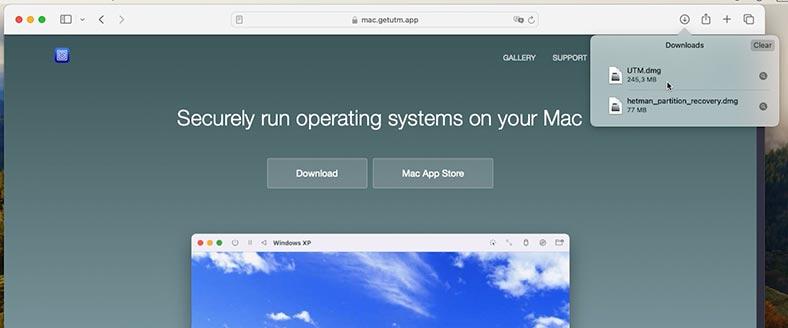
-
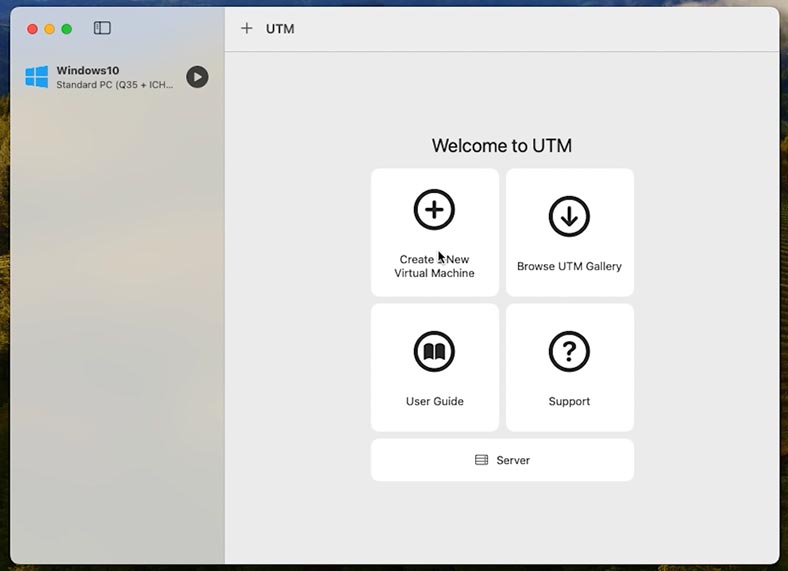
Then open UTM and click on the button Create a New Virtual Machine.
-
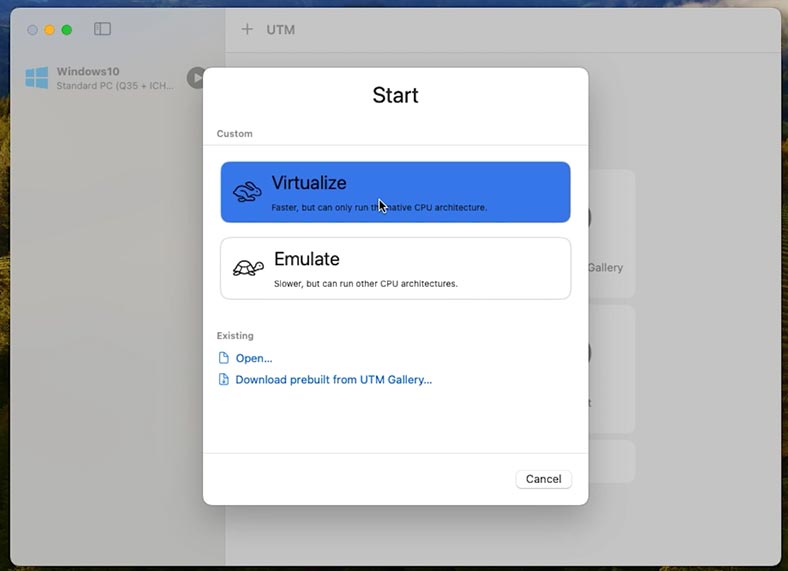
Select virtualization type.
-
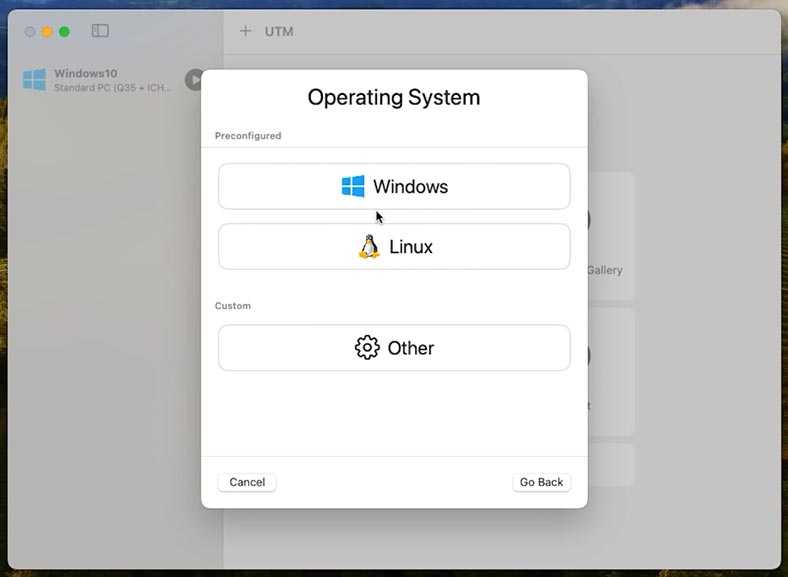
When choosing the operating system, go for Windows (or Linux, if necessary).
-
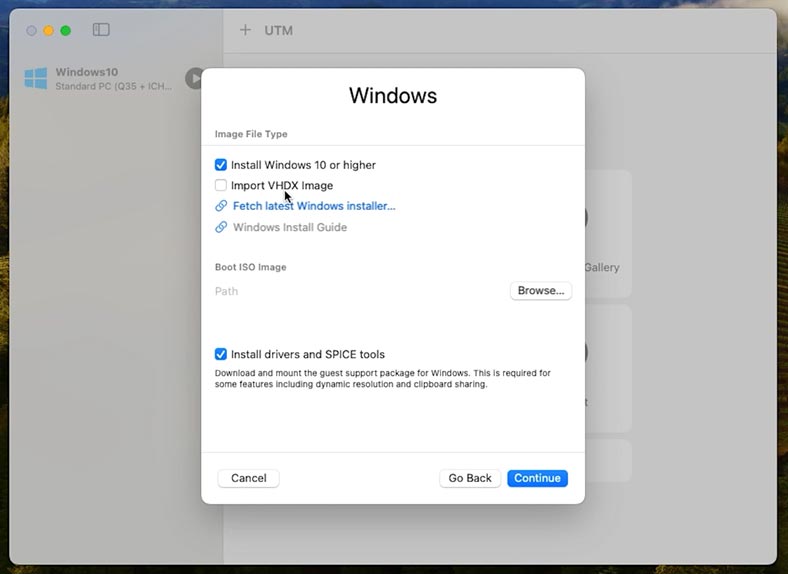
When configuring the disk, choose Boot ISO image and select the previously saved .qcow2 file.
-
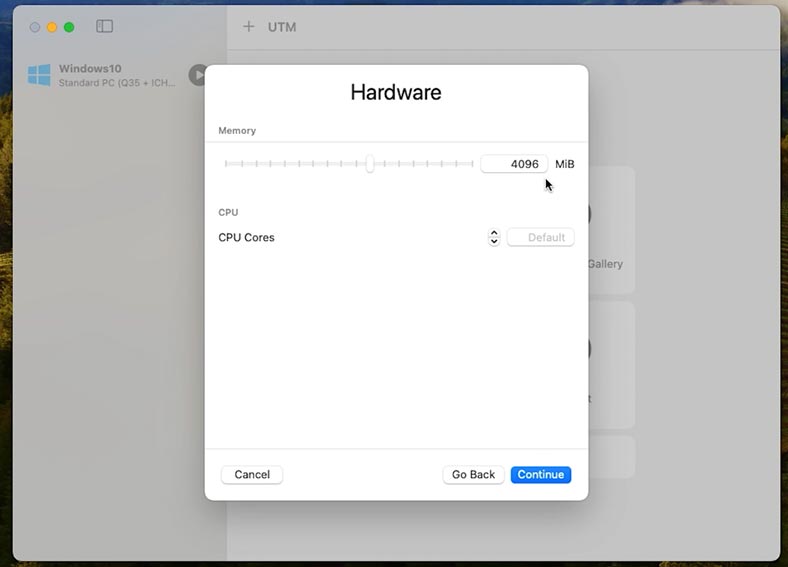
Assign a certain amount of RAM (for example, 4 or 8 GB), depending on your computer’s hardware.
-
Make sure that you have enabled support for USB, network and other components.
-
Hit Save. Now you can start the virtual machine.
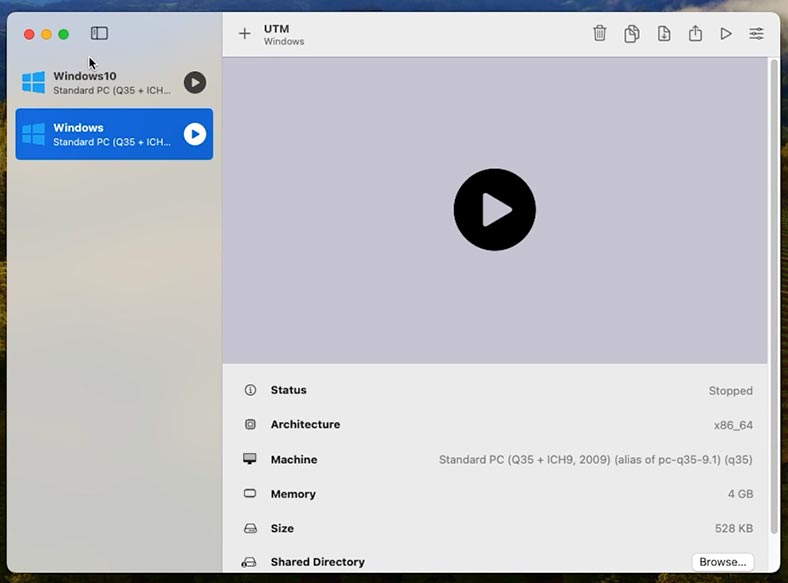
If the hard disk won’t boot, don’t worry: you’ll be able to retrieve its information with a good data recovery tool.
How to recover UTM virtual machine files with the help of Time Machine
If you back up your virtual machine regularly with Time Machine, you’ll be able to recover accidentally deleted files and restore operability of the virtual machine within a few minutes. To do it:
-
Go to the folder where your virtual machine used to be stored and open Time Machine.
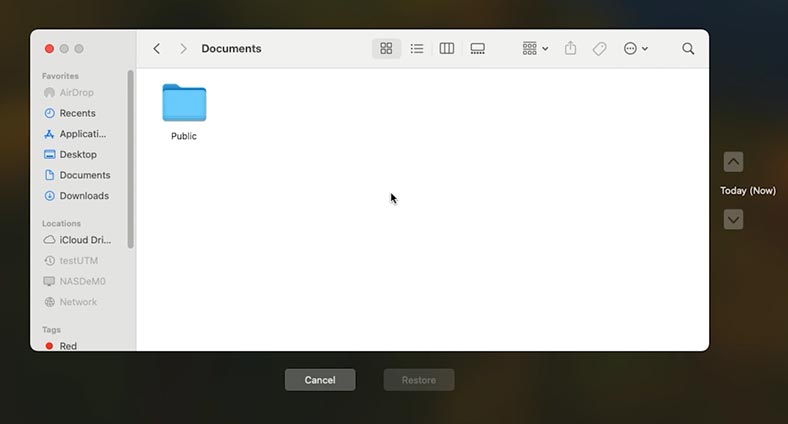
-
Now select a backup with the date when your virtual disk file still existed, and click Restore.
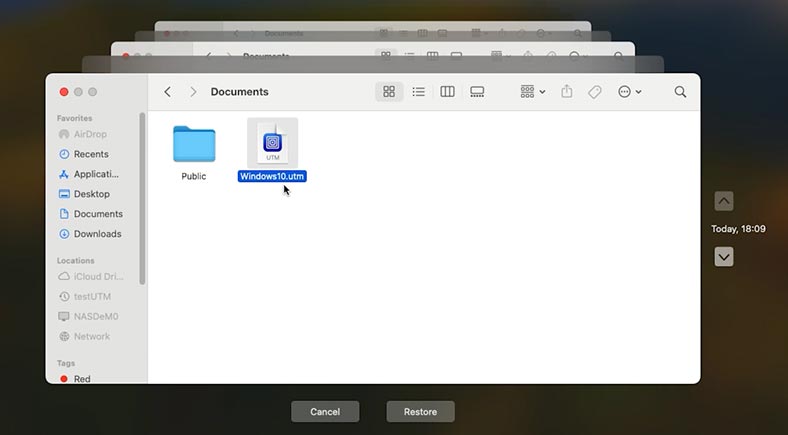
-
After the operation is over, the virtual machine should start working as before.
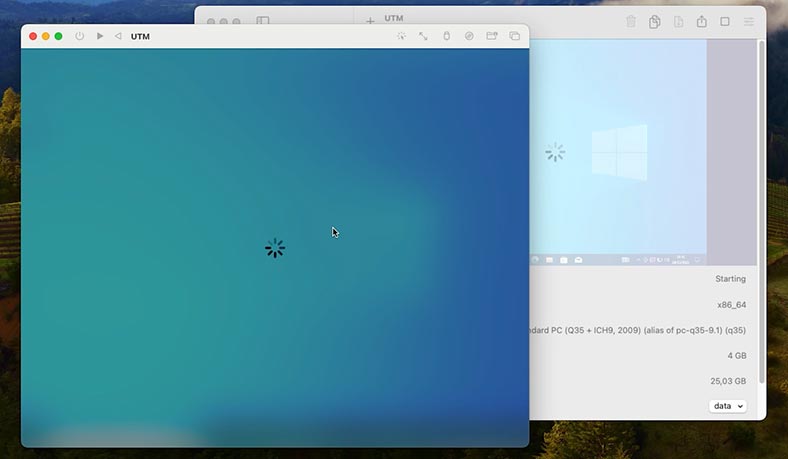
If the virtual machine won’t run, try connecting it manually. A little earlier in this article, you could see how to do it.
How to avoid loss of UTM virtual machine data
To make sure such situations won’t happen again, here is some advice to help you avoid data loss:
- First of all, back up your virtual machines on a regular basis. Just copy the .utm file to a cloud storage or an external drive.
- Second, do not force the virtual machine to shut down. Always shut down the guest operating system first, and then power off the UTM, so you can avoid damaging the operating system or the virtual disk.
- Third, you shouldn’t store very important files only inside the virtual machine. Use syncing with macOS or cloud services.
Conclusion
Summing up, we have explored several ways of restoring access to the files of a non-operational QEMU-based UTM virtual machine.
To avoid similar issues in the future, remember to back up important data to an external drive or a cloud storage.
Also, try not to run a virtual machine after a loss of data occurs, and avoid copying large files to the machine, so that the deleted data will not be overwritten.


