How to Recover Oracle VM VirtualBox Machine Data in Linux
Read this article to find out how to recover Oracle VM VirtualBox data in Linux, and what to do when your virtual machine encounters a failure, or when it refuses to boot. How to recover a VirtualBox virtual machine and recover its operability.
- Files of Oracle VM VirtualBox virtual machine
- The virtual machine is damaged or can’t boot: how to recover its data
- How to recover a deleted VirtualBox virtual machine
- How to mount a freshly recovered Oracle VirtualBox virtual machine
- Conclusions
- Questions and answers
- Comments
Oracle VM VirtualBox is one of the most popular tools to create and manage virtual environments, which is actively used across a variety of Linux-based platforms. However, even while working in a virtual environment, there’s no guarantee against data loss: system failures, virtual disk (.vdi) damage, file removal or update errors can all cause grave consequences for your system.
In this article, we will explore different ways to restore data of a VirtualBox virtual machine in a Linux environment. You will learn what types of files are created by VirtualBox, where they are stored, what can be done after removal or damage to the .vdi disk, and what tools can help you bring important data back.
This material will be useful for system administrators, software developers and anyone working with Linux-based virtual environments.

🔷 How to Recover Data of an Oracle VM VirtualBox Virtual Machine 🔷
Files of Oracle VM VirtualBox virtual machine
Oracle VM VirtualBox files are stored in a certain structure and have various formats depending on the type of information they contain.
The default directory where you can find Oracle VM VirtualBox files in Linux is this:
/home/user name/VirtualBox VMs/Machine_name/
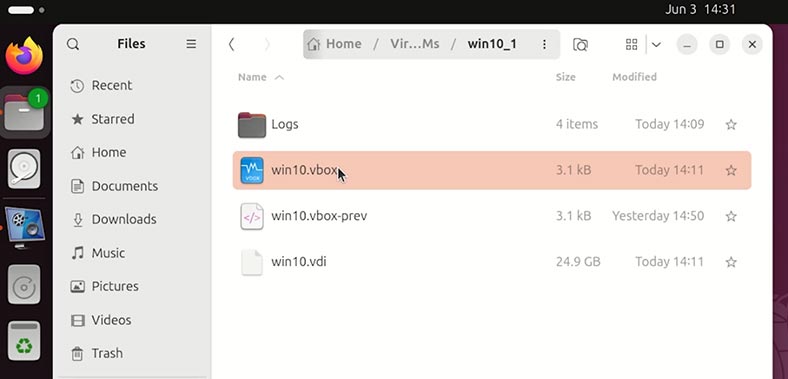
The main files of a VirtualBox machine are the following:
- .vbox– the virtual machine configuration file. It stores virtual machine settings: the amount of system memory, CPU type, network settings, USB connections etc.
- .vbox-prev – the backup configuration. A previous version of the .vbox file that can be used when the main file is damaged.
- .vdi / .vmdk / .vhd or .hdd files make up the virtual hard disk, the main data storage for a virtual machine. It contains the operating system, user files, applications etc.
| Type | Extension | Default location | Purpose |
|---|---|---|---|
| Configuration file | .vbox | ~/VirtualBox VMs/VM_Name/ | Stores virtual machine settings |
| Configuration backup | .vbox-prev | ~/VirtualBox VMs/VM_Name/ | Backup file for .vbox |
| Virtual disk | .vdi / .vmdk / .vhd / .hdd | ~/VirtualBox VMs/VM_Name/ | Stores virtual machine data |
| Extension package | .vbox-extpack | /usr/lib/virtualbox/ExtensionPacks/ | Enables additional features |
| Log files | VBox.log | ~/VirtualBox VMs/VM_Name/Logs/ | Records virtual machine activities |
| Snapshots | Snapshots/ | ~/VirtualBox VMs/VM_Name/Snapshots/ | Stores backup files of current virtual machine state |
The virtual machine is damaged or can’t boot: how to recover its data
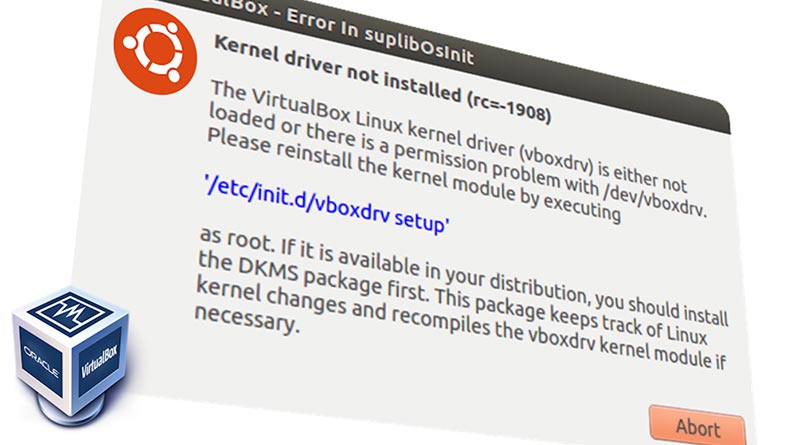
What shall we do if an Oracle VirtualBox virtual machine gets damaged, can’t boot, or displays various errors? That is, when you have no access to the data inside such virtual machine, and its files can’t be read or copied elsewhere.
To access the data of such virtual machine, let’s use a data recovery tool – Hetman Partition Recovery. It’s got two indisputable advantages over other software products of this type:
- The first advantage – it can mount disks created by most virtual machines.
- The second advantage – it works on all versions of Linux.
So now,
-
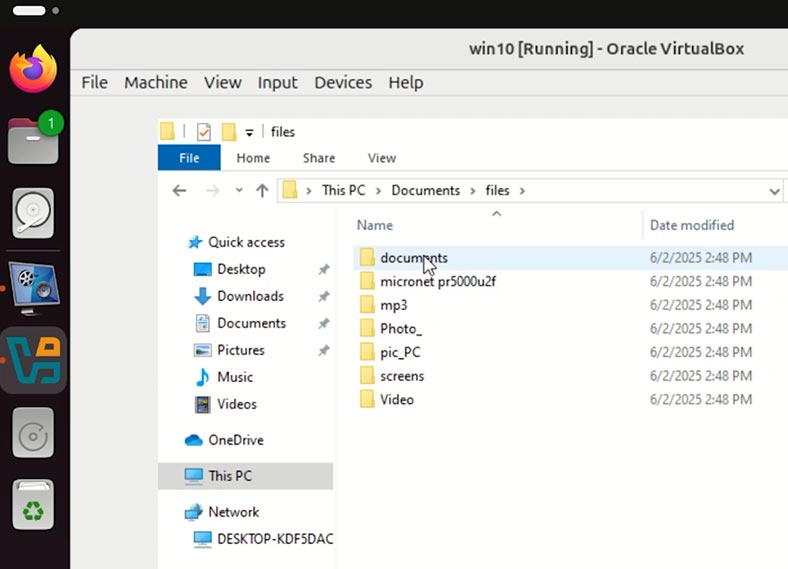
we have an Oracle VirtualBox virtual machine, which can’t boot, for some reason. It contains the files that we need to access.
-
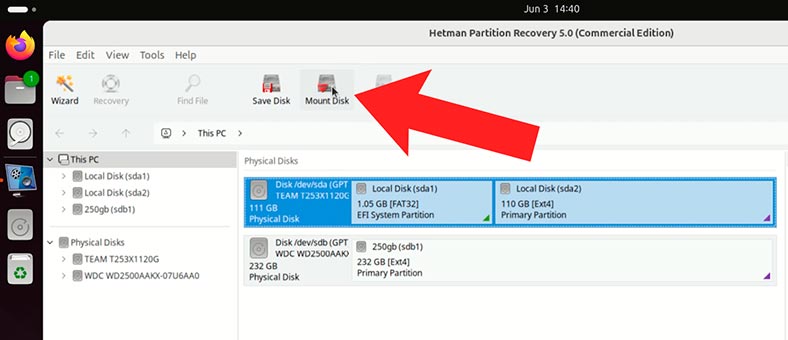
To access the files of such a virtual machine, let’s run Hetman Partition Recovery. The app identifies the disks connected to this computer.
-
To access the virtual machine, let’s mount its hard disk in the recovery app. To do it, click Mount Disk.
-
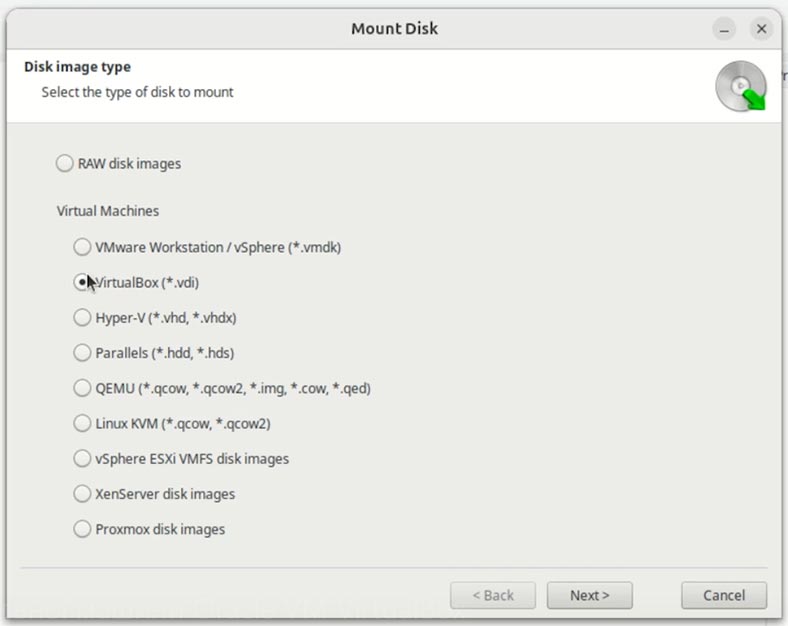
Now select VirtualBox.
If you have a virtual machine of different type, select it from the list.
-
In the app window, choose the folder containing the virtual machine and click Open.

-
Hetman Partition Recovery identifies automatically the disk of the selected virtual machine. Click Next.
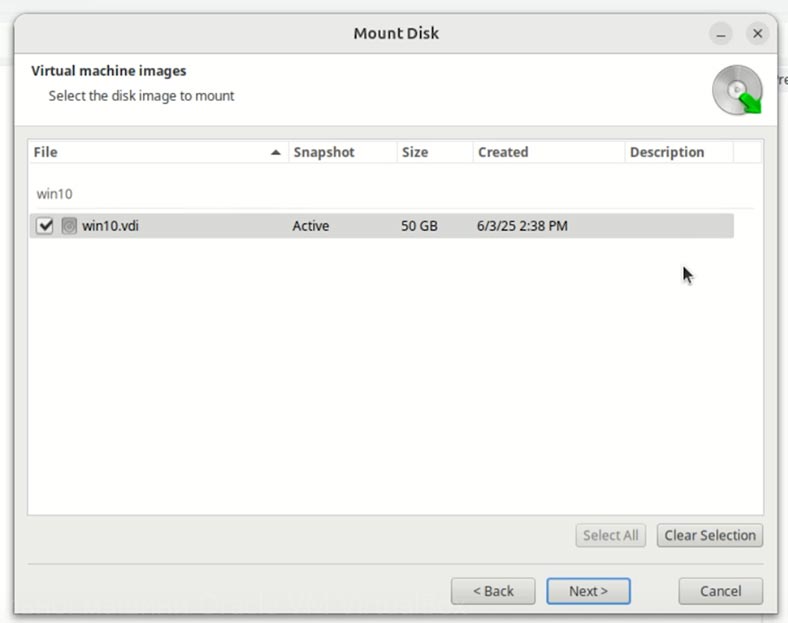
-
After that, the VirtualBox hard disk will appear among other disks as a mounted disk. To access its data, right-click on it and select Open.
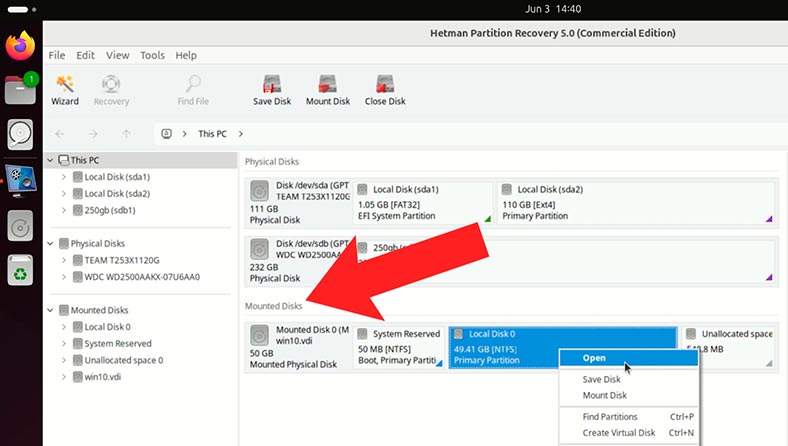
-
For starters, a Fast scan will be enough.
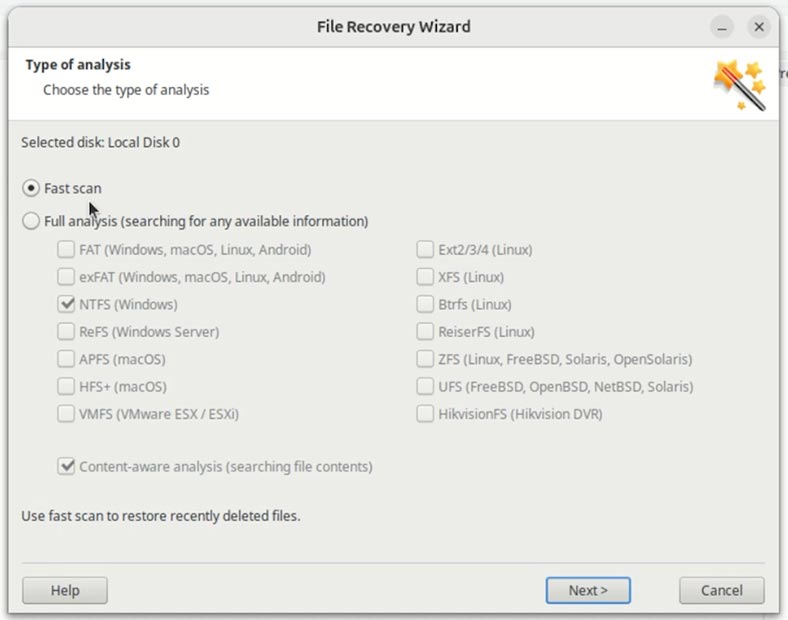
-
Here is the data stored in our virtual machine.
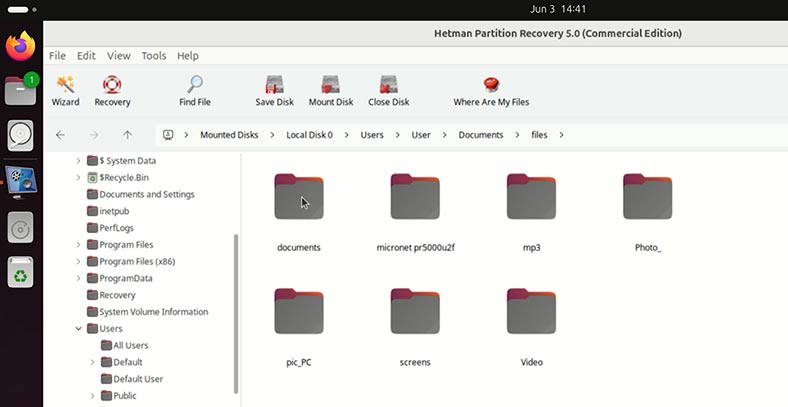
-
As you can see, the contents can be viewed in the preview window.
Warning! The recovery app can identify even the files which were removed from the virtual machine when it was still working properly.
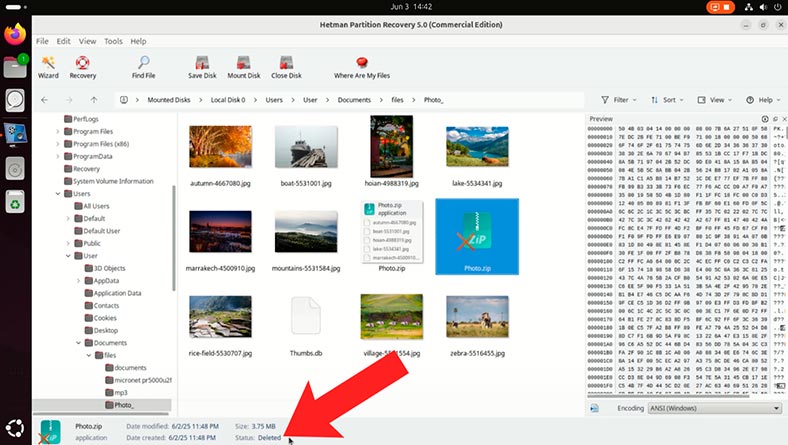
-
Navigate to the required folder and save the files you need. To have a file or folder recovered, select them and hit the Recovery button.
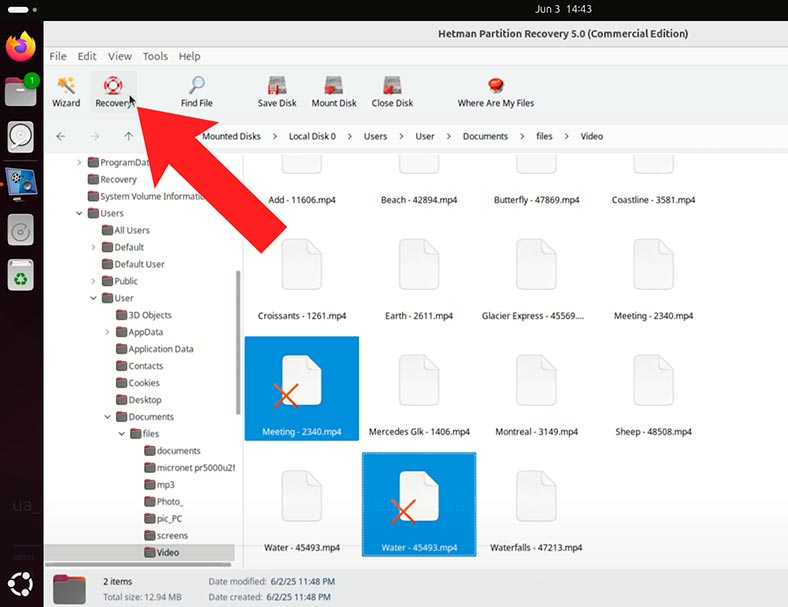
-
Choose the folder where to save the recovered data.
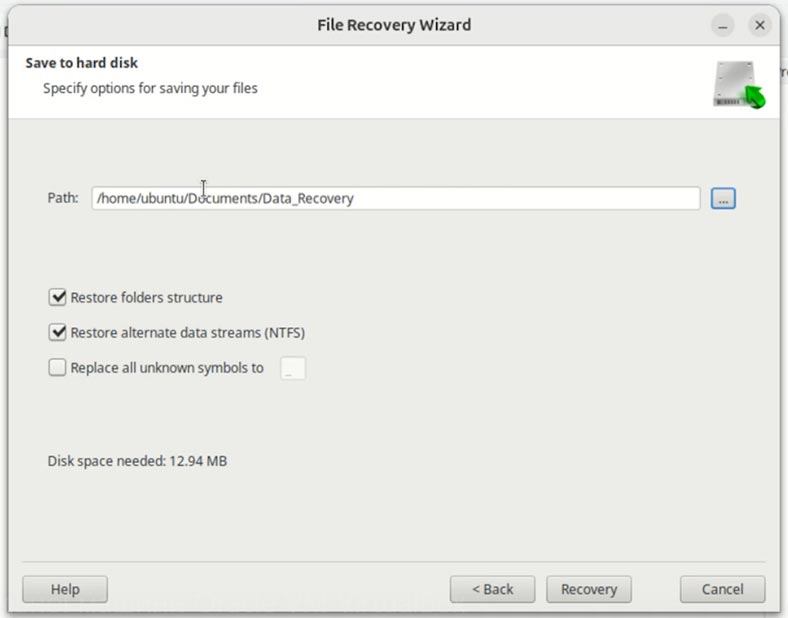
-
The files are recovered.

How to recover a deleted VirtualBox virtual machine
What shall we do if the entire folder containing a VirtualBox virtual machine is deleted? Can it be recovered?
Suppose we have a disk containing a virtual machine. It works properly, and it contains some data. Imagine you have deleted it accidentally.
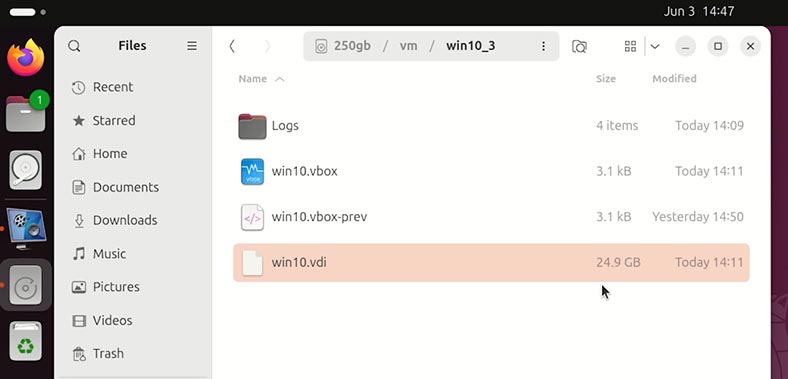
To recover it:
-
Run Hetman Partition Recovery.
-
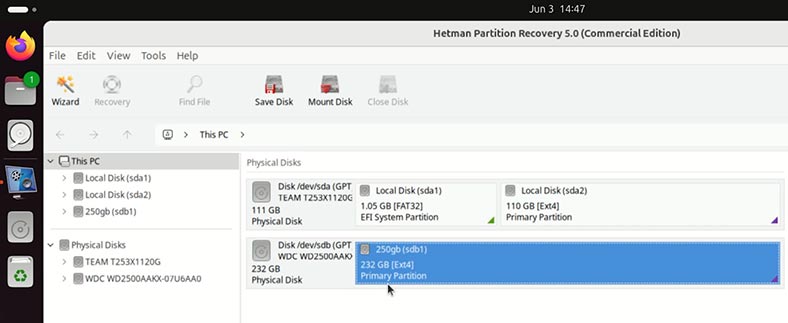
The app identifies the disks connected to this computer.
-
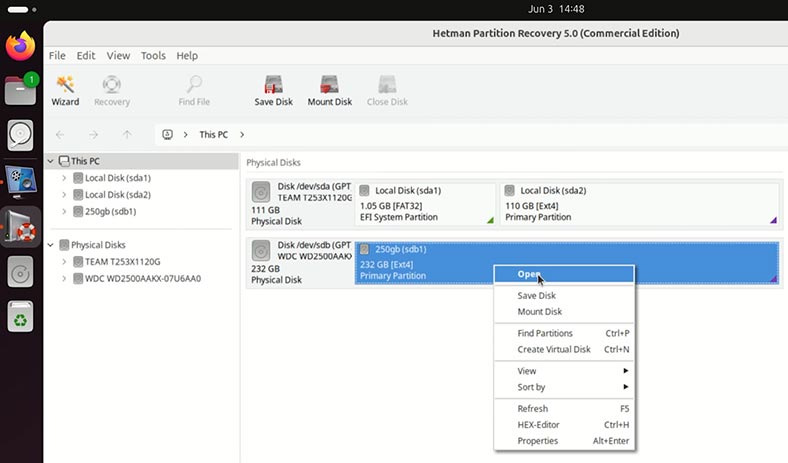
Our virtual machine was stored on disk sdb1. Let’s scan it. Right-click on it and select Open.
-
For starters, a Fast scan will be enough.
-
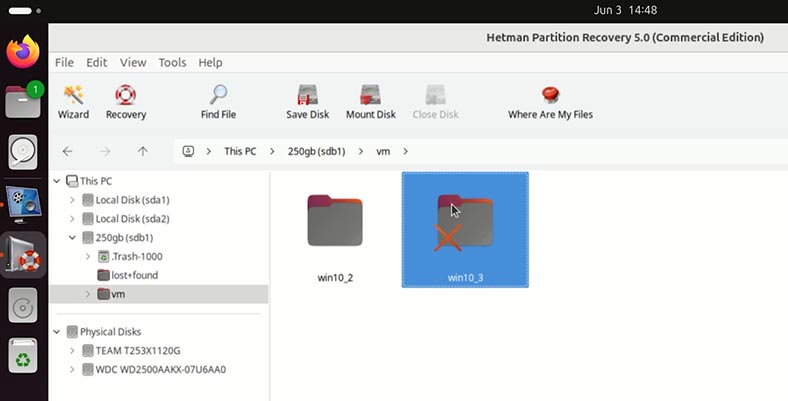
Here is the data on the scanned disk. The virtual machine we are looking for was stored in this folder.
-
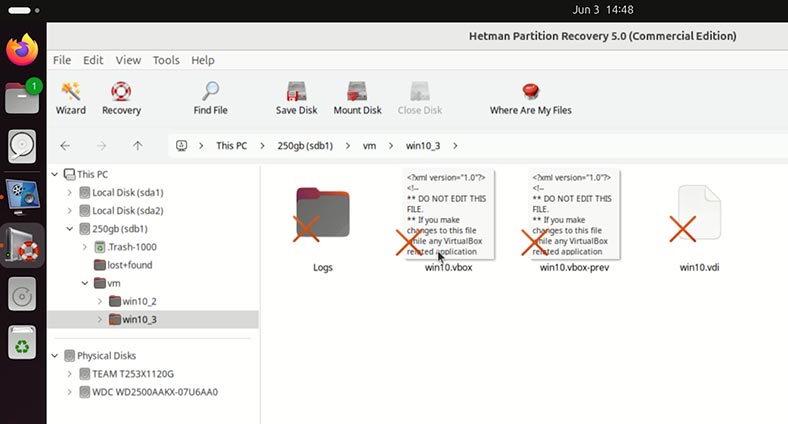
Open the folder and you can see the virtual machine disk.
-
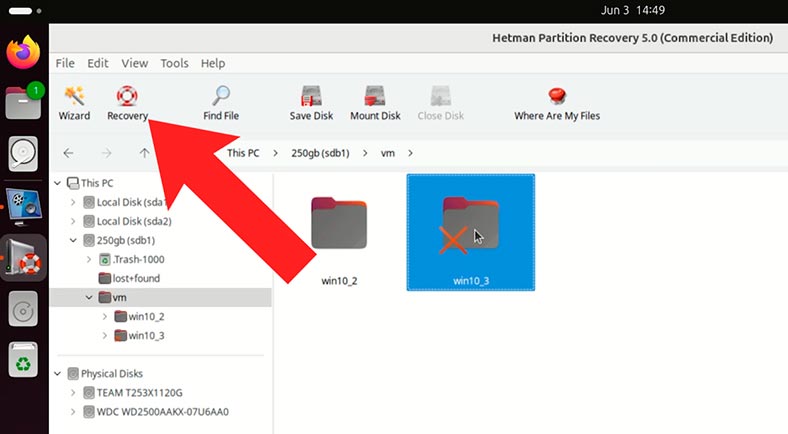
To recover it, select the entire folder containing the virtual machine files, and hit the Recovery button.
-
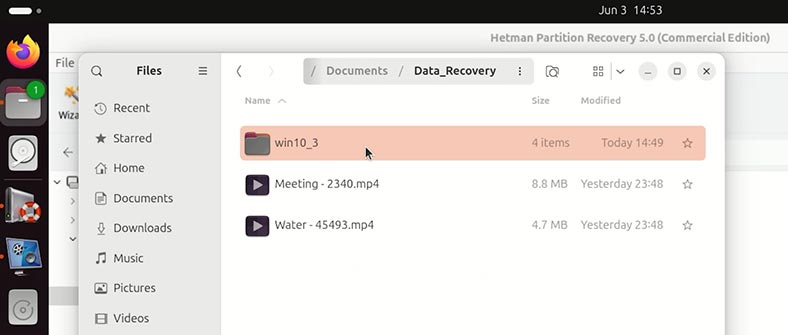
Choose the folder where to save the recovered data.
-
The selected virtual machine is recovered.
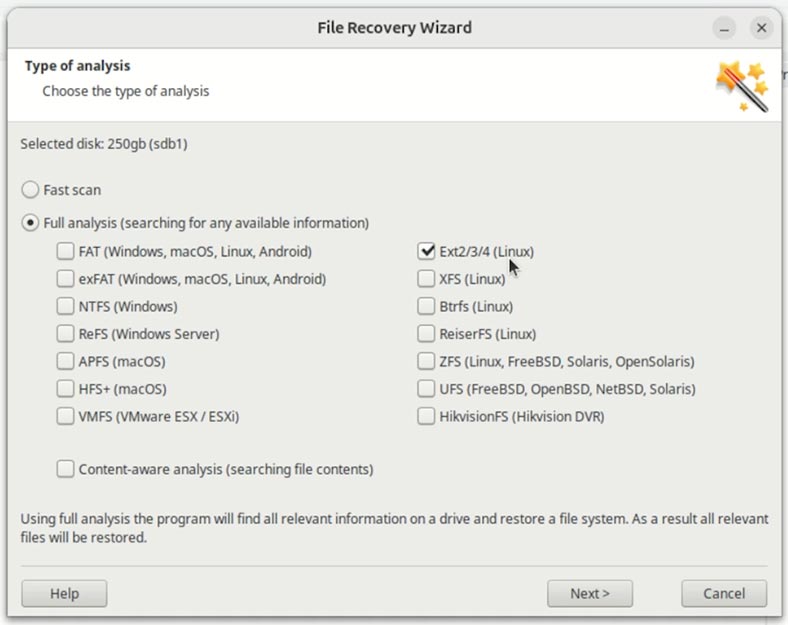
Warning! Depending on why the virtual machine was deleted, the recovery app may not find it after a Fast scan. If this is your case, right-click on the disk where the virtual machine was stored, and choose Analyze again. Select Full analysis and specify the file system of your disk.

How to mount a freshly recovered Oracle VirtualBox virtual machine
As we can see, the virtual machine has been recovered with all of its configuration files.
Warning! You should recover the entire folder of the virtual machine, with all of its contents. If you do otherwise, the virtual machine will not work again.
To run a freshly recovered virtual machine:
-
Open Oracle VirtualBox and go to the menu Machine / Add.

-
Go to the folder containing the freshly recovered virtual machine, click to select the configuration file with the extension .vbox and click Open.

-
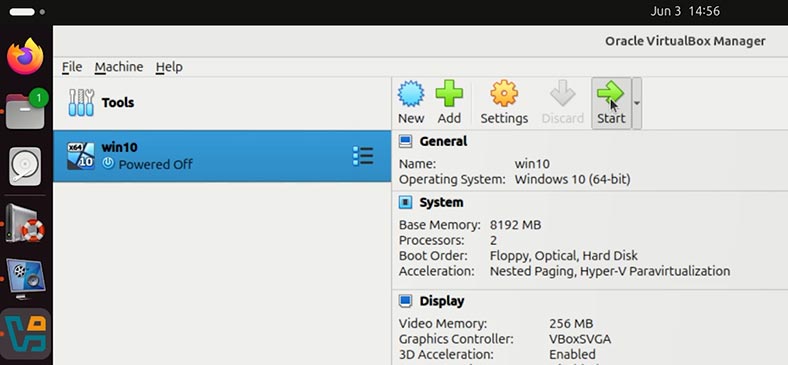
The machine will be added to your list of virtual machines. Start it.
-
If the virtual machine starts booting, it means you have recovered it properly, with all the configuration files
.
If you haven’t recovered all virtual machine files, or it can’t boot because of another problem, you can recover its data in the same way as we do it with a damaged virtual machine. That is, by importing the machine’s hard disk file into the data recovery tool – Hetman Partition Recovery.

Conclusions
Losing data in a virtual machine is certainly not the end of the world. Thanks to various specialized tools and their knowledge of VirtualBox file structure, Linux users can successfully restore the contents of damaged or deleted .vdi disks.
Summing up, we have explored where virtual machine files are stored, which of them are crucial to get your machine running and save its data, and analyzed the main recovery methods and recovery tools involved in this process. One of the most efficient strategies is to use such tools as Hetman Partition Recovery.
As you have just seen, Hetman Partition Recovery is not only a data recovery app to restore deleted files in Linux, but also a powerful tool to work with virtual machines of all kinds.
To avoid similar problems in the future, we recommend backing up important virtual disks regularly, use reliable data storage devices, and monitor the stable work of your host systems.
Reliable knowledge and efficient actions are the key to successful data recovery even in the most complicated cases.


