Dawicontrol DC-624E Controller Down: Recovering Data from a Crashed RAID
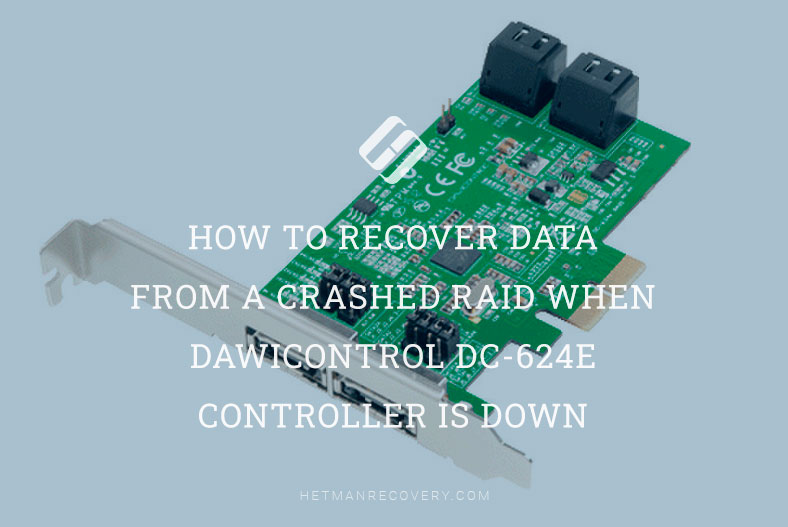
In today’s article, we’ll discover how to recover data from a crashed RAID when the Dawicontrol DC 624e controller is down. Whether you’re a system administrator or a user facing data loss due to a controller failure, we’ll explore the best methods and techniques for retrieving your valuable data. From troubleshooting to advanced recovery strategies, we’ve got you covered.
- Creating a RAID on Dawicontrol DC-624E controller
- Troubleshooting on Dawicontrol DC 624e controller.
- Replacing the controller
- Supermicro AOC USAS S8iR Data Recovery
- Conclusion
- Questions and answers
- Comments
RAID arrays are an effective method of combining several hard disks into one logical volume to ensure safety and reliability of data storage. A DC 624e controller by Dawicontrol is a reliable device designed to manage RAID arrays. It ensures stable operation on a daily basis, but it may fail one day, just like any other device. When the controller is down, the RAID becomes inaccessible and it may result in loss of all important data stored on its hard disks. In today’s article, we’ll explore what to do if your server’s RAID controller breaks down, and how to retrieve files from its disks.

How to Recover Data from a Crashed RAID When Dawicontrol DC-624E Controller is Down
| Step | Description | Recommendations | Notes |
|---|---|---|---|
| 1. Assess the state of the RAID array | Check the state of the RAID array on the Dawicontrol DC-624E controller to determine the extent of damage. | Review the controller’s event log for possible errors or failures. | It is recommended to do this through the controller management interface. |
| 2. Stop all active operations on the RAID array | Stop all active processes on the RAID array to prevent further data damage. | Disconnect the RAID array from the working system and halt all operations. | This will preserve the current state of the array. |
| 3. Create backups | If possible, create backups of all available data before starting the recovery process. | Use specialized software to create disk images. | Store the backups on an external device or in cloud storage. |
| 4. Use built-in Dawicontrol recovery tools | Attempt to recover data using the built-in recovery tools of the Dawicontrol DC-624E controller. | Check the RAID array settings and the status of each disk. | Use utilities to check the integrity of the file system. |
| 5. Use third-party software | If built-in tools do not help, use third-party software to recover data. | Popular tools include Hetman RAID Recovery, R-Studio, UFS Explorer, and others. | Perform recovery on a separate device to avoid further data damage. |
| 6. Save recovered data | After successfully recovering the data, save it on a secure storage device. | It is recommended to store data on multiple devices for increased reliability. | After this, the full functionality of the RAID array can be restored. |
Creating a RAID on Dawicontrol DC-624E controller
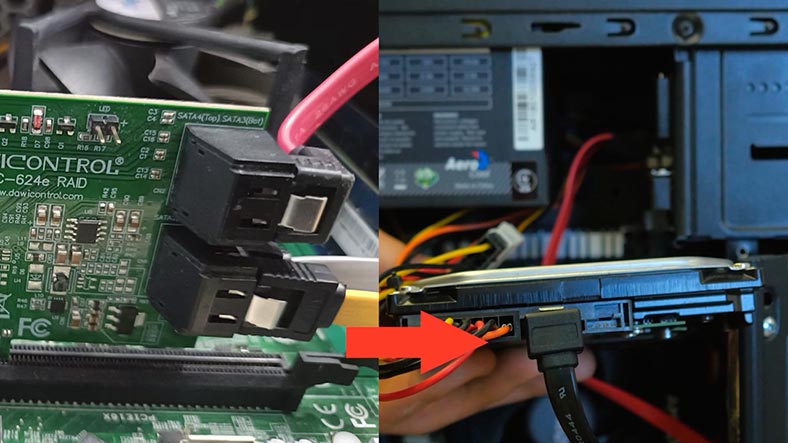
To understand the controller’s functions better, let’s find out how to create a RAID on this specific device. Connect the controller to the motherboard.
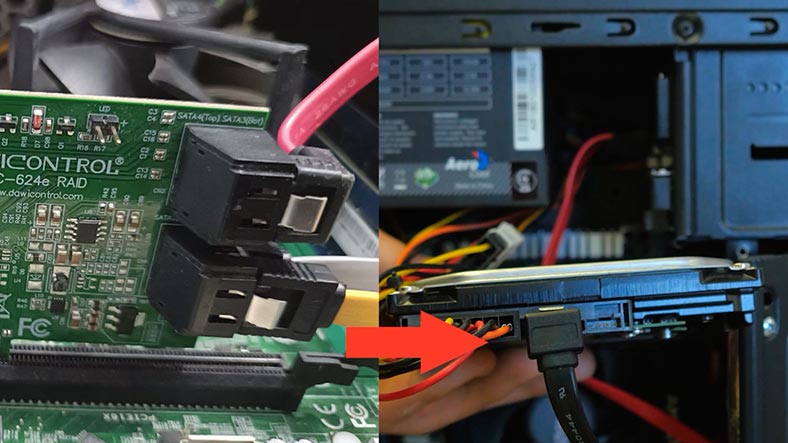
Then connect the hard disks to the controller, and boot the server.
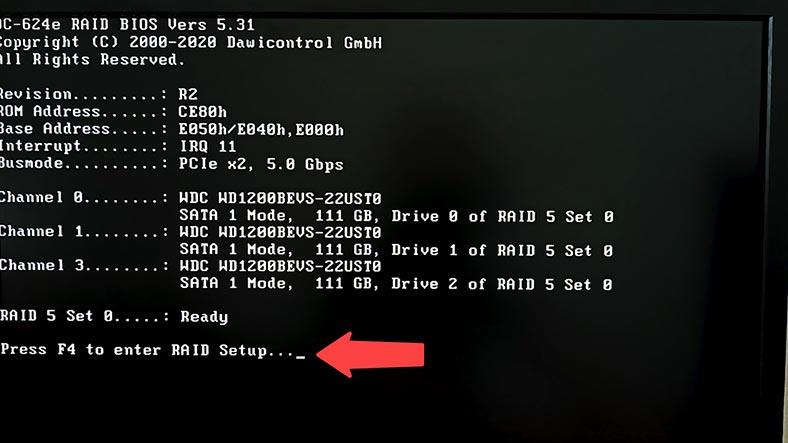
To build an array, open the controller’s BIOS. For this specific model, you can do it by pressing the F4 key when the server is booting.
After the controller’s BIOS is booted, press F1 to create an array.
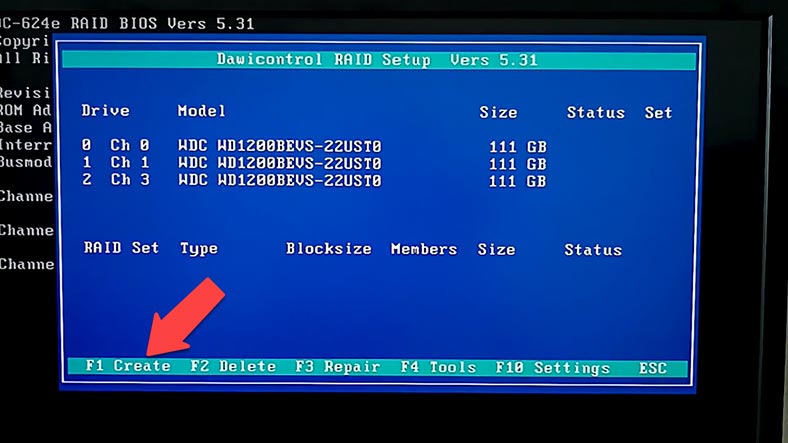
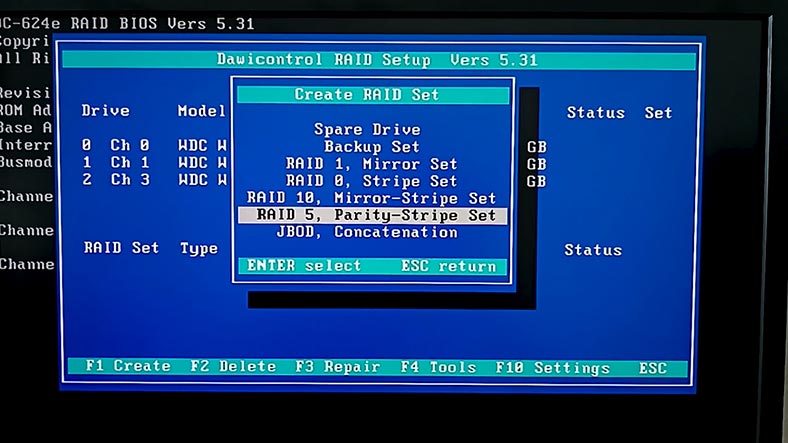
Now give the properties of the future array – its RAID level.
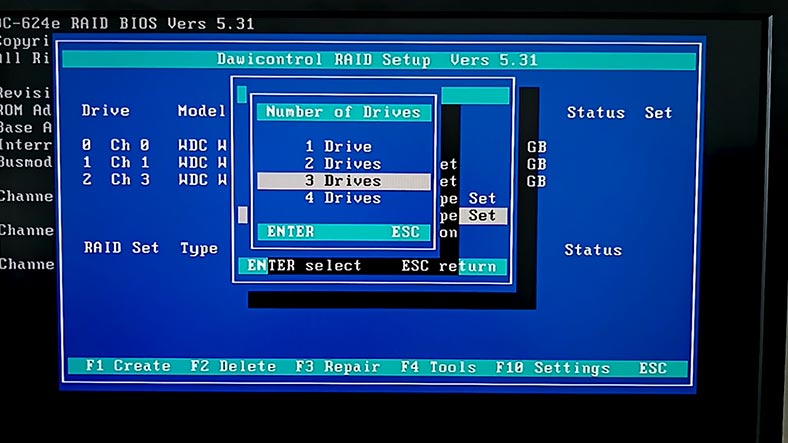
Choose the number of disks it will include.
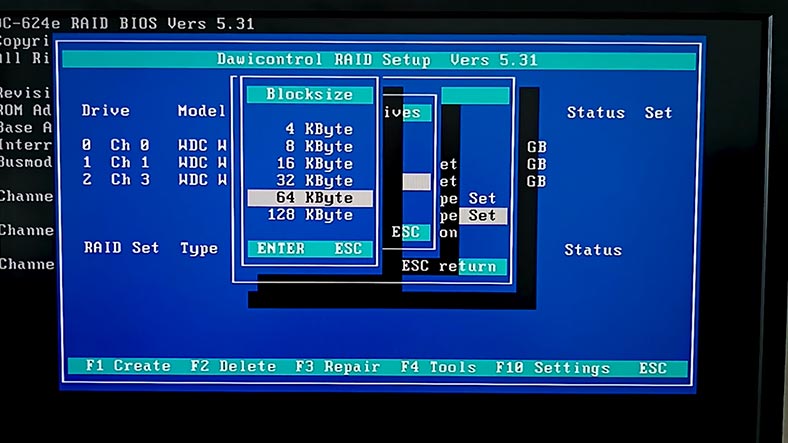
Specify the block size.
Select the drives you are going to use for building the RAID. Now choose the build type – the array with copying data (Create set and copy data) or Create and initialize set, and confirm your choice by selecting Yes.
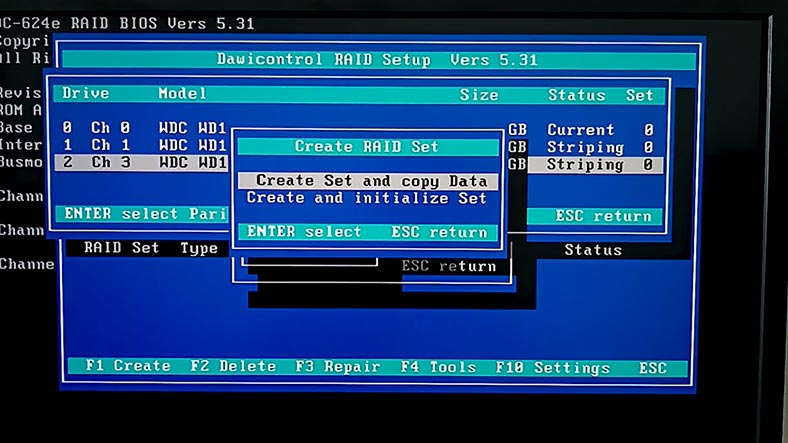
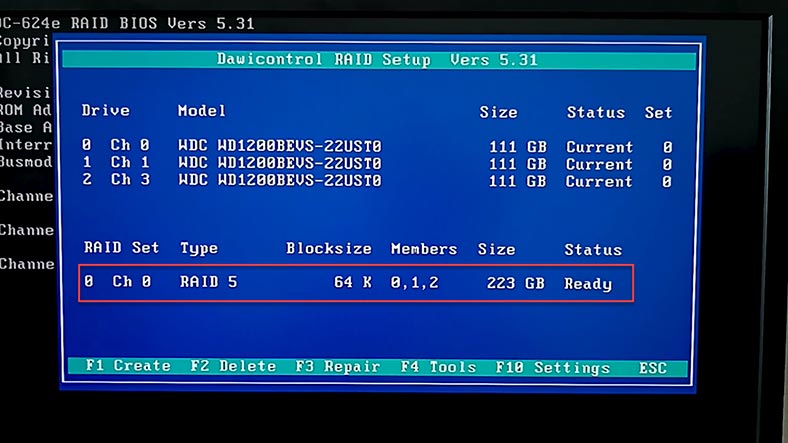
The RAID should appear in the main BIOS screen. Restart the computer. Now you should partition the volume and add some data there.
Troubleshooting on Dawicontrol DC 624e controller.
If the access to your disk array is lost, the first step should be to identify the cause of the problem. Examine the controller and the connected disks carefully. Check them for any damage, signs of corrosion or overheating on the controller board.
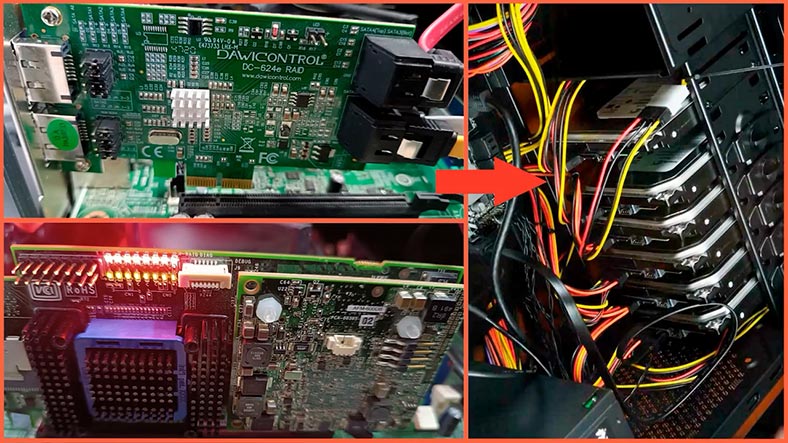
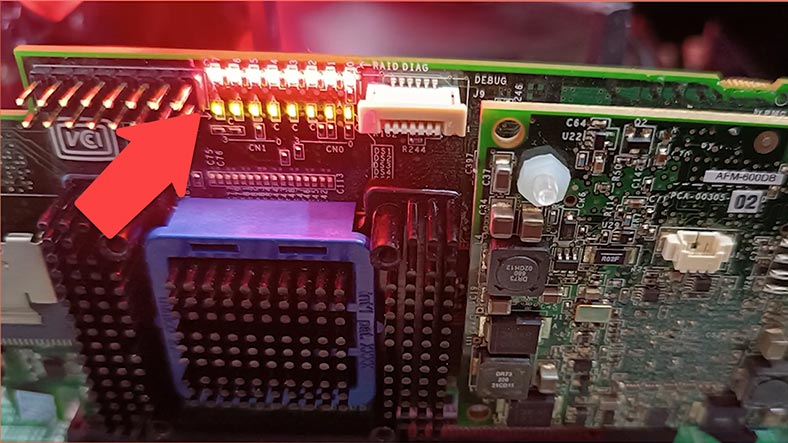
Also, have a look at the status LED lights that may also indicate there’s a problem. If you notice anything unusual, it may suggest there are some controller issues.
Replacing the controller
If you’ve run a kind of diagnostics and you are sure that the controller is out of order and can’t be restored, your next step should be to replace it. Before doing that, make sure that you have an item of the same model at hand, or a compatible one. Replacing the controller with a similar one will preserve the RAID settings and simplify the data recovery process. If you replace the controller with another model, make sure that the new controller supports the same RAID type and RAID level as your old controller does.
For replacement, disconnect all disks from the old controller.
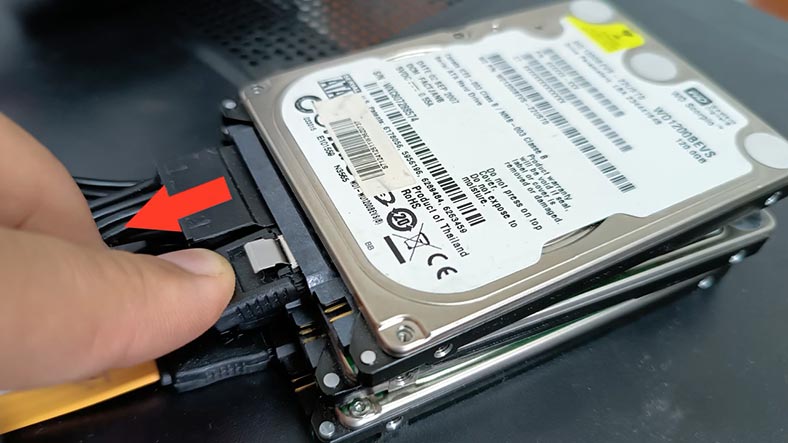
After that, remove it carefully from the case and install a new one into the same PCI-E motherboard slot that you removed the old controller from.
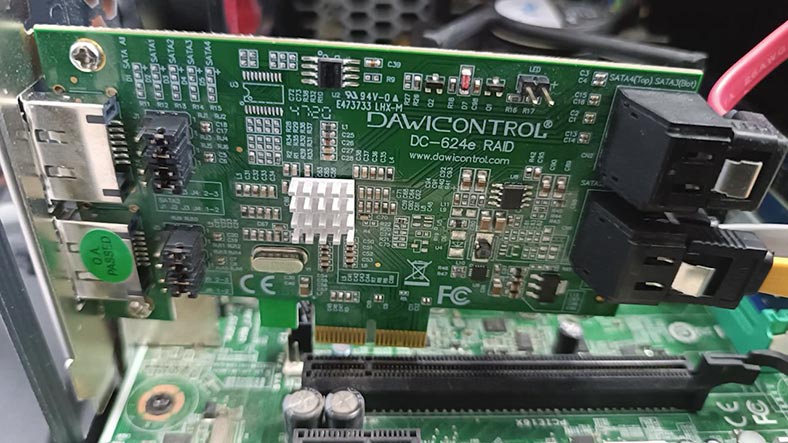
When the new controller is fixed in place, reconnect all the disks to it. Make sure that you have connected the disks in the same order as they were connected to the old controller. It’s a very important aspect for successful data recovery.
When the disks are connected, boot the system and open the controller settings. The new controller should automatically identify the array and configure it in accordance with the previous settings.
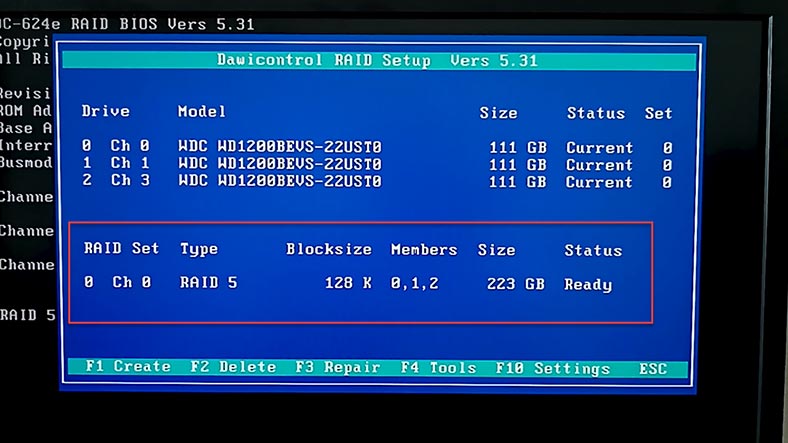
If the array doesn’t identify automatically, open the settings and try booting the configuration manually.
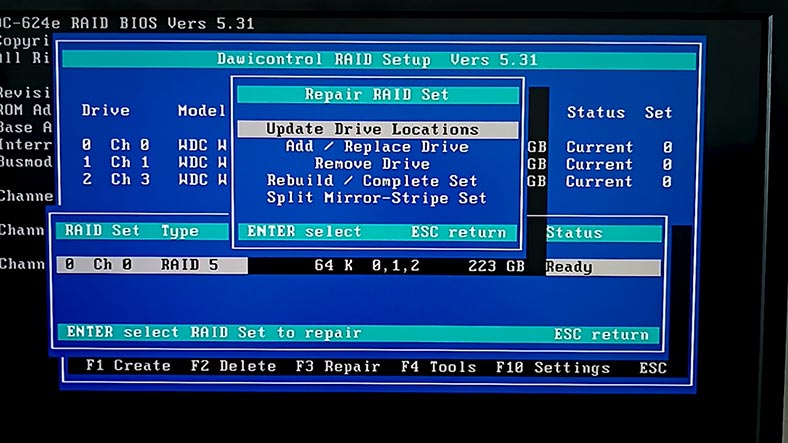
As soon as the controller identifies the array, you should regain access to your data on this RAID.
Supermicro AOC USAS S8iR Data Recovery
How to recover data from RAID on Dawicontrol DC 624
In some cases, replacing the controller might be not enough to recover data, especially when the array was damaged or compromised while used with a faulty controller. If the controller is out of order, files were accidentally removed or hard disks were formatted, after wrong configuration and so on – in all those complicated cases, data recovery from a crashed disk array requires a specialized software tool capable of rebuilding the RAID and retrieving important information.
Hetman RAID Recovery features powerful data recovery algorithms and can cope with various scenarios of data loss including controller breakdown. This utility supports all popular RAID types, most file systems and array patterns used by various RAID controllers.
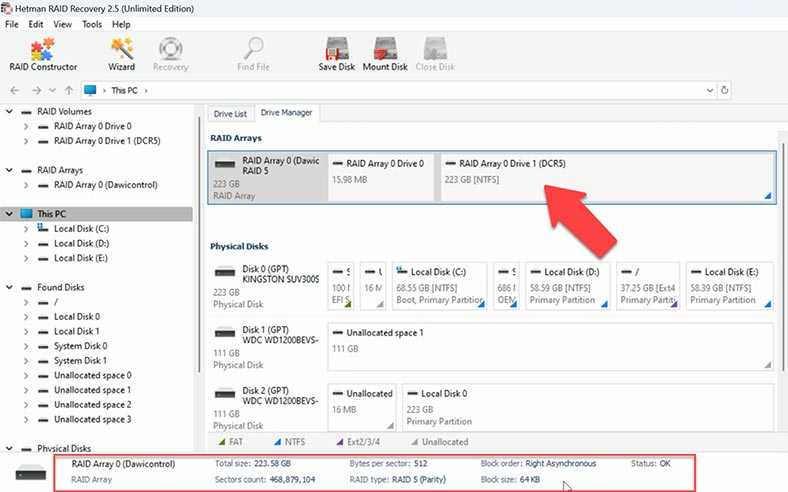
For data recovery, you need to connect all the hard disks to the motherboard of a Windows computer. The recovery tool will automatically rebuild the crashed RAID from the available disks. When you select the array, its brief information will be shown below.
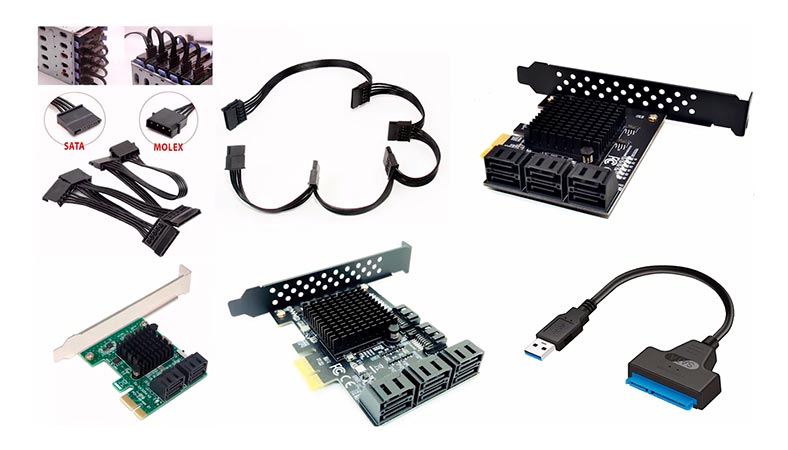
If your motherboard has less SATA ports or power connectors than necessary, you can use additional adapters and expansion cards.
Check if the utility managed to rebuild the array properly. To get more detailed infromation, right-click on the array and open its properties.
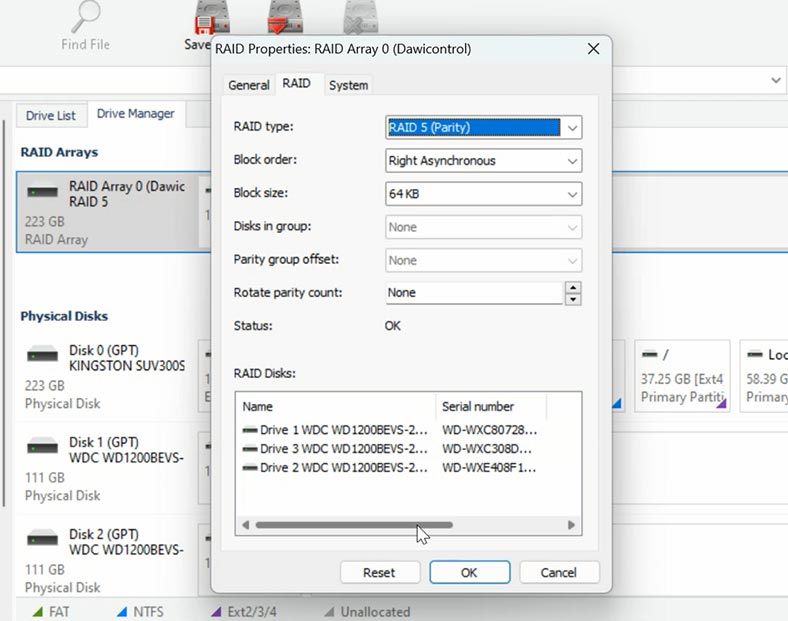
In the RAID tab, you can view all information about the array including the hard disks, their order, offset and so on.
If everything is correct, right-click on the volume and choose Open. After that, select the scan type – Fast scan or Full analysis. If the controller has just broken down, a Fast scan is enough, and it takes less time.
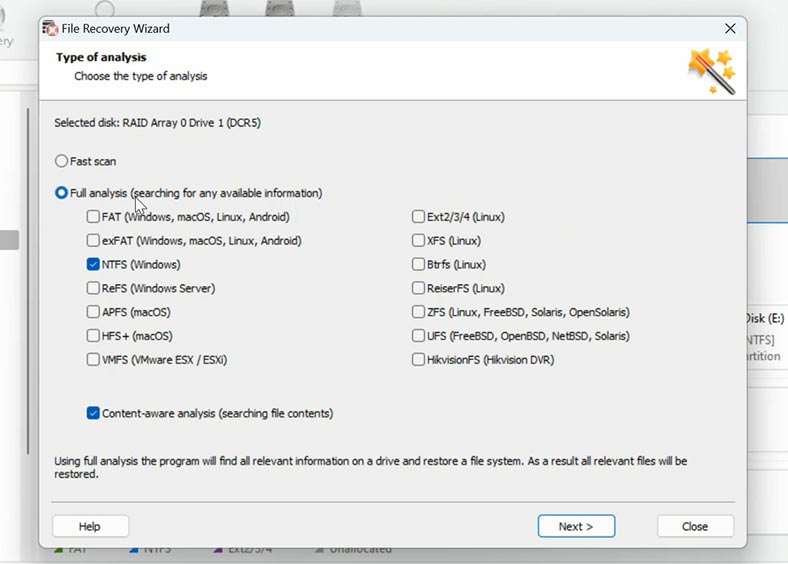
If the program can’t find the missing files after the Fast scan, then go for Full analysis. To do it, go back to the main window, right-click on the volume and choose – Analyze again – Full analysis – specify the file system and click Next.
Open the folder where the files for recovery used to be stored. This utility retains the entire file and folder structure, so finding the necessary files is quite easy. In the preview window, you can see the contents of files. It has also found the files that have been deleted earlier (they are marked with a red cross).
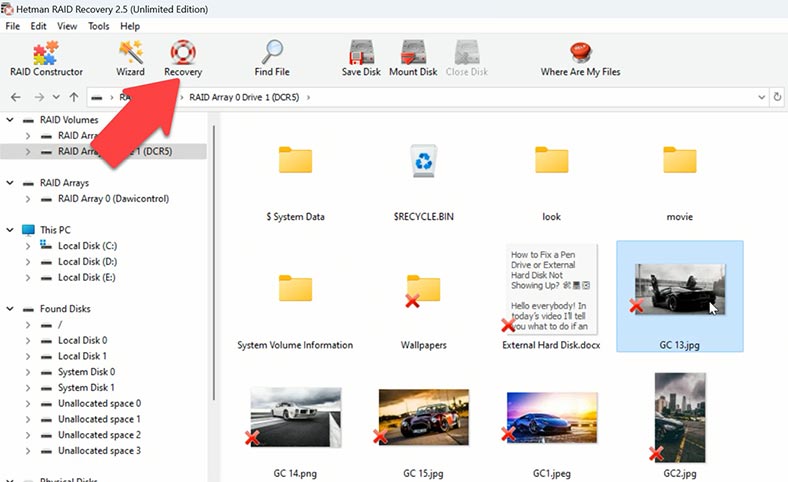
Select all the files you want to restore, and click the Recovery button. Specify where to save the data (choose the disk and folder), and click Recovery again. When the recovery process is complete, you’ll see all the files in the specified directory.
How to rebuild a RAID manually?
In some situations, the program may fail to rebuild the RAID automatically. It can happen when the service information on the disks is erased, so the program cannot identify parameters of the crashed RAID. In such cases, the RAID Constructor with a manual build feature will help you.
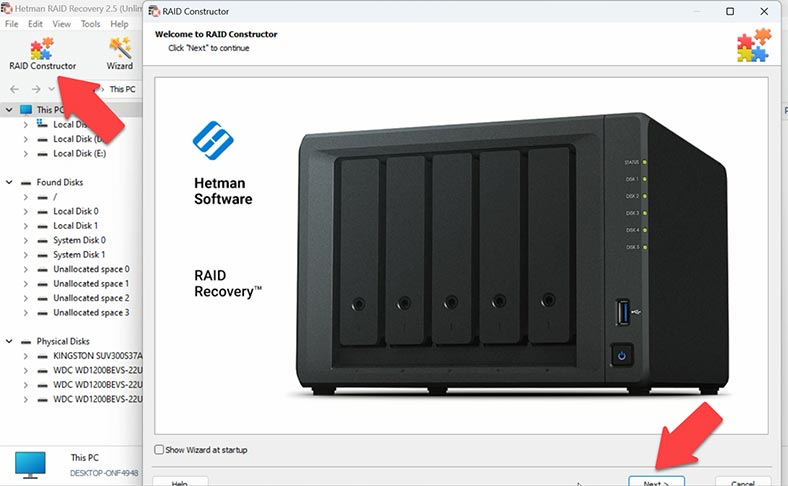
This tool will save the day when the disk beginning is erased, together with the information about the array parameters. This is what typically happens when disk are connected to another controller and the previous configuration is erased or when the RAID is rebuilt.
If you know the array parameters, start the Constructor, choose Manual Mode – Next. Specify the array type, block order and size. Add the disks it used to include, and replace the missing disks with empty drives by clicking the “plus” button. You may have to specify the offset which tells you where the beginning of the disk is located. After that, give the disk order.
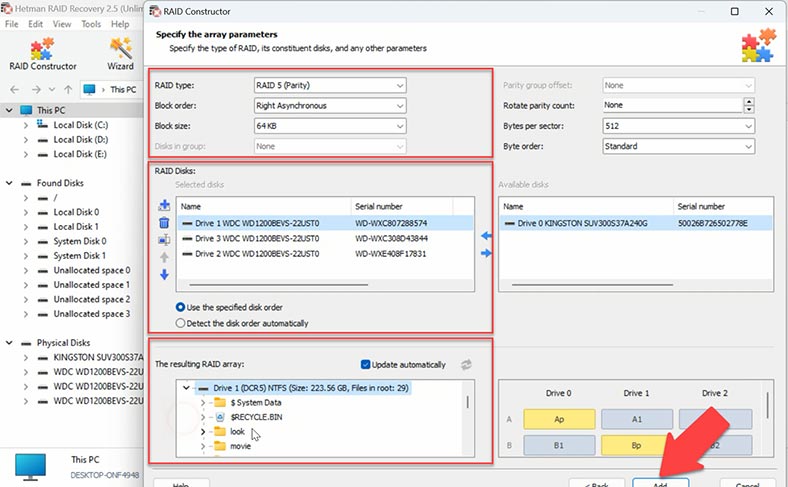
When you give all the parameters you know, you will see the preview of your RAID below, and if all information is correct, you can unfold it to see its folders. Click Add. After that, the RAID system will appear in the Drive Manager. Now start the scan, search for files, and recover the ones you need.
Conclusion
Data recovery from a RAID system based on a faulty controller Dawicontrol DC 624e is a complicated task which requires certain knowledge and skills. However, replacing the controller or using a RAID data recovery tool, you’ll be able to successfully restore the lost files and ensure safety of all your data.


