RAID Data Recovery Made Easy: How to Order Online
Learn how to seamlessly order RAID data recovery services online, right from the comfort of your home or office. Discover the steps involved in initiating the process and ensure the safe retrieval of your valuable data. Read now to take the first step towards recovering your lost data with ease!
- Step 1. How to take out the hard disks
- Step 2. How to connect hard disks to a PC and what to do if there are not enough power or SATA connectors
- Step 3. How to install and configure TeamViewer
- Questions and answers
- Comments
Recovering data on your own is no easy task. You need to identify the cause of the problem, select a proper software tool to solve it, then try to read the deleted data and hope for good results. All of that is sure to take a lot of your precious time, but it doesn’t exclude the chances to lose some data in the process.

🌐 How to Order Remote Data Recovery 🌐
Even now, you can order the service of remote data recovery over the Internet. Latest technologies and a high-speed connection allow performing even the most complicated procedures remotely. This makes the whole process much easier: all you need is to install a few programs on your PC, contact a recovery specialist and describe your situation.
Before ordering this kind of service, prepare your computer so that the recovery specialist can access it. This requirement is obligatory, otherwise the remote service will not work.
Step 1. How to take out the hard disks
The first thing you should do is to take the disks out of the computing device and connect them to a Windows computer, where you have already installed Hetman RAID Recovery.
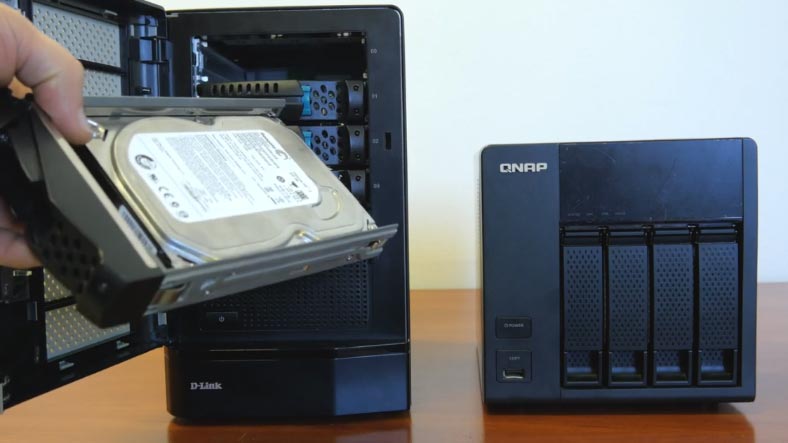
If your device is a specialized NAS system, just take out the tray with the hard disk.
If your device is a computer or server, open the side panel and find the hard disks.
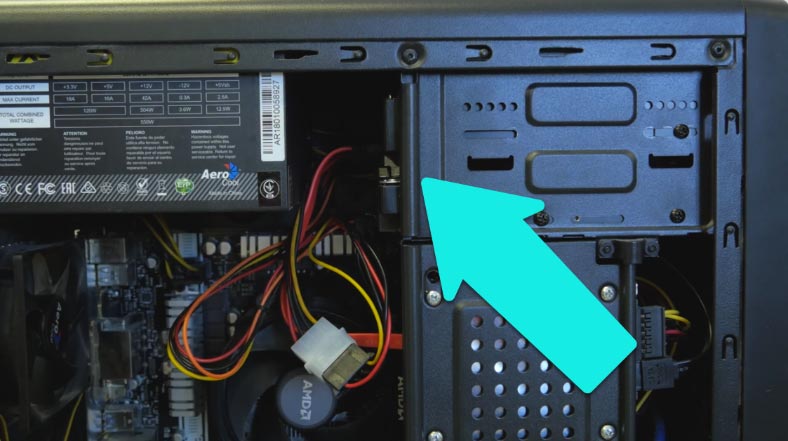
Disconnect them from the power supply unit and the motherboard, remove the screws that fix the hard disks to the computer case, and take the disks out.
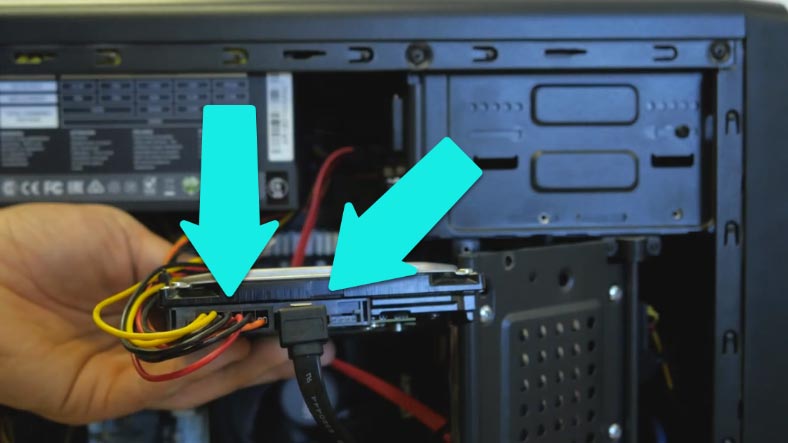
If the hard disks are connected to a controller, disconnect the data cable and connect it to the SATA port of your motherboard instead.
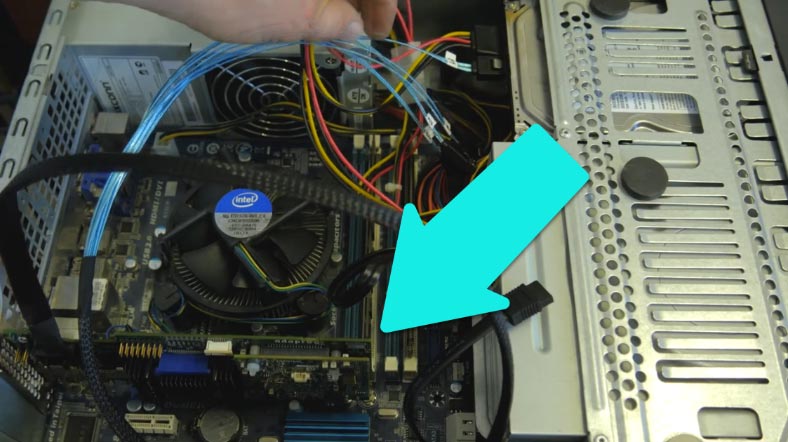
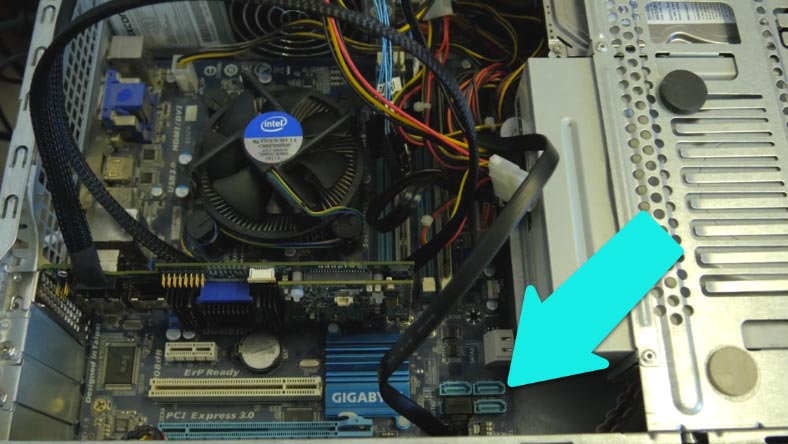
For RAID arrays built in Linux or MacOS, you can use a virtual machine – check the link to watch a detailed video tutorial.

🐧 How to Recover Linux Data After OS Reinstallation or Disk Format in 2021 🐧

🍏 How to Recover Data from iMac, MacBook, Mac Pro, USB Drives and Memory Cards in 2021 ⚕️
Step 2. How to connect hard disks to a PC and what to do if there are not enough power or SATA connectors
Before taking the hard disks out of the case, you should find out how many disks make up your array and check if you have enough SATA ports on the motherboard of the computer where you are going to connect the hard disks, and if there is a sufficient number of power connectors (and even if it has enough power to work with all those HDDs).
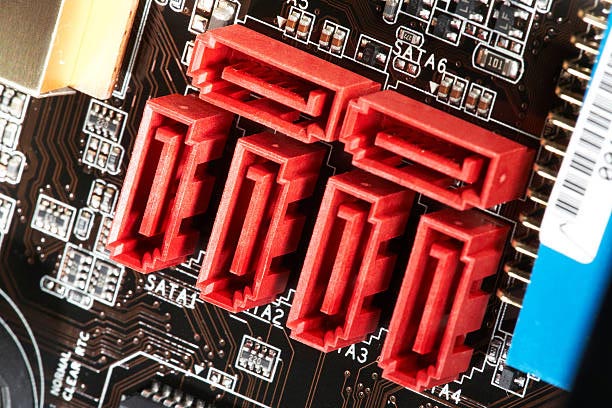
This is how a SATA port looks like.
And this is a power connector.
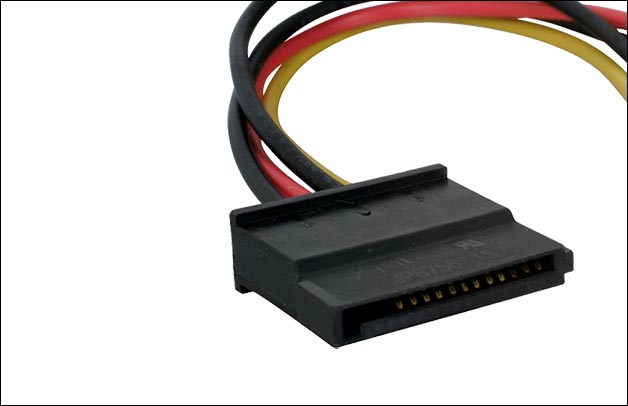
Their number is limited by specifications of the motherboard and the power supply unit.
What to do if there are not enough SATA ports on the motherboard
If there are more hard disks than ports, you can temporarily disconnect a DVD drive or another device which is not required for the recovery process. If this doesn’t help, and you still lack SATA ports, you can use an expansion card.
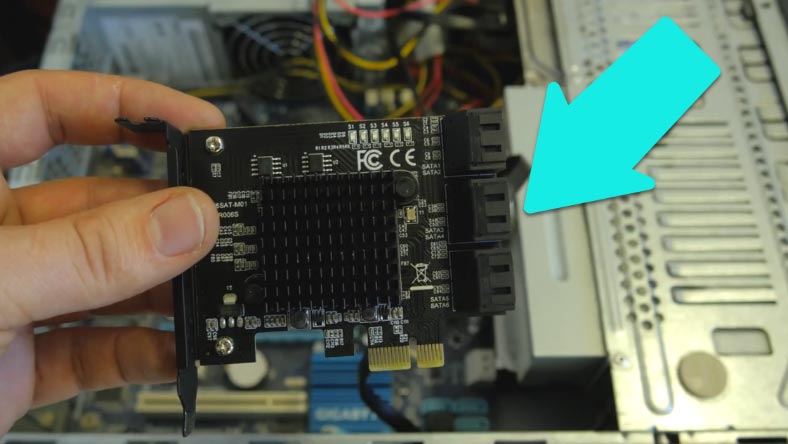
There are many models on the market, and they mostly differ by the number of ports they provide. To connect an expansion card, insert it into the PCIe slot of the motherboard.
Not enough power connectors
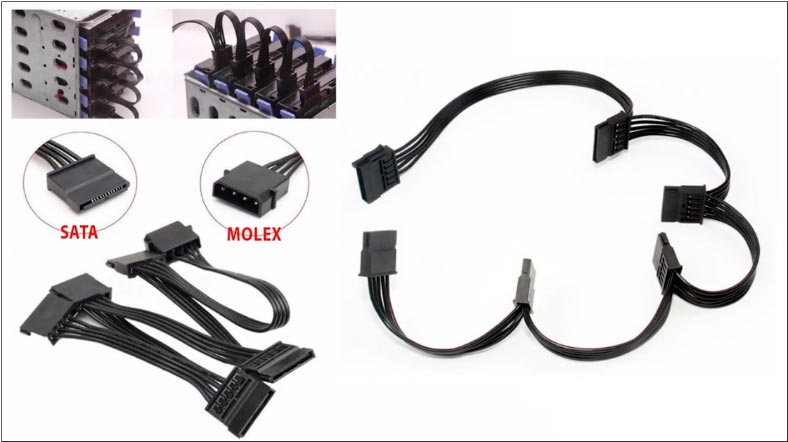
In case you have less power connectors than necessary, there are all kinds of adapters and splitters. For example, this type of splitter lets you turn a single MOLEX connector into 4 or 5 SATA power connectors. A hard disk doesn’t consume much power (even at full load, it’s under 20 W, depending on the disk capacity), so an ordinary 400 or 500 W PSU should be enough for ten hard disks.
If there is one more PC nearby, you can use it to supply power to some of the hard disks: this is a suitable solution if you don’t have any splitters at hand, or if the first computer’s power supply unit is too weak to provide power for all your HDDs. This way, the hard disks are connected to the motherboard of the first PC, but they receive power from the other one.
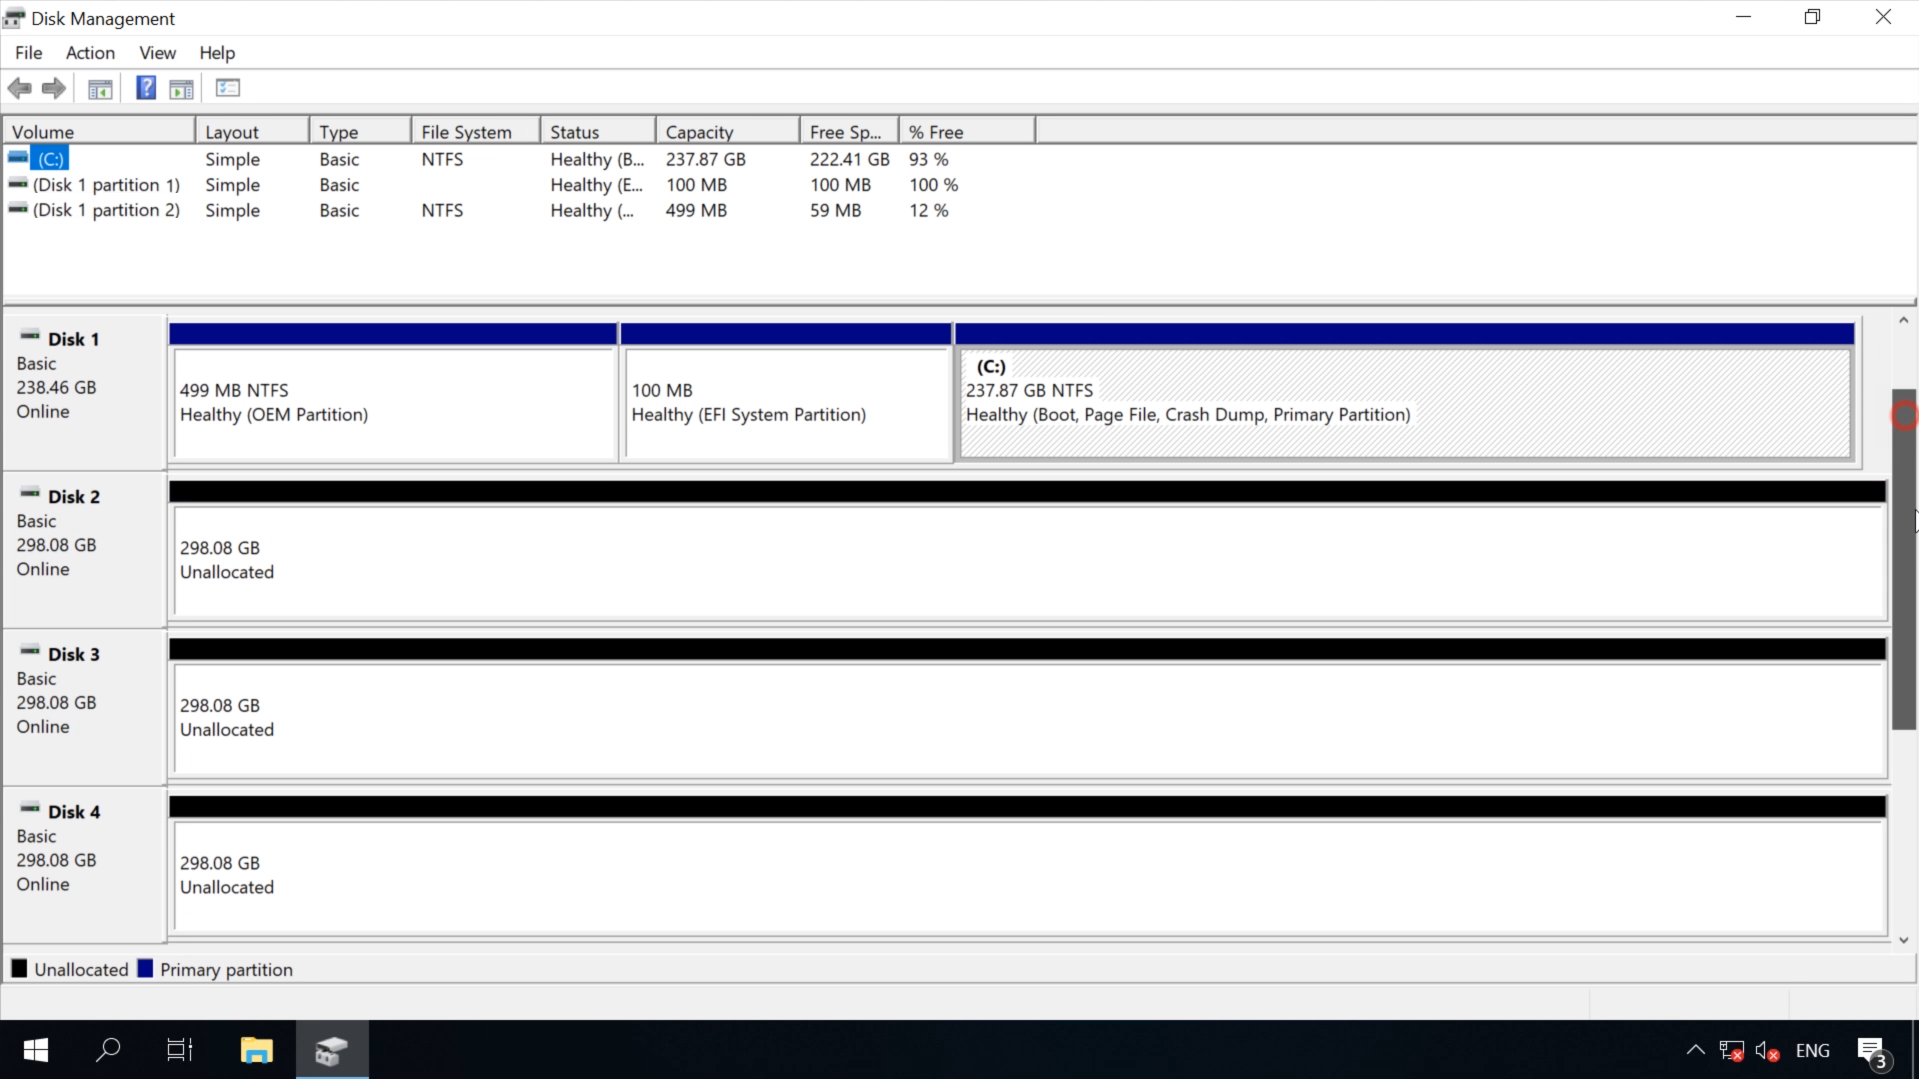
Before proceeding to the next stage, make sure that everything is connected correctly. Start by turning your PC on and checking if it can detect all the hard disks you have connected to it. Open the disk management app (right-click on the Start menu and select “Disk Management”). If all your connections are OK, all the hard disks should appear in this window.
Now it is time to configure your computer for remote administration.
Step 3. How to install and configure TeamViewer
To arrange remote data recovery from RAID, you need to install TeamViewer. This utility lets users to control another computer remotely, i.e. over the Internet.
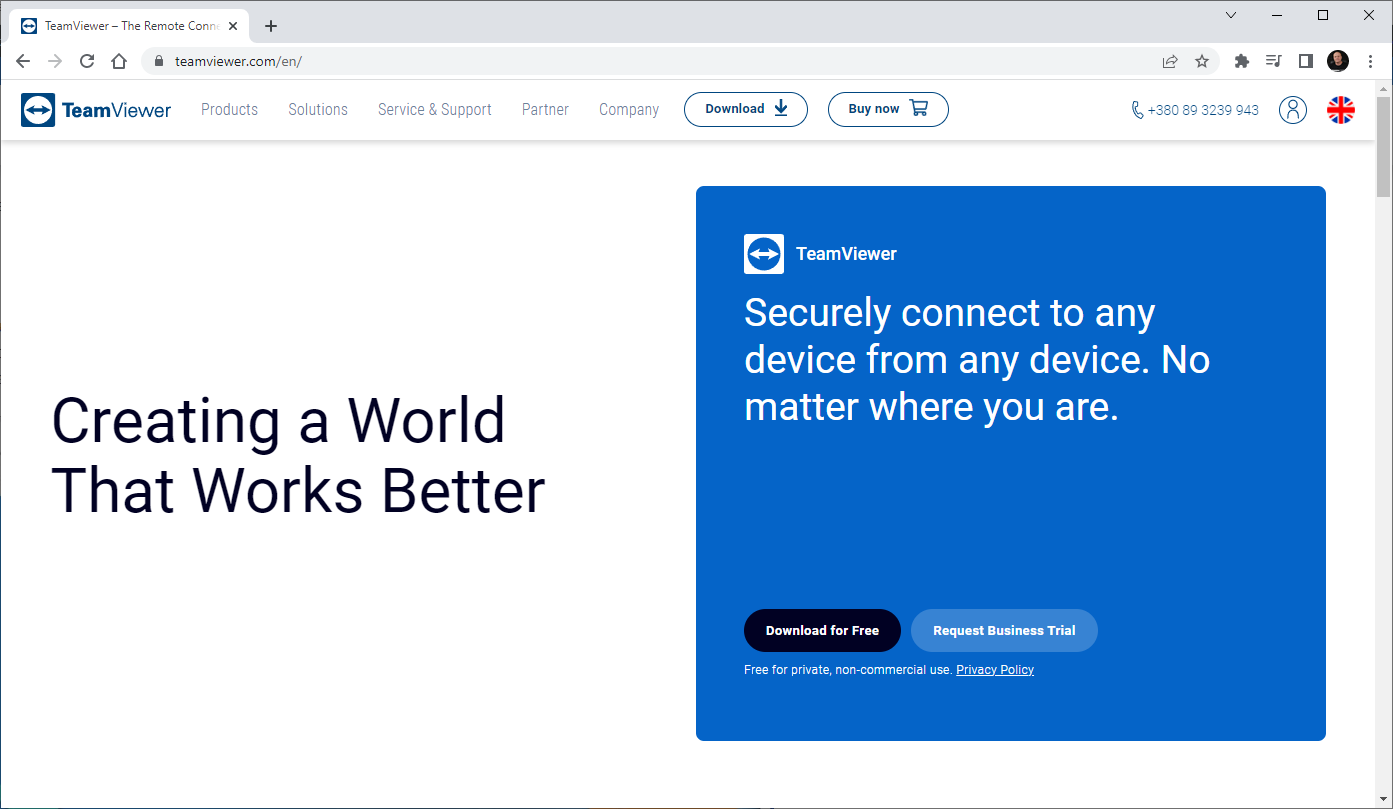

Visit the program’s official website and download its free version. Launch the downloaded file to start the installation. Check the option for “Default Installation” and then click “Accept – Next”.
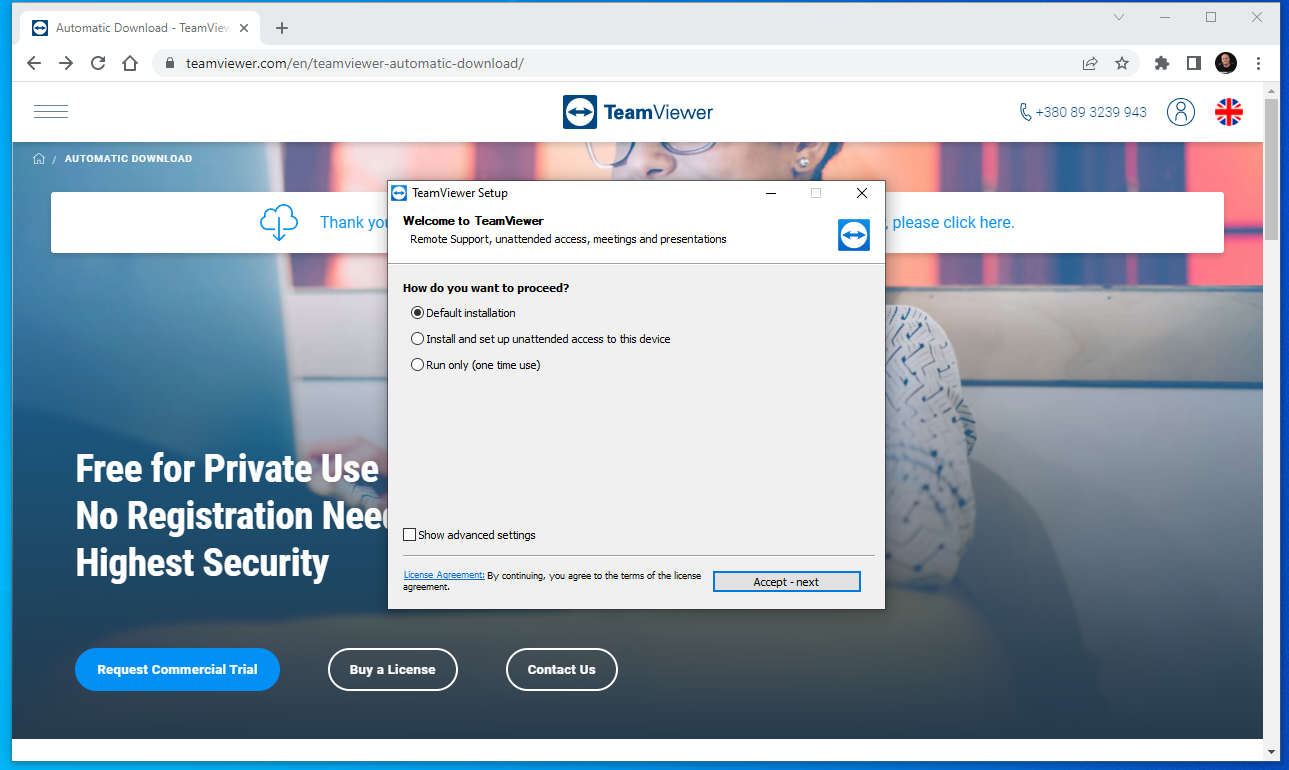
Wait until the installation is complete, and in the next window, choose how you want to use TeamViewer – for personal use, and click “Accept – Finish”. That’s the end of the installation process.
Find the program’s shortcut on the desktop and launch it. To allow a specialist to manage your PC, share your ID password.
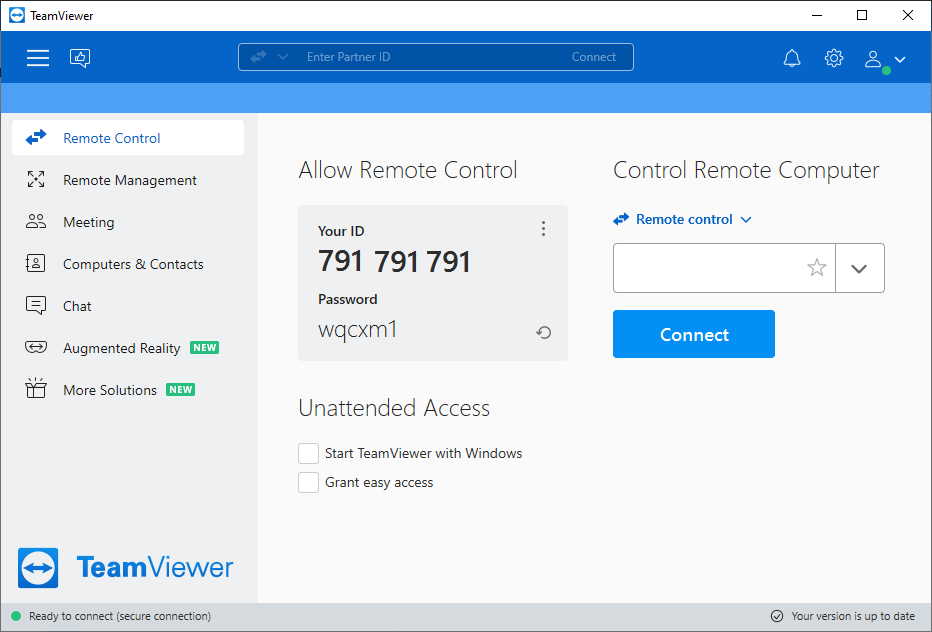
After you have taken all these steps, your computer and storage system are ready for the remote data recovery process.


In most cases, it occurs right in the middle of a remote session, that is, when you connect to a remote computer.
- In TeamViewer settings, configure the option to automatically hide the remote screen in connections.
- The partner’s computer failed to enter sleep mode and has a stable network connection.
- Check connection permissions. Settings, Security, Rules for connection to this computer, Allowed for all users.
- Set Windows authentication. When connecting, click on Advanced and set the authentication method to Windows.
- Reinstall the program and/or graphics drivers.
The problem is that it can’t connect to a server or remote PC. A similar problem emerges when you are trying to enter a user ID. Especially often, it happens in obsolete versions of this program. Most of the time, Reason Unknown error occurs when it is time to update TeamViewer.
If TeamViewer refuses to connect, the problems can be one of the following: partners trying to connect have different program versions; TeamViewer is installed incorrectly; router issues; no Internet connection; maintenance works on the servers.