How to Recover Deleted Data From MacBook, iMac, Mac Pro or Mac Mini
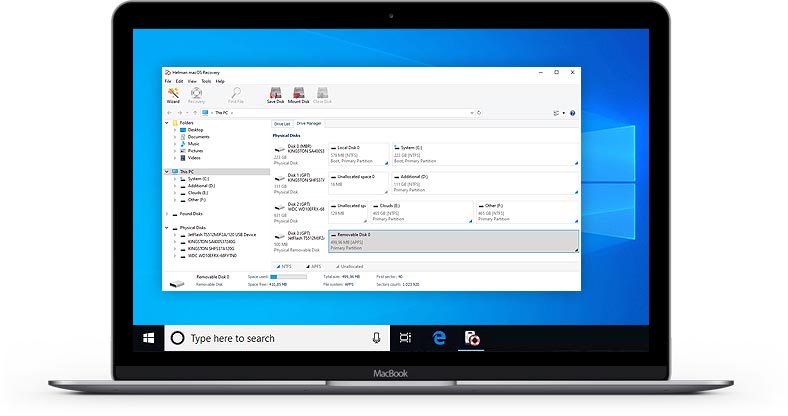
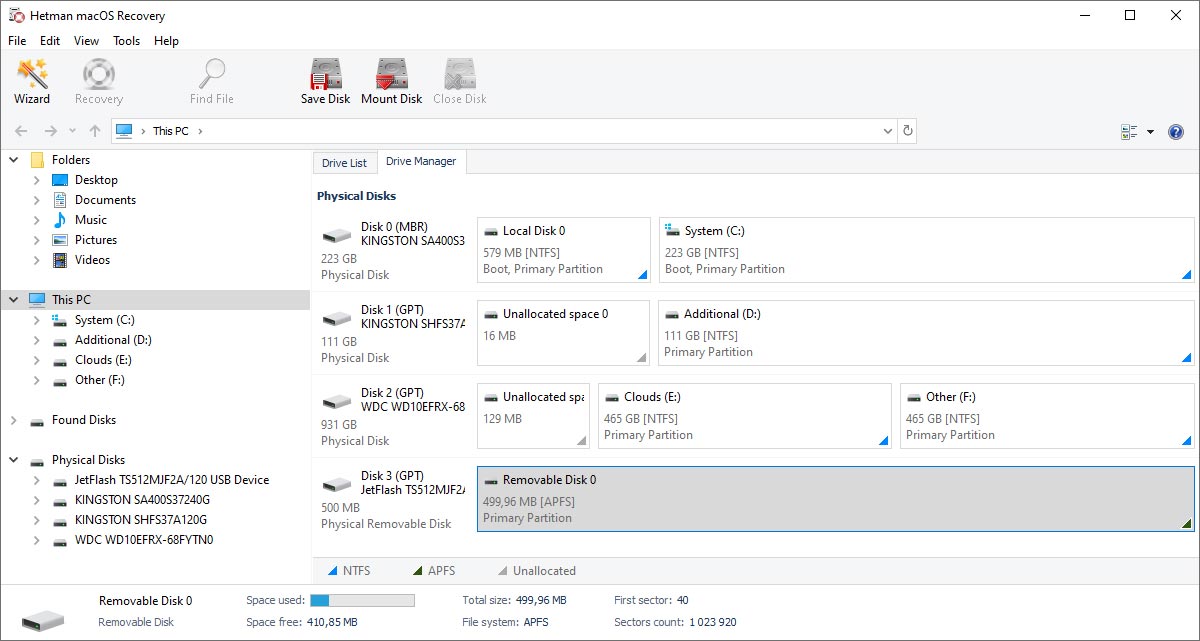
There are several ways to recover data from a MacOS device with the help of our product. For the simple way, you need to connect a disk, memory card or USB pen drive that files were deleted from, to a Windows computer. After that, scan the storage device and select files for recovery.
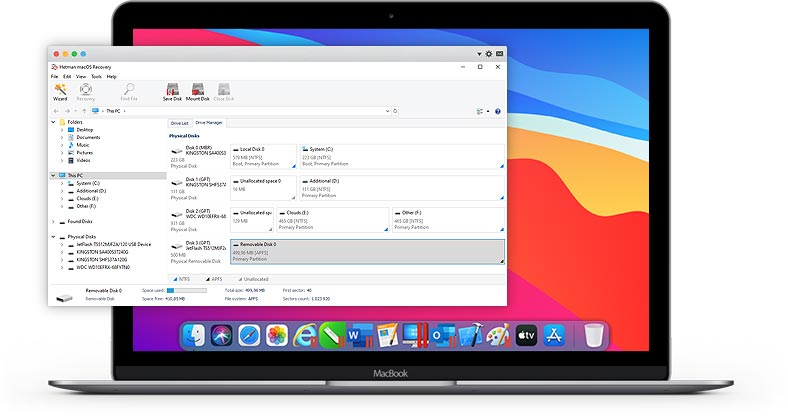
However, taking out the built-in storage device from most Apple products can be quite challenging, and that is why, if we take the complicated way, you can install Boot Camp or Parallels virtual machine instead, and run Windows on your Mac laptop or computer. To get things going, download and install the program.
Data Recovery with Boot Camp
Boot Camp is a utility integrated into MacOs that lets you run Windows and Windows-specific software on your Mac device. To begin, you need to download a copy of Windows and start Boot Camp Assistant.
In one of our videos, we have explored the entire process of installing Windows to Boot Camp and subsequent data recovery:
After that, scan the selected storage device and save the recovered files using this guide.
Data Recovery with Parallels
In addition to this integrated solution, you can use Parallels virtual machine to install Windows on a Mac computer and recover your data.
Unlike Boot Camp, a Parallels virtual machine can’t access the system disk (i.e. the one with the Mac operating system), but you can always analyze any other disk (internal or external) connected to the computer.
Learn more about installing Parallels and using it for data recovery from our video:
Data Recovery With a Windows PC
You can install MACOS Recovery™ on any Windows computer and recover data from any connected disk with one of the following file systems: APFS, HFS, exFAT, FAT.
Watch our reviews on best software to recover files from Mac computers:
Creating a Virtual Image
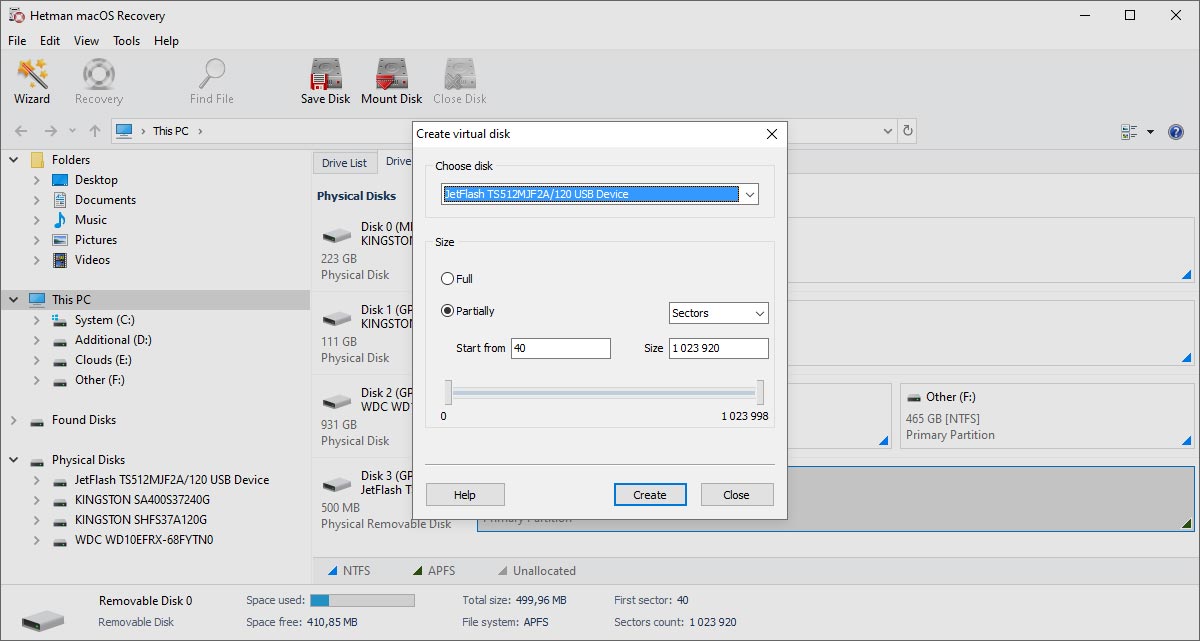
Our data recovery tool lets you create a virtual image of a physical storage device. When it’s ready, you can copy this image to another computer and then recover data from the image. To create an image, go to the main menu, select Tools - Create Virtual Disk and specify where you want to save the file.
Also, you can work with virtual machine disks, such as:
- VDI (VirtualBox Disk Image) — Oracle VirtualBox disk format;
- VMDK (Virtual Machine Disk) — VMware Player/Workstation disk format;
- VHD, VHDX (Virtual Hard Disk) — Microsoft Hyper-V disk format;
- HDD (Parallels Hard Disk) — Parallels Desktop disk format;
- QED (QEMU enhanced disk) — the format for QEMU/KVM;
- QCOW (QEMU Copy-On-Write) — the format for QEMU.
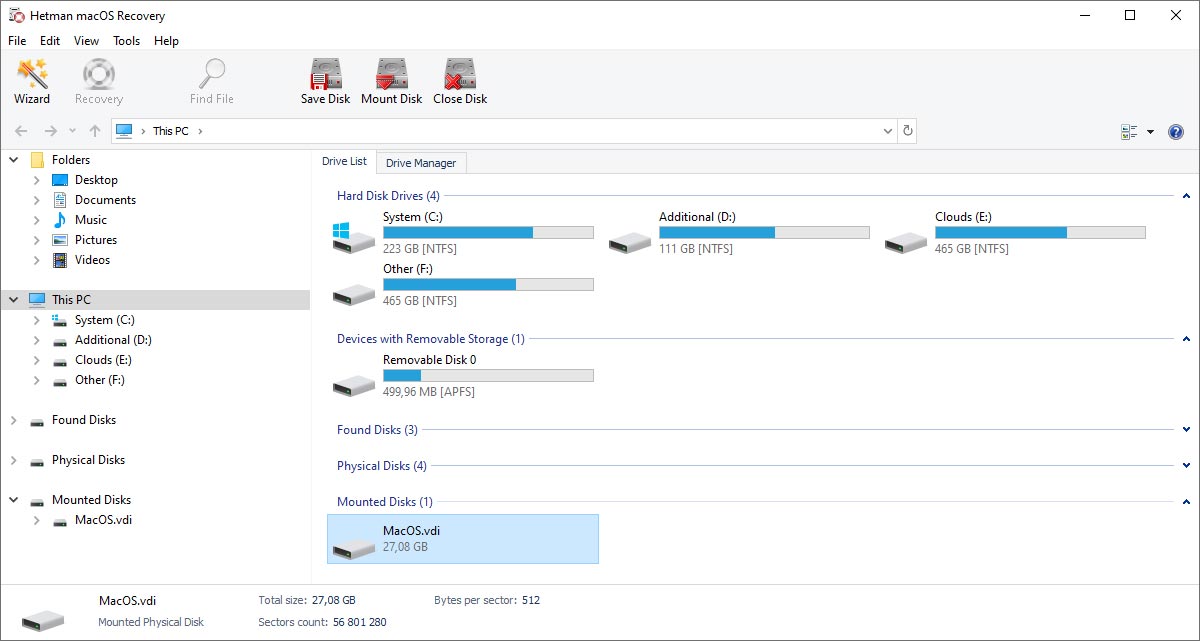
To connect such disk, go the main menu, select Tools - Mount Disk and specify the path to the disk file. After that, the mounted disk will be available for analysis in the main window of the program.
Quick Start
That recovery software for mac support any file types including documents, photos, archives, audio and video formats. You can use Deep or Quick scan to find lost files or deleted partitions.
-
Does macOS have integrated tools to recover data?
In macOS, such integrated tool to recover deleted files is called Time Machine. It works as a backup system that automatically creates backups of the whole operating system and lets users recover files from such backups.
-
How can I recover deleted photos or videos from Photo Library on Mac?
To recover deleted photos or videos from Photo Library on Mac, you may have to take a few steps:
- Open the Photos app on your Mac.
- On the left-side panel of the Photos app find and click Recently Deleted album.
- Select the files you’d like to recover. You can recover one file or several files at the same time.
- Having chosen the files for recovery, click Recover in the upper right corner of the app window.
- Make sure that the recovered files have appeared in the corresponding directories of your Photo Library.
Remember that files can be stored in Recently Deleted album for some time before they are finally removed from your library.
-
Are there any other integrated data recovery methods in macOS except for Time Machine?
In fact, macOS has a few more integrated data recovery methods in addition to Time Machine:
- Undo in Finder: After files are deleted or moved elsewhere, you can use the key shortcut Command + Z to cancel the action. It allows you to restore deleted or moved files to their original location.
- File History in iCloud: If you enabled iCloud Drive and configured the option Optimize Mac Storage, your macOS will store old versions of your files in iCloud. You can open a file in the app, click File - Revert To - Browse All Versions to open changes history and recover previous versions of a file.
-
How can I check a disk for errors in MacOS?
To check a disk for errors in macOS you can use the following tool -fsck (File system consistency check).
To start fsck you need to switch to Single User Mode. It allows to modify shared user resources on this computer. Single User Mode does not run macOS, but just gives you access to Unix command line.
To switch to Single User Mode:
- Power off your Mac;
- Turn it on;
- Immediately after the start signal, press and hold the key shortcut ⌘Cmd + S.
You will see the command line soon. Type in fsck -fy to start the fsck process.
Wait for fsck check to be over, and the system will report on its results.
-
Which file system should be used on Mac?
macOS supports several file systems: HFS+ (Mac OS Extended), APFS (Apple File System), FAT (File Allocation Table):
- APFS: the best option for hard disks and flash drives.
- HFS+ (MacOS Extended): better suited for mechanical disks or disks used with older macOS versions.
- еxFAT: good for external drives which are also used with Windows computers.
Post a testimonial
Recommended tools
We recommend that you familiarize yourselves with the opportunities offered in other Hetman Software utilities. You can significantly save on the purchase or buy a program with the features that best suit your needs.
