Digital Camera Bugs: How to Fix
Learn how to troubleshoot and fix bugs on your digital camera with this comprehensive guide. Whether you’re encountering software glitches, hardware malfunctions, or other issues, this tutorial covers everything you need to know. Dive deep into step-by-step instructions and essential tips for resolving digital camera bugs and ensuring smooth operation. Don’t let camera issues ruin your photoshoots!
- How To Fix The Error
- Deleted Pictures In a photo camera
- Memory Card Errors
- Step 1. Connect The Memory Card
- Step 2. Disconnect And Reconnect The Memory Card Again
- Step 3. Unlock The Memory Card
- Step 4. Format The Memory Card
- Step 5. Take Pictures or Make Films In Lower Resolution
- Step 6. Clean Or Replace The Memory Card
- Step 7. Try Testing The Memory Card With Another Device
- Step 8. Use a Memory Card Compatible With Your Camera
- Lens Error
- File Damage Or File Error
- Power Error
- Common Or System Error
- Questions and answers
- Comments
How To Fix The Error
Deleted Pictures In a photo camera
Step 1. Use a Data Recovery Program
Incorrect use of a camera or a memory card or other unintended actions can make pictures in the memory card to become damaged or lost.
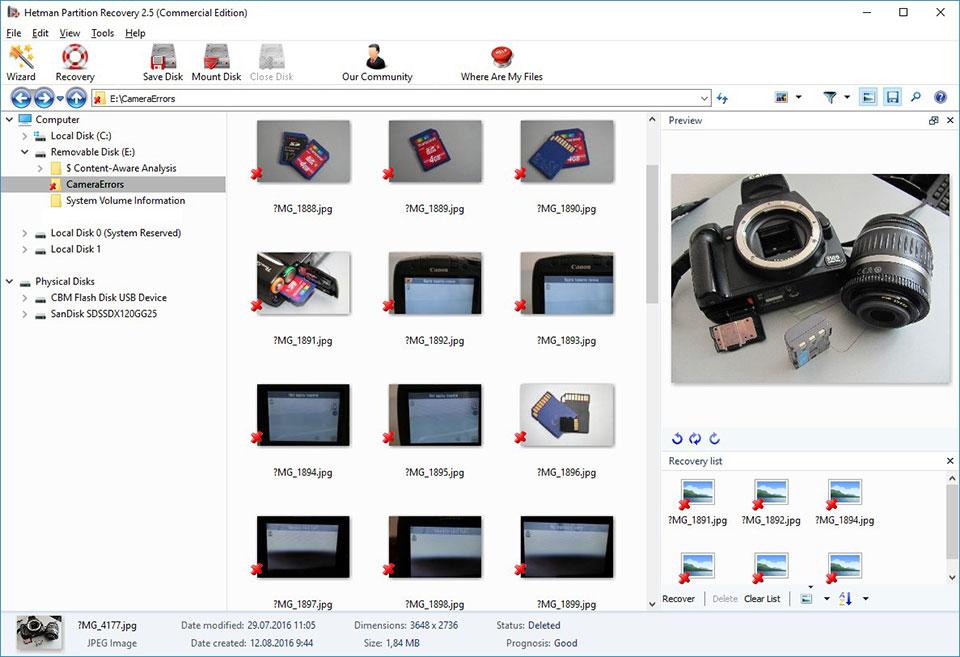
Recover lost or damaged files with the help of data recovery software. Scan your memory card with Hetman Partition Recovery and restore the files you have found (pictures or videos) in the form they appear in the preview window.
You can download the software for free to make sure that your files can be recovered. To find your way with the program read the manual.

🔥 How to Recover Files from the Memory Card of Your Camera, Phone, Video or Dashboard Cam in 2021 ⚕️
Memory Card Errors
If the error message is related to a memory card error in a photo camera, do the following:
Step 1. Connect The Memory Card
In digital and reflex cameras, photo and video files are mostly saved to a memory card. If the memory card is not connected to the camera, it can show an error message.
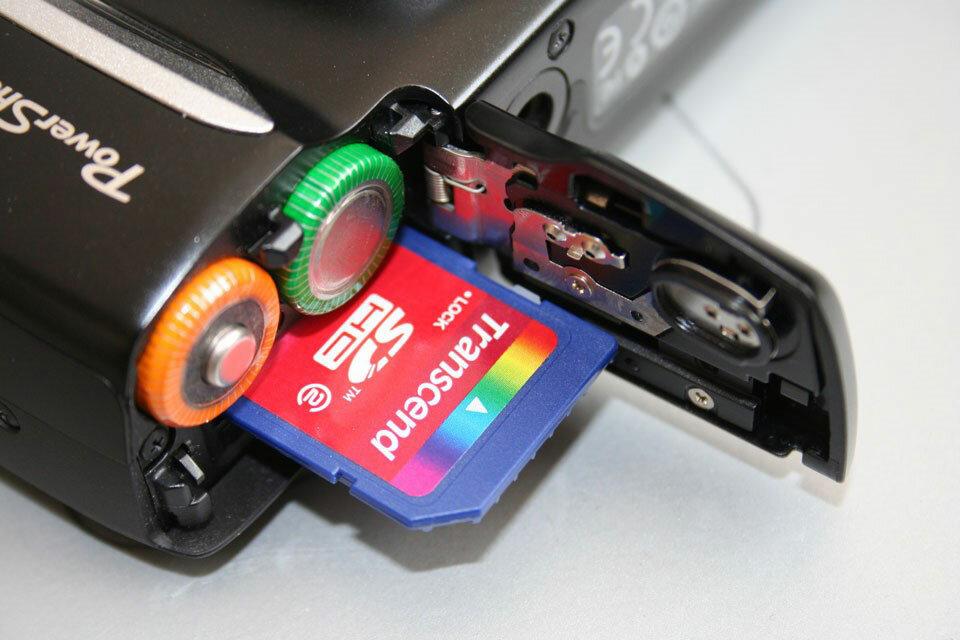
In this case connect the memory card to the camera or, if it is already connected, make sure such connection is proper.
Step 2. Disconnect And Reconnect The Memory Card Again
If a memory card error has occured, disconnect it from the camera. Before doing that, don’t forget to switch the camera off. After you have taken the memory card out of its slot, make sure its contacts are not damaged or dirty.
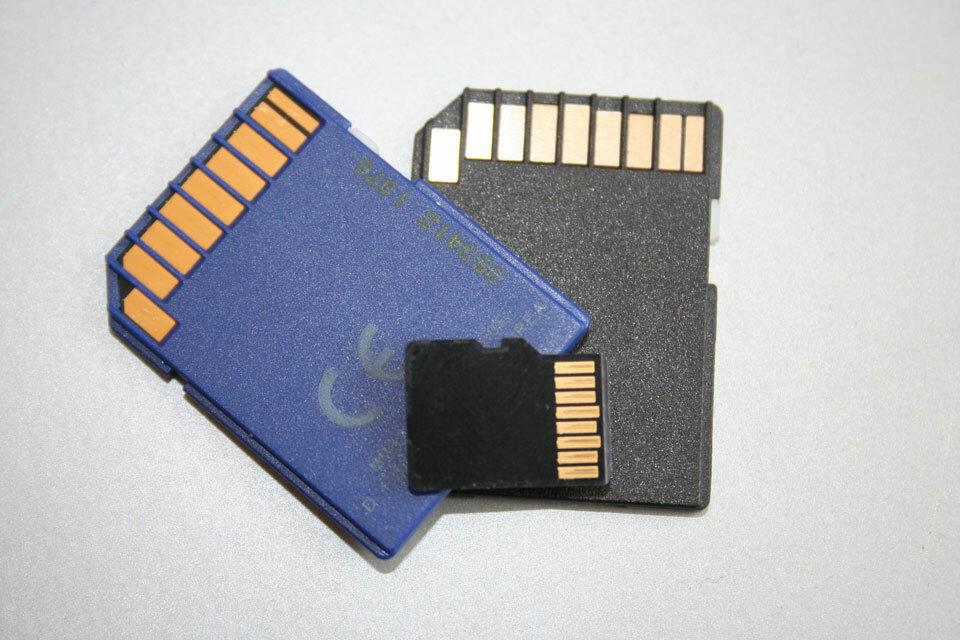
Insert the memory card into the proper slot of your camera again.
Step 3. Unlock The Memory Card
Make sure the memory card is not locked. The memory card lock switch (for SD cards) should be in the unlocked (upper) position.
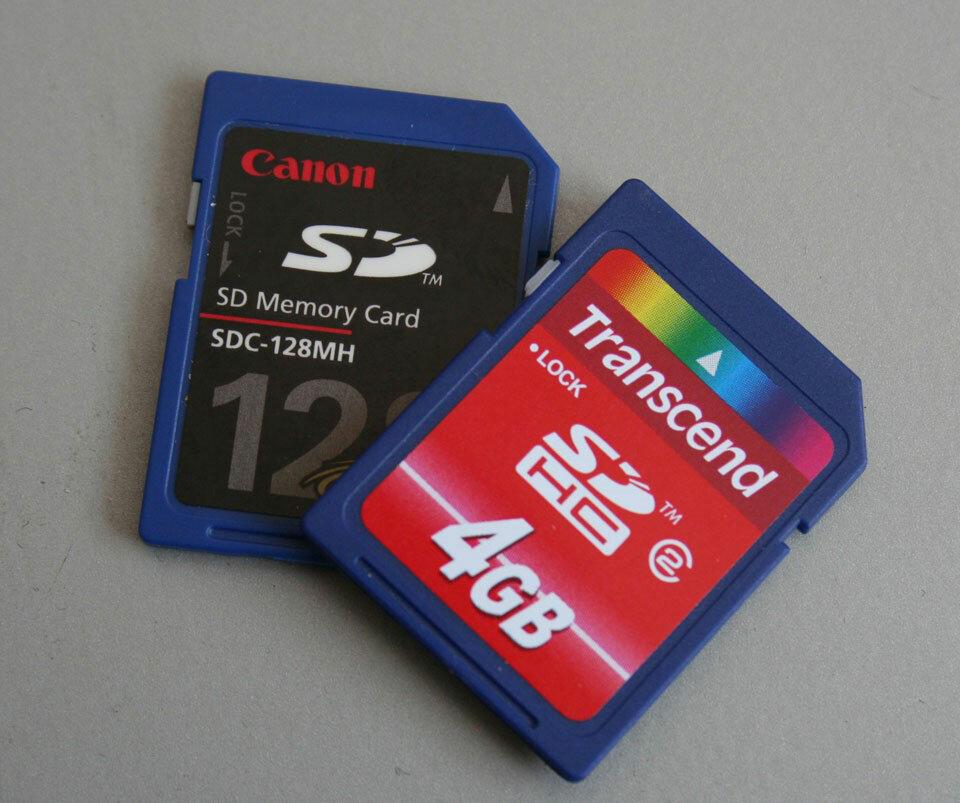
Otherwise, if the memory card is unlocked and there is an error saying it is still locked, you’ll have to format the memory card.

👨💻 How to Unlock a Write Protected USB Drive, a SD or Micro SD Memory Card or a Hard Drive in 2021
Step 4. Format The Memory Card
If disconnecting and reconnecting the memory card did not yield any result, format it. Before formatting the car, make sure all files from there are copied to another media, because formatting will delete all the files from your memory card.
If formatting cannot be performed, it means the memory card is out of order and it has to be replaced.

How to Fix a Flash Drive for a Computer, TV or Car Audio in 2019 🛠️👨💻🤔
Step 5. Take Pictures or Make Films In Lower Resolution
If while shooting a film your camera stops the process of recording/saving and flashes an error message, it may indicate insufficient read/write speed of the memory card. This speed can be low both because of the camera overheating and because of the speed restrictions set by the manufacturer.
In this case, we recommend reducing the resolution of the pictures you are taking or videos you are making.
Step 6. Clean Or Replace The Memory Card
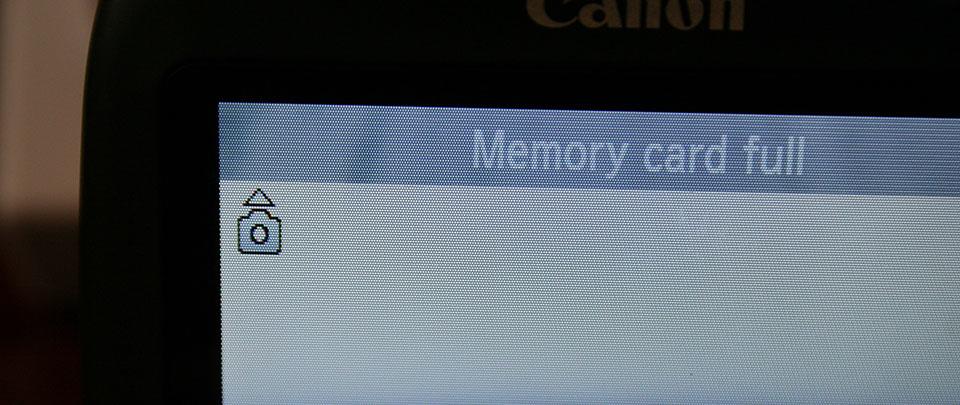
The camera can flash an error if its internal memory/memory card is full. In the camera’s menu, change the settings so that files are saved to the memory card instead of the camera’s internal memory. Transfer files from the memory card to the computer or clean it to continue your work.
Step 7. Try Testing The Memory Card With Another Device
If a memory card is not recognized by the camera, connect it to another camera or device to make sure it works properly with them.
Step 8. Use a Memory Card Compatible With Your Camera
A camera can flash an error if an incompatible memory card is inserted. Replace such memory card with the one compatible with this camera according to the manufacturer’s recommendations.
Lens Error
If the error message is related to a lens error in a photo camera, do the following:
Step 1. Disconnect And Reconnect The Lens Again
Disconnect the lens from the camera and make sure that its metal contacts are clean and intact as well as the lens contacts on the camera body.
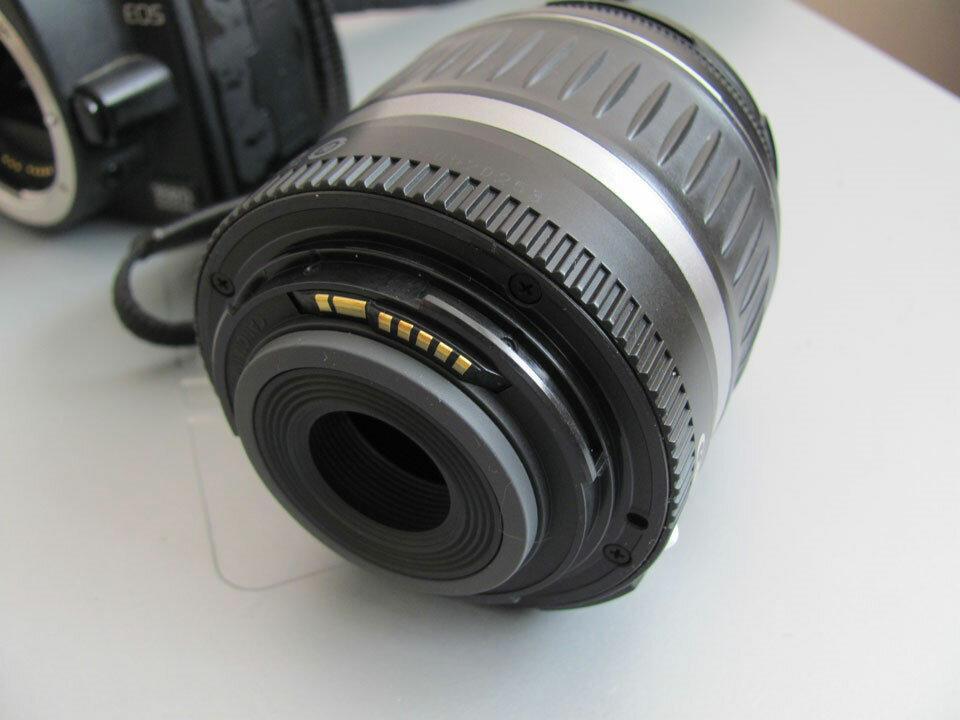
If reconnecting the lens and cleaning its contacts haven’t fixed the problem, the camera may need repairing.
Step 2. Make Sure The Camera And The Lens Are Compatible With Each Other
A lens error may result from trying to connect a lens model which is incompatible with your camera. Make sure your camera model is compatible with the lense model according to the manufacturer’s recommendations.
Step 3. Switch The Camera “Off” And Then Switch It “On” Again
A camera can show an error because of its lense jammed or blocked during the transportation. For some reason, the blocking may not be disabled.
If the camera reports a lense error, switch it off and then switch it on again.
Step 4. Update The Camera’s Firmware
A camera’s lens error may occur because the device needs updating its firmware. Go to the camera manufacturer’s website to check for latest firmware and update it if a newer version is available.
File Damage Or File Error
If the error message is related to a file integrity error in a photo camera, do the following:
Step 1. Copy Files To The Computer And Format The Memory Card
If the camera fails to read files, copy them to the computer and try opening them on the computer. Then format the memory card.
The pictures or videos may have been taken with another camera model and therefore cannot be read by your particular device.
Step 2. Insert Another Memory Card Into Your Camera
If your camera reports a damaged file error, and formatting the memory card did not help, connect another memory card (which works properly) to your camera.
If the error does not appear again, then your memory card must have been damaged or broken. If the error occurs again and again, it indicates more serious problems, and you’d better go to a service center to fix them.
Step 3. Try Taking A Picture Once More
If the camera cannot complete the process of saving or compressing a picture and flashes an error message, try taking a picture again. Picture file format may need to be changed, or there may be a processing function failure.
Step 4. Unlock The File Which Is Marked “Read Only”

How to Delete a File That Can’t Be Deleted Because of Write Protection or Denied Access 📁🔥🤔
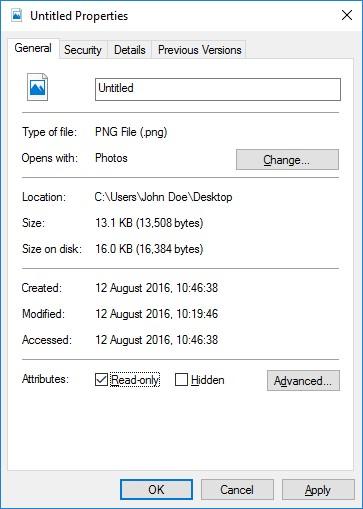
If you cannot delete a photo or video file with the help of your camera, it may be marked “read only.” Go to the file properties tab and uncheck the box “read only” using your computer or camera menu (if such function is provided by the manufacturer).
Power Error
If the error message is related to a power error in a photo camera, do the following:
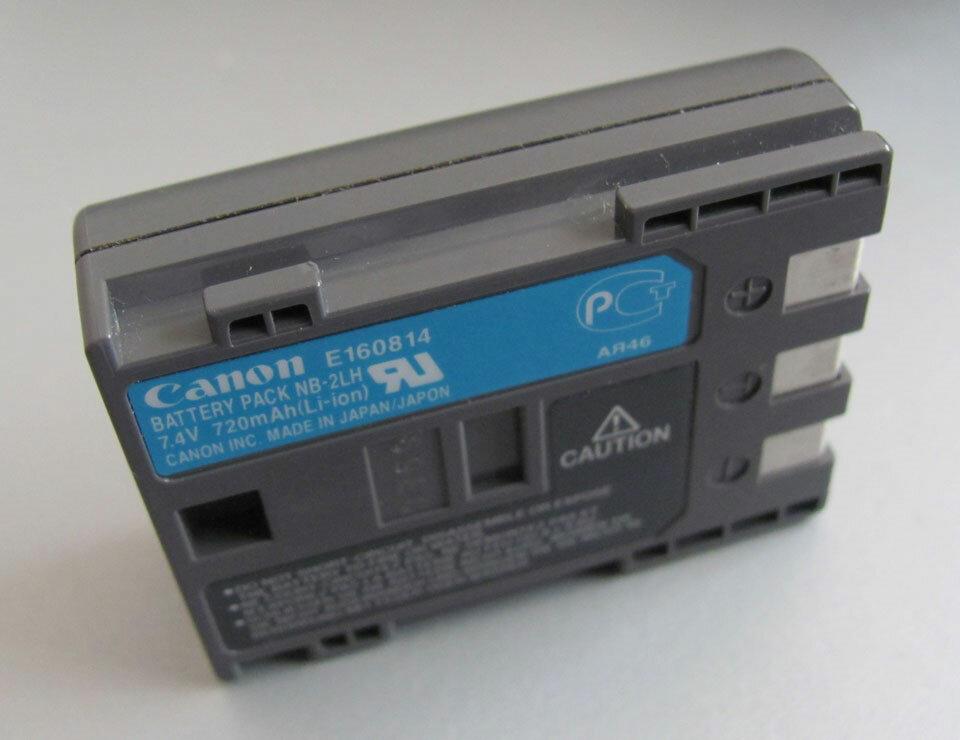
Step 1. Disconnect And Reconnect The Battery Again
If there is an error related to your camera’s power supply, disconnect and take out the battery (accumulator cell). Make sure the battery was connected to the camera properly. Make sure the battery model corresponds to the camera model. Make sure the battery contacts are not damaged or dirty. If all the previous actions yielded no result, you battery may be out of order.
Step 2. Charge The Battery
Some activities of the camera consume much power from the battery. For example, if you need to clean a digital camera sensor, the battery has to be fully charged. If the camera detects that the battery level is insuficient for a certain action, it will report a battery low error. In this case, you need to charge the battery.
Step 3. Cool The Battery
If the camera’s battery is overheated, it may stop charging and indicate this problem by flashing the accumulator charge light. In this case, let the battery cool down to normal temperature and make sure its contacts are not dirty.
Common Or System Error
If the error message is related to a common system error in a photo camera, do the following:
Step 1. Switch The Camera “Off” And Then Switch It “On” Again
If your camera reports a common or system error, switch it off and then switch it on again.
A camera may become overheated when used intensively. Wait for the device to cool down to normal temperature and then switch it on.
Step 2. Reload The Camera
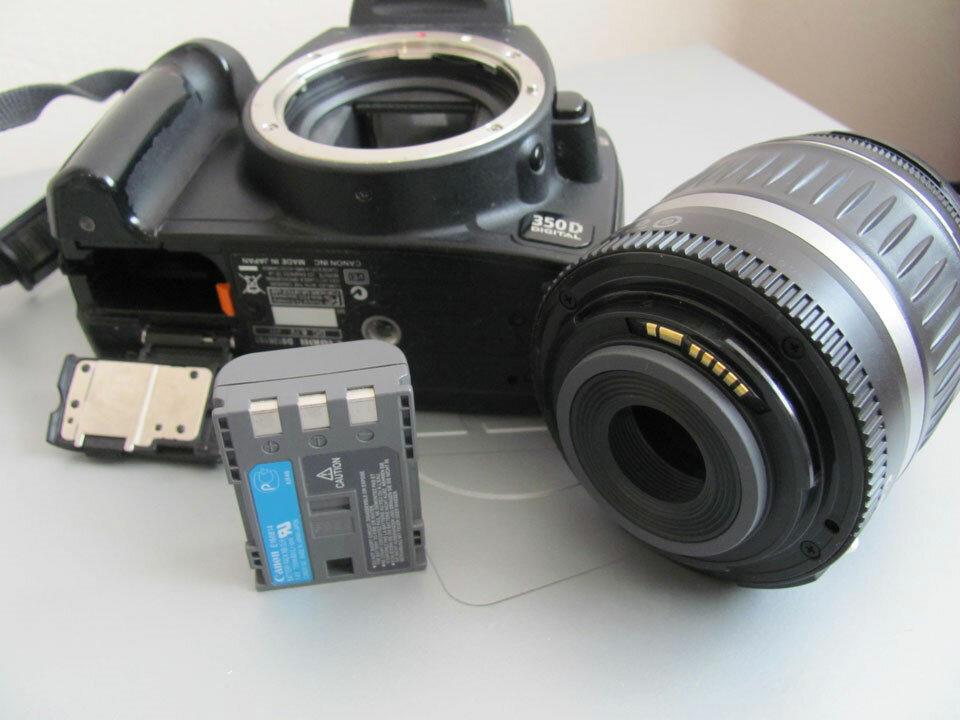
To reload the camera switch it off, take out the memory card and disconnect the battery. Wait 15 minutes and put the camera together in the reverse sequence. If the error is still there, your camera may need repairing.
Step 3. Charge Or Rreplace The Internal Power Supply
A common or system error may result from discharge of the camera’s internal battery (which also controls the camera’s time and date settings).

In this case, you will have to replace or charge the internal power supply (depending on the format of such power supply).
Step 4. Transfer Your Pictures To The Computer
If pictures in the memory card are taken with another camera, viewing them can produce errors. It happens because the camera cannot show such pictures in full size and only displays their icons.
Transfer your pictures to the computer to vie them in full size.
Step 5. Connect The Camera’s Cable To a Computer Or a Printer
When transferring pictures from the camera to the computer or printing them from the camera you may encounter a connection error.
Make sure that the camera’s cable is connected properly to a computer or a printer. Check if the cable fits firmly into the connection socket. After that, switch the camera off and then switch it on again.
Is the error in a photo camera fixed now? Leave your feedback and ask questions in your comments.

📡 How to recover a Video File from Non-Operational Video Recorder (Hikvision DS-7104NI-Q1/4P) 📡



Yes, there are several preventive measures you can take to avoid bugs in a digital camera: