How to Rescue RAID Data with a Failed LSI 3081E-R Controller
In this article, you’ll learn how to recover data from a RAID system after your LSI 3081E-R controller has failed. We’ll go through the entire process, providing you with practical tips and strategies to tackle this complex challenge. From identifying alternative recovery methods to implementing them successfully, this guide ensures you have all the necessary tools to retrieve your valuable data and minimize downtime.
- 1. Getting ready for data recovery
- 2. How to recover data from a crashed array
- 3. How to recover accidentally deleted files
- 4. How to recover files from RAID 1
- 5. Conclusion
- Questions and answers
- Comments
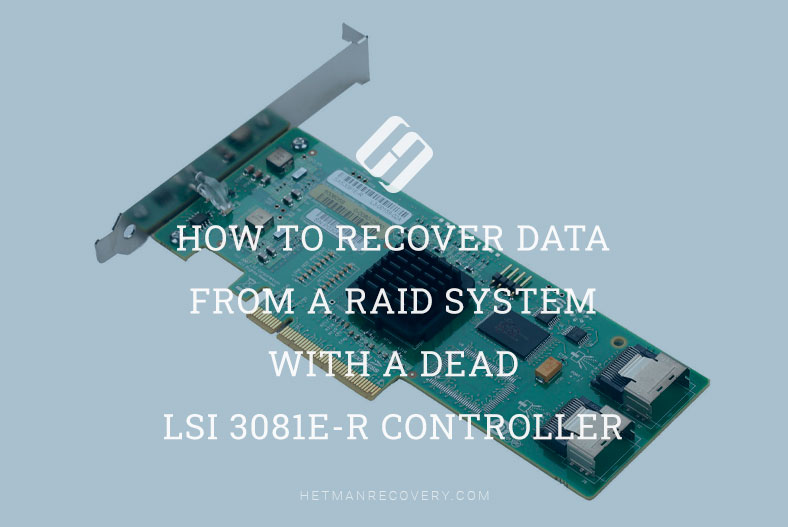
As we know, the controller is an important part of any RAID system since it’s in charge of managing your data and ensuring its safety. This controller model supports the SAS interface, 8 ports to connect hard disks, and it’s capable of handling various RAID levels including RAID 0, RAID 1, RAID 5, 6 and other. This allows you to create effective and reliable data storage arrays.
RAID is a technology making it possible to unite several physical disks into a single logical data storage. It provides improved reliability and – depending on the specific level – better performance or data recovery options in case of a failure.
However, in spite of all these advantages, you may sometimes encounter situations when some data needs to be recovered from a RAID system. This might happen after a hardware failure, wrong configuration or other issues.

How to Recover Data from a RAID System With a Dead LSI 3081E-R Controller
1. Getting ready for data recovery
If your RAID is still operable, it is very important to back up all of its files before you start data recovery operations. Such backup files will help you preserve the information if the recovery goes wrong or some other problems arise.
Another important aspect is to learn how an array is built on this type of controller. Right now, we’re going to explore how to create a RAID 5.
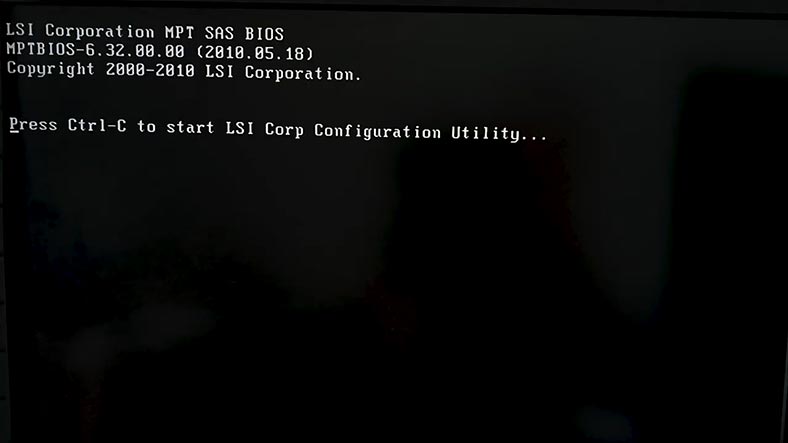
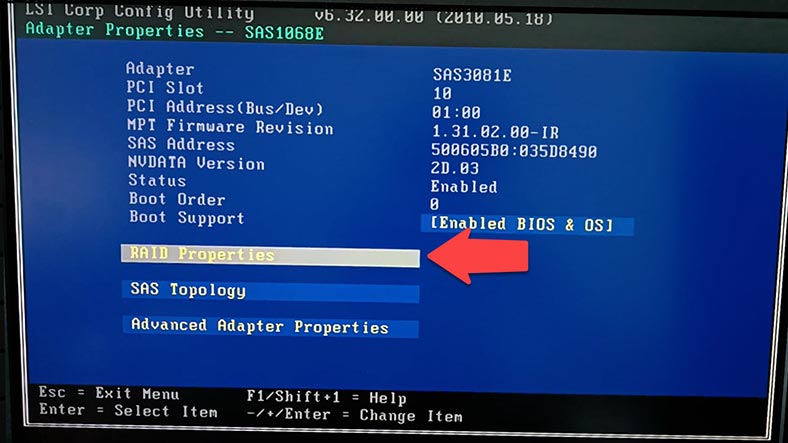
To create an array or change its level you need to access the controller’s BIOS. When the array is booting, press the key shortcut Ctrl + C to start the Configuration Utility, where you will see the device model. Press Enter to start the configuration process.
Open RAID Properties: navigate the menu with the arrow keys, and use Enter to select options.
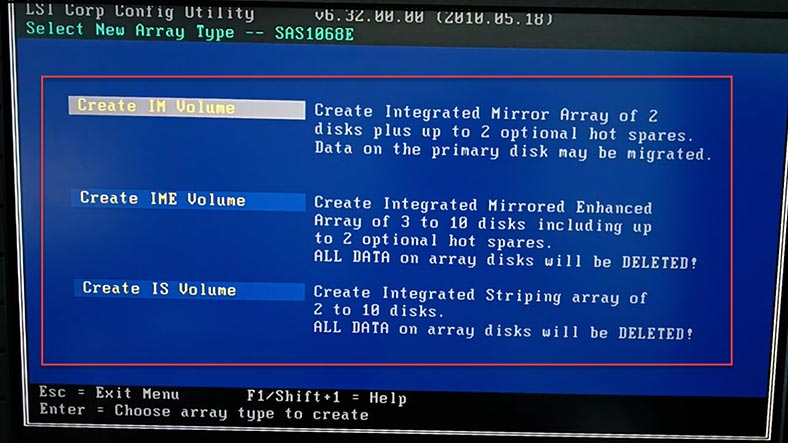
Choose the required RAID level. The first one on the list is an ordinary mirror-type RAID 1, the second one is an enhanced mirror capable of having from three to ten disks including two hot spares – a RAID 1E type. The third one is an ordinary striped array, RAID0. Choose the one you need and press Enter to confirm it.
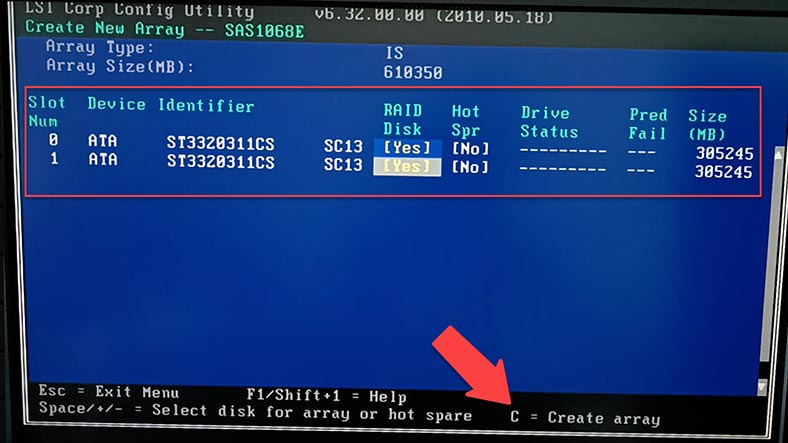
At the next stage, select the disks to use in your future array. Use the Space key to choose items. As a result, you will see a warning that data will be erased from the hard disk – press Space again to continue. When the disks are selected, press the C key to create an array. At this stage, choose the option Save changes then exit this menu and press Enter.
After that, the process of building the array begins, and when it’s over, the initial menu opens. Now the RAID is created, so press Esc to exit the menu, then Exit the Configuration Utility and Reboot. The last step is to partition the volume, and it will be ready for work.
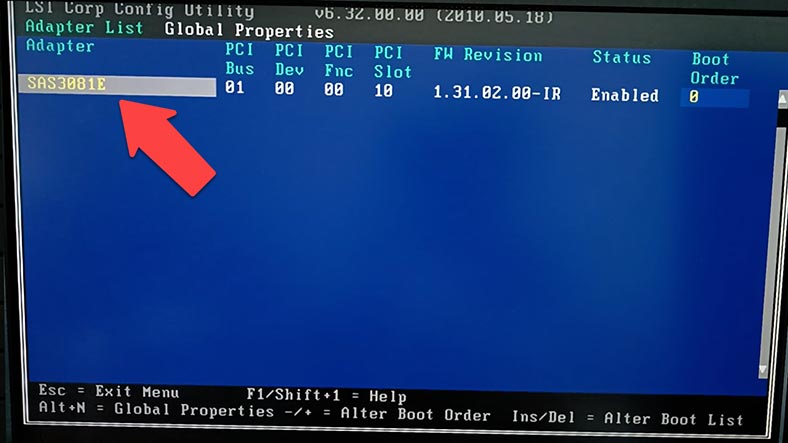
2. How to recover data from a crashed array
If you lost important files because of accidental formatting of the hard disks, or lost access to the disk array because of controller breakdown, there are a few ways to retrieve your data.
The first data recovery method to use if the controller is dead is to connect the disks to a properly working storage device. For this method you will need one more controller of the same model, or a compatible one which enables you to import the previously existing RAID configuration. First of all, explore this aspect and make sure that this operation is safe for your data – otherwise, wrong actions may erase the disks completely, along with your precious files.
The second method which can also help if some files are deleted by mistake is to use a specialized data recovery tool for RAID systems.
Hetman RAID Recovery is one of such apps. It supports all popular RAID types, most file systems and various array patterns used by numerous RAID controllers. The app will rebuild the damaged RAID with the available hard disks, so that you’ll be able to retrieve important files.
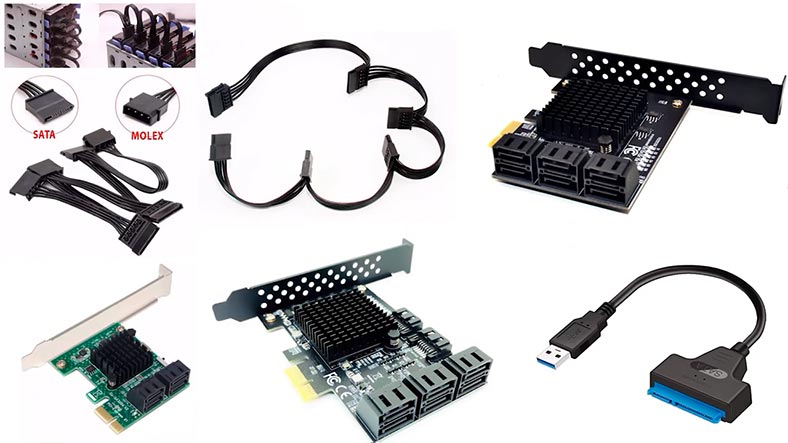
For data recovery, you need to connect all the hard disks to the motherboard of a Windows computer.
If your motherboard has less SATA ports or power connectors than necessary, you can exclude one or several hard disks from the array if your RAID level can tolerate it. Otherwise, use additional adapters and expansion cards.
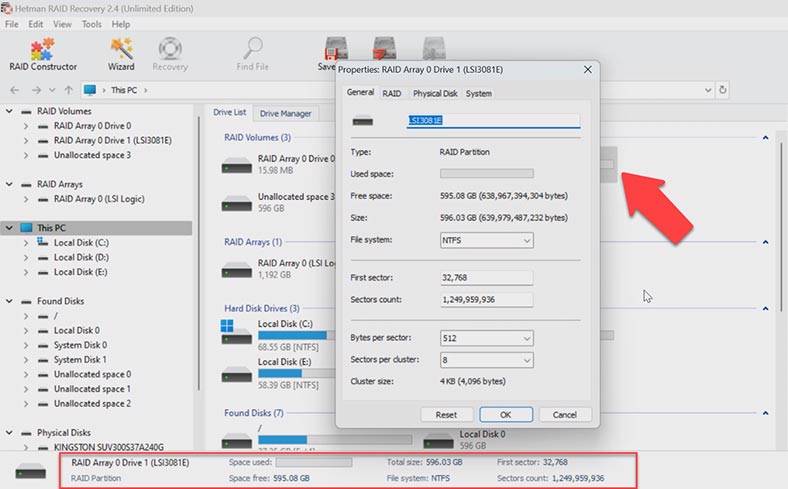
In my case, the utility displays a volume with RAID 0. Right-click on the volume and choose Properties to view detailed information about this array. In the RAID tab, you can see the number of disks it includes.
To search for files, right-click on the disk and choose Open.
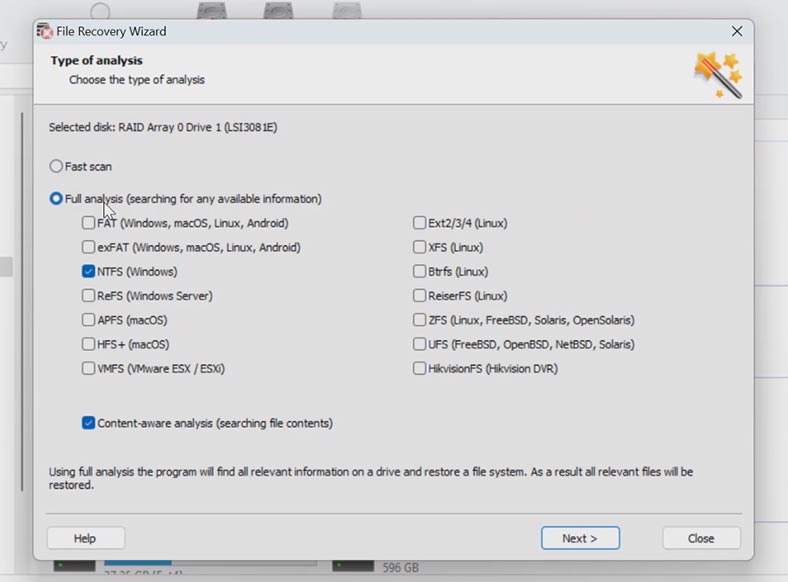
After that, choose the scan type – Fast scan or Full analysis. For most simple cases, Fast scan is enough, and it takes less time.
In the end, the program has coped with the task easily. It has rebuilt the RAID 0 automatically – which is impossible to do with the help of the operating system means only. In the Disk Management window, the disks of such RAID will be displayed as unidentified or have the RAW status. As it appears, you can’t retrieve the data without using specialized tools.
However, Hetman RAID Recovery has found all the files that have been stored on this disk array. It also displays deleted files which are marked with a red cross.
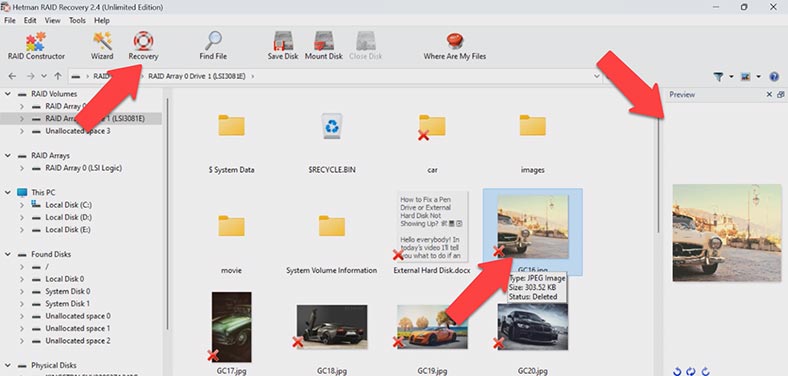
Select all the items you want to recover and click the Recovery button. Specify where to save the data (choose the disk and folder), and click Recovery again. When the recovery process is complete, you’ll see all the files in the specified directory.
If the program can’t find the missing files after the Fast scan, then go for Full analysis. To do it, return to the main menu, right-click on the volume and choose Analyze again – Full analysis. Choose the file system type. You can uncheck the option for Content-Aware analysis, as it will make the process go faster. If you still can’t find the necessary files, run Full analysis again, but this time with the Content-Aware option enabled.
3. How to recover accidentally deleted files
If you deleted files from a properly working RAID system and you need to recover them, you don’t actually need to disconnect the hard disks from the controller and connect them directly to the motherboard. In such situations, all you have to do is to scan the disk array. The recovery tool identifies it in the same way as the operating system, so you’ll be able to recover the deleted data easily.
To do it, start the scan as I showed a bit earlier, and restore the deleted files.
4. How to recover files from RAID 1
If the controller with a mirror RAID breaks down, in some cases you can even fix this problem without using third-party recovery software. When the disks used in the RAID array are connected, the operating system may recognize them automatically. If this is your case, all you have to do is to identify them in the Disk Management window, open the volume and copy the files to another disk. However, this method can only help you if the RAID was built with a small number of disks.
If this method doesn’t work in your case, connect the disks directly to the computer’s motherboard and search for files with Hetman RAID Recovery.
Just like with any other RAID type, the program will rebuild the array automatically and display it on the list of available disks. Scan it and recover your files.
5. Conclusion
So, today we have explored various ways of recovering data from a RAID system with LSI 3081E-R controller. We hope that this tutorial will help you recover lost data and restore your disk array operability. It is important to note that data recovery from RAID is a complicated task which requires certain knowledge and skills. If you don’t feel confident about your abilities, it’s better to let the professionals do the job, because any wrong step can easily erase the remaining information from the hard disks.
| Step | Description | Required Tools |
|---|---|---|
| 1. Diagnose the Problem | Check the status of the RAID LSI 3081E-R controller and determine if the problem is related to its failure. | Controller diagnostic software, multimeter |
| 2. Disconnect the Controller | Power down the system and physically disconnect the controller from the motherboard. | Anti-static wristband, screwdriver |
| 3. Connect Disks to Another Controller | Move the disks to a working RAID controller or connect them directly to a computer for data recovery. | Alternative RAID controller or SATA/USB adapters |
| 4. Use Data Recovery Software | Run a data recovery program such as R-Studio or Hetman RAID Recovery to recover access to files on the disks. | Data recovery software |
| 5. Recover Data | Select the files that need to be recovered and save them to an external drive. | External storage, data recovery software |
| 6. Analyze Recovered Data | Check the integrity of the recovered files to ensure that all important data has been restored. | File integrity verification software |
To prevent possible data loss in the future, back up all important files regularly and check on your RAID status from time to time. We also recommend installing a monitoring system to warn you about any failures or array issues, so that you can always take action without delay.
Always remember that ensuring data safety is a continuous process. Update the operating system and RAID controller software, keep track of their new releases and bear in mind the manufacturer’s recommendations. This will help to ensure uninterrupted operation of your storage and to prevent possible issues.


